
Photography Tutorial: How To Shoot Star Trails And Comets
DISCLOSURE: This post may contain affiliate links. If you purchase after clicking one of my links, I may earn a small commission at no extra cost to you. As an Amazon Associate, I earn from qualifying purchases. For more information, see my disclaimer.
After a busy workweek, there’s nothing more refreshing than escaping to the quiet beauty of Joshua Tree and immersing myself in stargazing. Last Saturday, I hiked a three-mile backcountry trail, set up camp, and captured stunning star trails and the elusive comet C/2022 E3 ZTF. In this guide, I’ll share the techniques and gear I used to capture these celestial wonders, plus some post-processing tips.
Star Trail Photography Tutorial
A star trail photograph is a captivating long-exposure image that showcases the Earth’s rotation, typically around the North Star, Polaris. These mesmerizing light trails form as the stars appear to move across the sky due to the planet’s rotation, creating a celestial display that can take your breath away.
In the images below, you’ll see the result of stacking 330 individual shots — a technique known as “image stacking,” which reveals the true movement of the stars. Each of the frames captures a long exposure of 20 seconds, and when combined, they create stunning arcs of light that visually narrate the Earth’s journey through space.
Capturing Star Trails
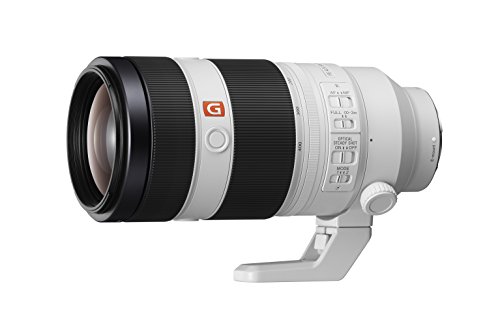
Having the right equipment is essential for capturing star trails. I used my Sony Alpha 7 IV, paired with the Sony FE 24-70mm F2.8 lens. These pieces of gear allowed me to shoot in low light with minimal noise and achieve the sharpness required for such a dynamic subject. Here’s a breakdown of the key settings that worked for me:
- Aperture: f2.8 — A wide aperture lets in more light, crucial for capturing faint star details.
- Shutter Speed: 20 seconds — This allows enough time for the stars to leave trails without overexposing the image.
- ISO: 400 — Keeping the ISO low reduces noise and helps maintain image clarity. However, depending on light conditions, you may need to adjust it.
- Intervalometer: programmed to take a photo every second, 330 times
For those of you with a different camera, such as a GoPro, you can also capture stunning star trails! While I use my Sony for astrophotography, I’ve had great results with my GoPro 9 as well. Although it’s an older model, it still produces impressive star trails. The newer GoPro models perform even better for long-exposure shots, making them a solid choice for night sky photography.
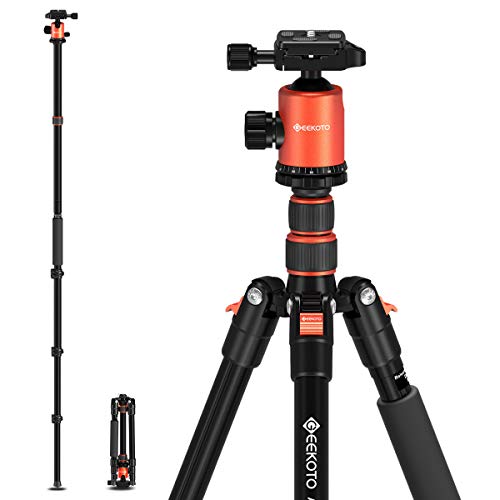
To ensure optimal results, I recommend checking out the gear I use for astrophotography, such as the Sony Alpha 7 IV, Sony FE 24-70mm F2.8 lens, and GEKOTO Tripod for steady shots.


Star Trail Post-Processing
Once I returned home, the magic of post-processing began. Stacking images is the key to enhancing star trails. I used StarStaX to stack the 330 images and blend them into one continuous trail. The result was an intricate web of stars, flowing across the sky in a way that no single exposure could capture.
In the past, I used Photoshop to process the stacking, but I sometimes ran into technical issues due to insufficient storage or memory, causing the program to crash. StarStaX has become a much easier and faster solution for this, streamlining the process without the hassle.
To further refine the image, I used Lightroom for fine-tuning. Here, I removed unwanted elements like plane trails that sometimes appear in night sky photos. These distractions are common, especially in areas near flight paths, but with some careful adjustments, the final image took on the serene beauty of the celestial dance.


My Favorite Photo and Video Gear: Must-Have Items
I have been a photography enthusiast forever and recently purchased new photo gear from Sony. So this post includes a…
Comet C/2022 E3 ZTF – Photography Tutorial
The allure of capturing a comet added an extra challenge to my stargazing adventure. Comet C/2022 E3 ZTF was visible to astrophotographers, though it was invisible to the naked eye. My goal was to capture this celestial visitor, and with the right gear and techniques, I succeeded. In this section, I’ll share the steps I took, from preparation to post-processing.
Capturing comets
When photographing comets, having a plan and understanding your camera settings is crucial. In the past, I didn’t plan and ended up with disappointing results. This time, I prepared by watching a Photopills video about shooting comets. It was incredibly helpful in guiding my settings and ensuring I was ready once I arrived on-site.
For this shot, I used the following equipment:
Comet photography requires patience and precision. Using the Photopills app, I was able to determine the necessary shutter speed based on the focal length I was using. I started with test shots at 30 seconds, which allowed me to locate the comet and center it in my frame. Once the comet was in focus, I switched to interval shooting mode, capturing 330 exposures with a 0.5-second exposure at f5.6 aperture and ISO 6400.
Capturing these quick, consistent shots ensured I had enough data to create a clear comet stack later in post-processing.
Comet Post-Processing
For the post-processing of comet photos, I used Siril, a software designed specifically for astrophotography. Siril’s interface is user-friendly, and I found it extremely effective for stacking comet images. I followed the detailed comet processing tutorial available on Siril’s website and several YouTube channels, which helped me refine the stacking and extraction process.
Once the comet stack was created, I imported the images into Lightroom to enhance the details. Here, I adjusted the exposure and contrast to bring out the comet’s details, revealing its ethereal beauty against the dark canvas of space.

Final Thoughts
Embarking on a nocturnal photographic journey into the wilderness offers a unique perspective on the universe’s beauty. The process of capturing both star trails and comets is not only rewarding but also deeply immersive. Every step, from choosing the right equipment to perfecting post-processing techniques, plays a vital role in bringing the night sky’s wonders to life.
I hope this tutorial inspires you to explore the wonders of the night sky and create your celestial masterpieces. Remember, patience is key, and with the right knowledge and gear, you too can capture the magic of the cosmos.
As a side note, be aware that Joshua Tree’s backcountry permit system is changing effective March 1st, 2023. Be sure to stay informed about these modifications here so you can plan your next adventure with ease.
Post originally published on February 4, 2023, and last updated on April 13, 2025.


