How To Shoot Star Trails And Comets: Photography Tutorial
DISCLOSURE: This post may contain affiliate links. If you purchase after clicking one of my links, I may earn a small commission at no extra cost to you. As an Amazon Associate, I earn from qualifying purchases. For more information, see my disclaimer.
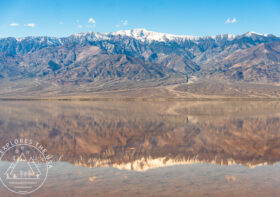
After a busy workweek, there’s nothing more refreshing than escaping to the quiet beauty of Joshua Tree and immersing myself in stargazing. Last Saturday, I hiked a three-mile backcountry trail, set up camp, and captured stunning star trails and the elusive comet C/2022 E3 ZTF. In this photography tutorial, I’ll show you how to shoot star trails and comets, from the gear and camera settings I used to the post-processing steps that brought the images to life.
50% Off AllTrails Plus
Planning hikes, downloading maps, getting a little more off-grid without losing your way… this is the upgrade that actually gets used.
How To Shoot Star Trails: Photography Tutorial
This star trail photography tutorial will walk you through how to capture the motion of the stars using long exposures. As the Earth rotates, stars appear to streak across the sky, often circling around Polaris, the North Star. The result is a beautiful image that shows the passage of time in a single frame. It’s one of the most magical techniques in astrophotography star trails.
The images below were created by stacking 330 photos. Each one was a 20-second exposure. This method is called image stacking. It’s an essential step in any star trails tutorial. When combined, the images form smooth arcs that show how stars appear to move through the night sky.
Capturing Star Trails
To achieve great results, you’ll need the right gear and optimal camera settings for capturing star trails. I used my Sony Alpha 7 IV with the Sony FE 24-70mm F2.8 lens, both solid picks for low-light astrophotography. Sharpness and noise control are key, especially when you’re shooting over long periods.
First, set your camera to manual mode and turn off autofocus. Your camera will likely struggle to focus on stars automatically, so you’ll need to dial in your focus until the stars look sharp manually. A good trick is to zoom in on a bright star using live view and adjust the focus ring slowly until it’s as crisp as possible.
Here are the star trail camera settings I used:
- Aperture: f/2.8, a wide aperture helps capture faint stars
- Shutter Speed: 20 seconds, long enough to record motion without overexposing
- ISO: 400, keeps noise low while still gathering enough light
- White Balance: 4000K for neutral night sky, or AWB if unsure; adjust later in Lightroom (RAW only).
- Intervalometer: programmed to shoot 330 photos, one every second
These star trail photography tips have worked well for me in various locations, including the backcountry of Joshua Tree.
If you’re using a different setup, like a GoPro, you can still follow this star trail photography tutorial. I’ve used a GoPro 9 in the past and still captured impressive trails a you can see in this blog post, just use the timelapse settings. Newer GoPro models make it even easier with improved sensors and longer battery life, making them great for beginner or travel-friendly night sky photography.
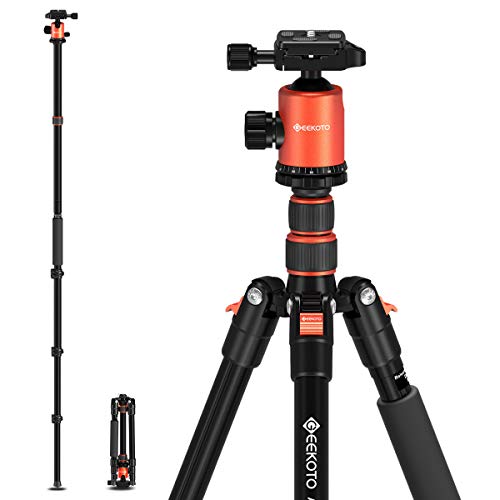
To stabilize everything, I highly recommend using a tripod like the GEKOTO 77” for steady exposures, especially when working with hundreds of frames.
Photography essentials to capture star trails
Below are some of my essentials for star trails. Head over to my curated photography gear shop for more photography favorites!


Star Trail Post-Processing
Post-processing is a key part of any star trails tutorial. It’s where the stacked images come together to form the final shot. For this image, I used StarStaX to stack 330 frames into a single photo that shows continuous star movement across the sky.
I used to process star trails in Photoshop, but I often ran into issues, especially when working with large RAW files. The program would crash or slow down, likely due to storage or memory constraints during batch processing. Switching to StarStaX made a huge difference. It’s free, faster, and specifically built for star-trail stacking, making it a much smoother experience overall.
Once the images were stacked, I brought the final version into Lightroom for adjustments. There, I cleaned up airplane trails, which are common in astrophotography star trails, especially near flight paths. I also tweaked the contrast and clarity to enhance the trails without losing the natural feel of the night sky.


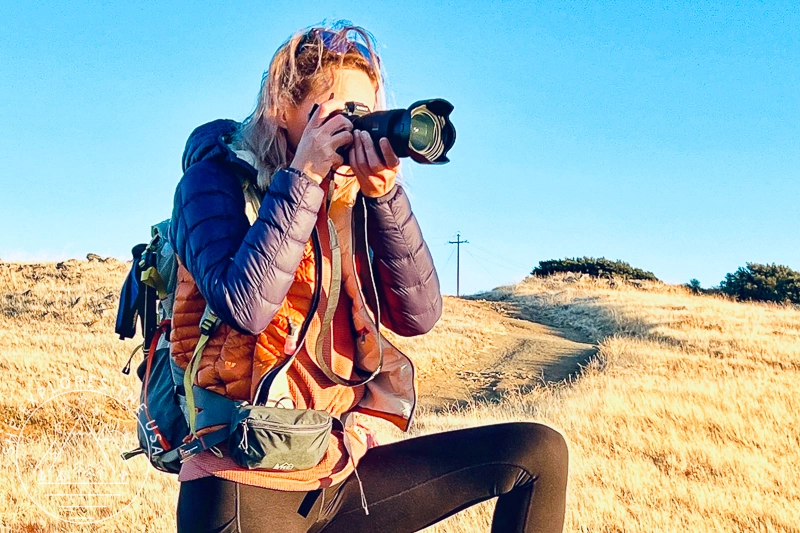
My Favorite Photo And Video Gear for the Trail
I’ve always been the “Trigger Happy” one on group tours, the person who can’t resist snapping hundreds of shots a…
How to Shoot Comets: Photography Tutorial
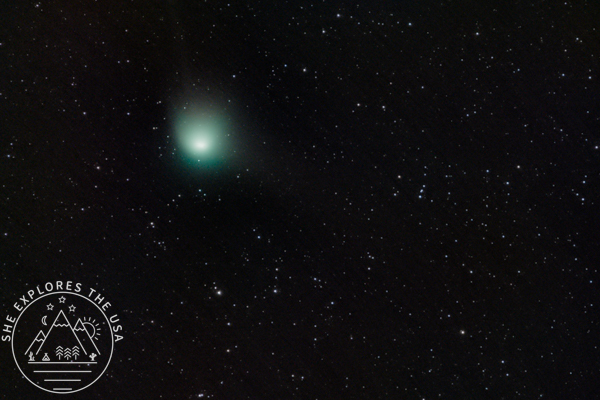
Photographing a comet adds a unique and exciting challenge to any night sky shoot. During this trip, I set out to capture Comet C/2022 E3 ZTF, a rare celestial visitor that was invisible to the naked eye but visible through long exposure. With the right gear, planning, and camera settings, I managed to get a clear shot. In this comet photography tutorial, I’ll walk you through exactly what I did, from setup to editing.
Capturing comets
One of the most important comet photography tips I’ve learned is this: have a plan. A few years ago, I tried shooting a comet without any prep and came home disappointed. This time, I watched a comet tutorial from PhotoPills before heading out, which helped me dial in the right approach and understand the timing and visibility of the comet.
Here’s the gear I used to shoot Comet C/2022 E3 ZTF:
- Camera: Sony Alpha 7 IV
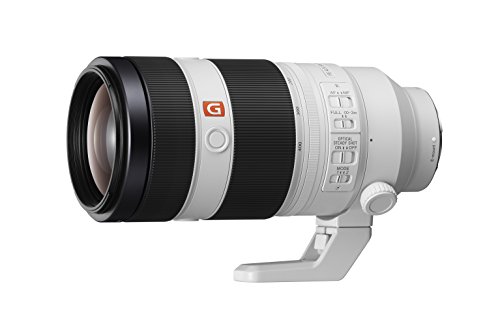
- Lens: Sony FE 100–400mm F4.5–5.6 GM OSS
- Tripod: GEEKOTO 77” with ball head
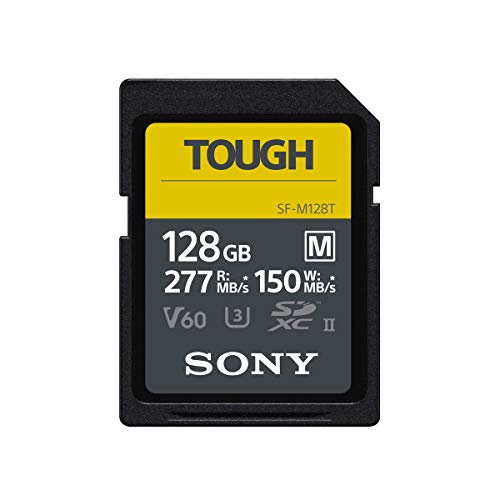
- Memory: Sony TOUGH-M SDXC UHS-II Card (128GB)
Proper gear matters, but the real key is understanding your camera settings for comets. I used the PhotoPills app to calculate the ideal shutter speed for my focal length. This ensured the comet wouldn’t blur or streak across the frame. I began with 30-second test shots to find and center the comet in my frame.
Once I locked in manual focus, I switched to interval shooting:
- Frames captured: 330 images
- Exposure: 0.5 seconds
- Aperture: f/5.6
- ISO: 6400
- White Balance: Auto (you could start with 4000K for neutral colors; it’s adjustable in Lightroom later)
These settings balanced sensitivity and sharpness while avoiding star trailing. Shooting fast, consistent frames gave plenty of data to stack, an essential step in comet astrophotography.
Comet Post-Processing
Post-processing comet images takes a different approach than star trails. For this part of the workflow, I used Siril, a free software built specifically for astrophotography. Its tools made it easy to align, stack, and extract comet details from all 330 frames.
I followed a detailed comet processing tutorial on Siril’s website, as well as YouTube walk-throughs. These guides helped me correct alignment issues and isolate the comet from star movement, something that’s critical in any successful comet photography tutorial.
After stacking in Siril, I brought the final image into Lightroom for finishing touches. I made small tweaks to exposure, contrast, and clarity to bring out the glowing details of the comet while keeping the background clean and true to what I saw on-site.
FAQ about Shooting Star Trails And Comets
What camera settings are best for star trail photography?
Use a shutter speed of 20–30 seconds, aperture of f/2.8 or wider, and ISO between 400–800. An intervalometer is essential to shoot 100–300 frames for stacking. These camera settings for star trails help create smooth, bright arcs with minimal noise.
What gear do I need to shoot star trails?
You’ll need a DSLR or mirrorless camera with manual settings (like the Sony Alpha 7 IV), a sturdy tripod, a wide or zoom lens, a fast memory card, and an intervalometer. This setup supports sharp, long-exposure shots ideal for star trail photography.
How do I photograph comets?
To photograph a comet, use a long zoom lens (like 100–400mm), a fast shutter speed (under 1 second), high ISO (around 6400), and an aperture of f/5.6 or wider. Use apps like PhotoPills to track comet visibility. These are essential camera settings for comets in low light.
Final Thoughts on Shooting Star Trails And Comets
Shooting the night sky, whether it’s glowing star trails or a passing comet, is one of the most rewarding parts of astrophotography. With the right gear, planning, and the right camera settings for star trails and comets, anyone can capture these celestial wonders.
I hope this star trail and comet photography tutorial inspires you to head outside and create something magical. With a little patience and post-processing, the results are always worth it.
And if you’re planning a trip to Joshua Tree, don’t forget the backcountry permit system changed in March 2023. Read this blog post to learn all about it.
Post originally published on February 4, 2023, and last updated on April 4, 2026.