My Favorite Photo And Video Gear for the Trail
DISCLOSURE: This post may contain affiliate links. If you purchase after clicking one of my links, I may earn a small commission at no extra cost to you. As an Amazon Associate, I earn from qualifying purchases. For more information, see my disclaimer.
I’ve always been the “Trigger Happy” one on group tours, the person who can’t resist snapping hundreds of shots a day. Over years of traveling and hiking, I’ve learned that having reliable photo and video gear, and the must-have accessories that keep it running, isn’t just a luxury; it’s essential. When you’re out on the trail, capturing everything from epic landscapes to action-packed moments, the right gear and accessories make all the difference. Here’s my current setup, the photo and video gear I rely on for backpacking adventures, from mirrorless cameras to action cams and the essentials that keep them powered in the wild.
- Sony Photo and Video Gear
- Photo and Video Gear: Action Camera
- Tripods for my Photo and Video Gear
- How I Recharge Photo and Video Gear in the Wilderness
- FAQ: Backpacking Photo & Video Gear
- Photo & Video Gear Comparison for Hiking & Backpacking
- Final Thoughts on Photo and Video Gear for Hiking and Backpacking
50% Off AllTrails Plus
Planning hikes, downloading maps, getting a little more off-grid without losing your way… this is the upgrade that actually gets used.
Sony Photo and Video Gear
Mirrorless Camera
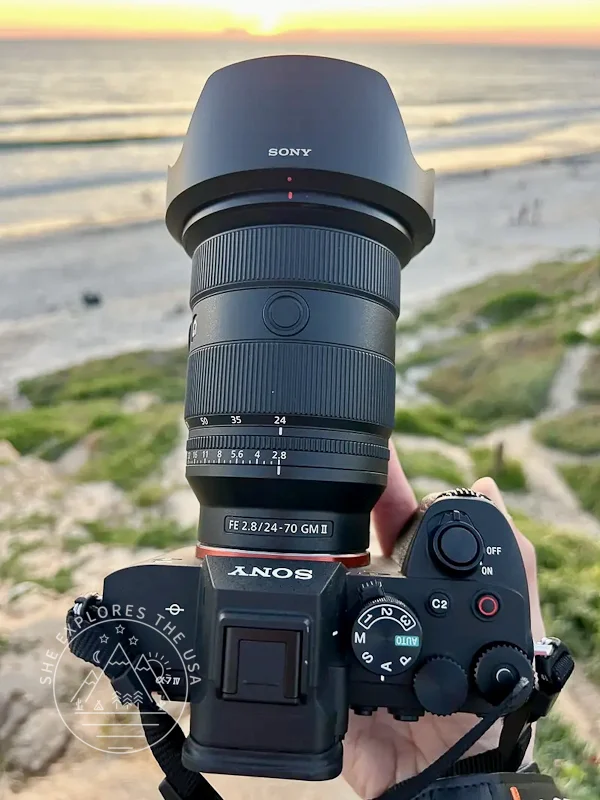
I upgraded to the Sony Alpha 7 IV full-frame mirrorless camera, and honestly, I couldn’t be happier. Before that, I shot with a Canon 77D DSLR for several years, so the switch was both a big leap forward and a steep learning curve. While Canon’s menus felt intuitive and familiar, Sony’s system took some getting used to. Not gonna lie, I sometimes wonder if I should have gone with the Canon R5 instead.
Autofocus with the Sony A7 IV has been a bit frustrating at times, but the image quality more than makes up for it, especially when paired with my favorite G Master lenses. So far, I’ve only used the A7 IV for stills, but I’ve heard great things about its video capabilities, which I’m excited to explore.
Sony Alpha 7 IV full-frame mirrorless camera
If you want to upgrade your photo and video gear, the Sony A7 IV offers stunning image quality and solid build, a worthy companion for any trail adventure.

Sony Lenses I’m Loving
- The Sony FE 24-70mm F2.8 GM II is my everyday lens: sharp, versatile, and reliable in low light. Perfect if you want one lens that does it all.
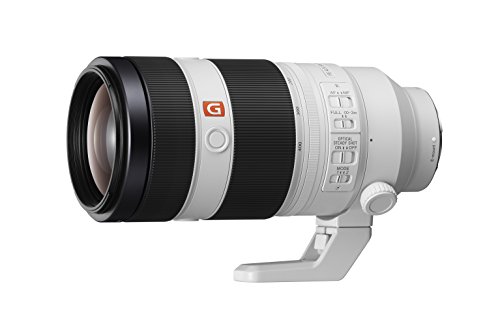
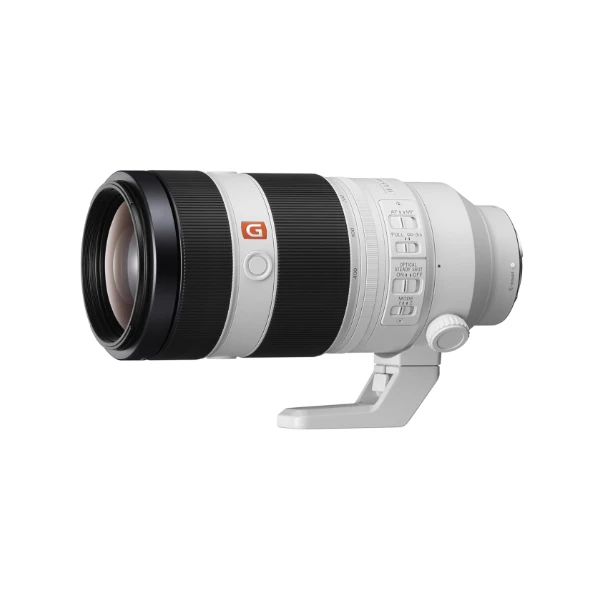
- For wildlife and long-range shots, the Sony FE 100-400mm F4.5–5.6 GM OSS balances zoom and weight well. If you need more reach, consider the 200-600mm instead.
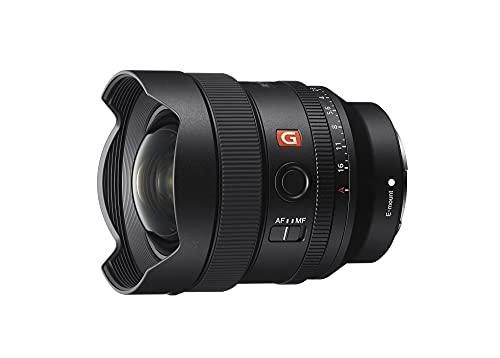
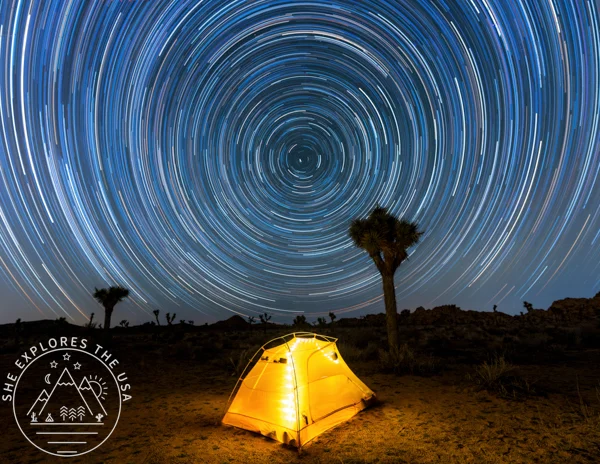
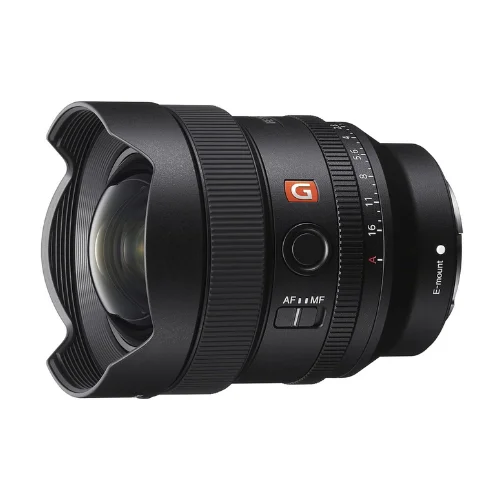
- The Sony FE 14mm F1.8 GM lens is my go-to for night sky photography. Its wide aperture helps capture star trails and Milky Way shots with incredible clarity.
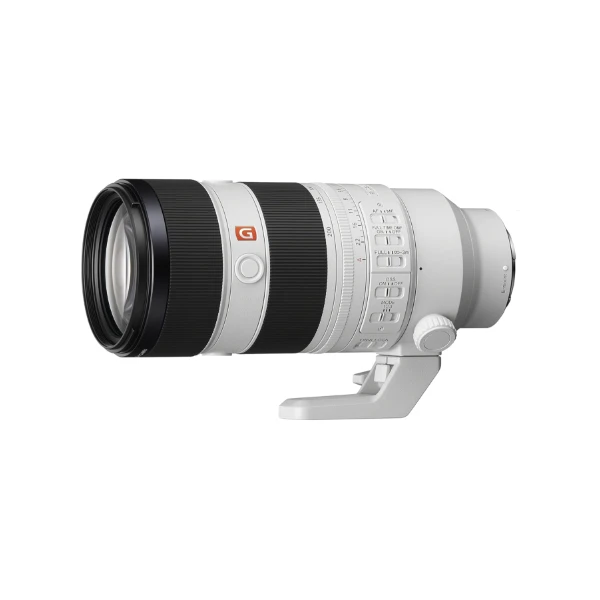
- To extend reach without carrying a heavier lens, I use the Sony FE 70-200mm f/2.8 GM OSS II with a 1.4x teleconverter. It’s a bit of an investment, but worth it for the sharpness and extra zoom.
I recently added the 70-200mm f/2.8 GM II and teleconverter to my kit, which is great for distant subjects. Looking back, I wish I’d opted for the 200-600mm lens instead of the 100-400mm; it would’ve given me even more reach.
My go-to all-rounder

Landscapes, portraits, & wildlife
Night skies & wide-angle shots
Distant subjects


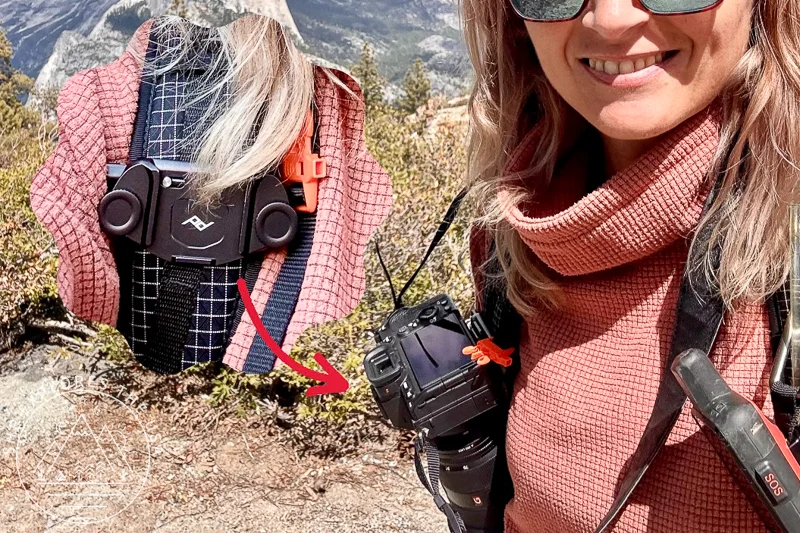
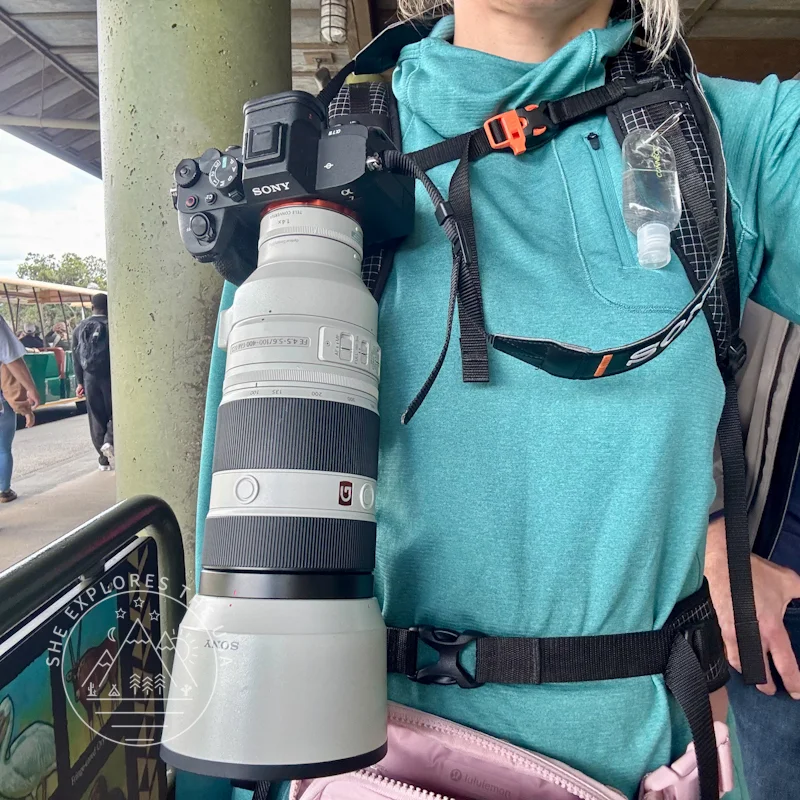
Carrying My Camera on Trail: Peak Design Capture Clip
One piece of photo gear I wish I’d gotten sooner is the Peak Design Capture Clip. It lets me attach my camera securely to my backpack strap, so I don’t have to dig around or wear it around my neck while hiking. It’s super sturdy, easy to use one-handed, and makes it way more likely that I’ll actually use my camera instead of letting the moment pass by.
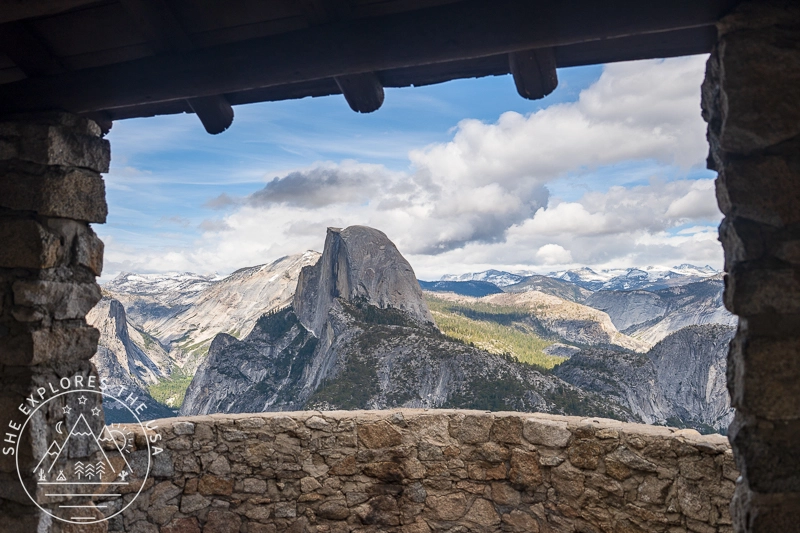
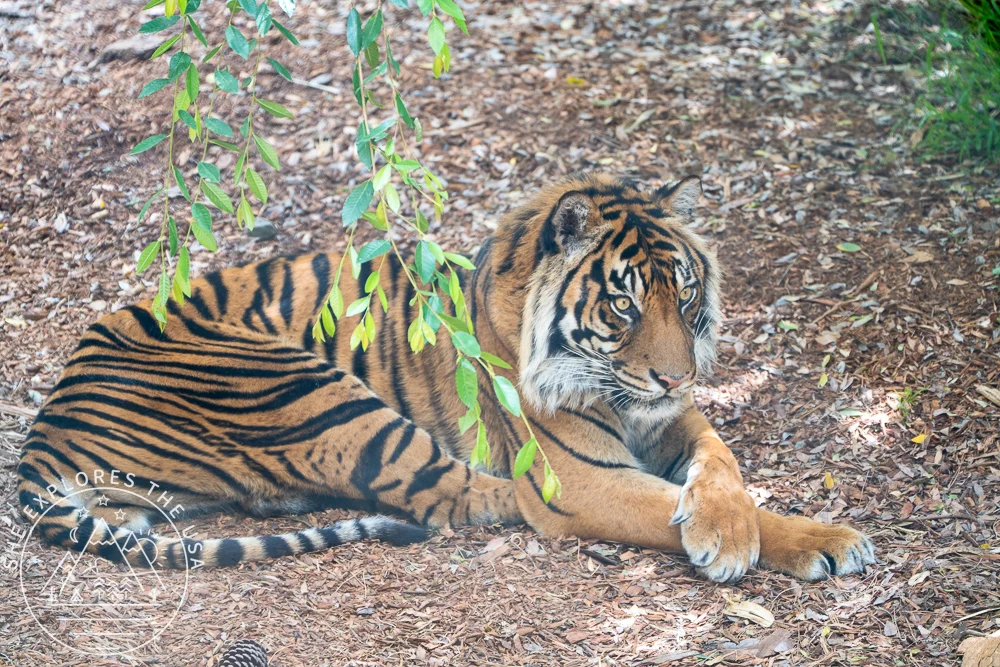
I still missed an epic shot when I came face to face with a bear in Yosemite last month, but still. This little clip is a game-changer. Highly recommend it for anyone who wants quick access without compromising safety. It changed the way I carry my camera on trail, no more neck strain or digging through my pack. It’s become one of my favorite must-have accessories for hiking with a camera. And it was super useful at the Safari Park the other day to carry the 100-400mm lens and 1.4x teleconverter around all day!
Peak Design Capture Clip
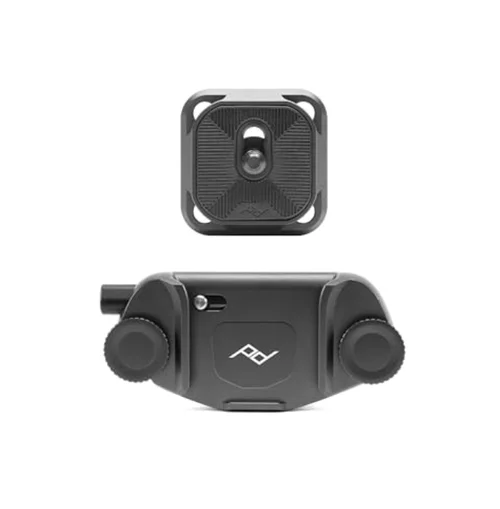
⭐⭐⭐⭐⭐
- Quick, Secure Access to Your Camera
- Hands-Free Carry with Total Peace of Mind
- All-Day Comfort for Long Hikes

Batteries & Charging
Back when I was shooting Canon, I swore by Artman batteries; they always seemed to outlast the official ones. When I switched to Sony, I stuck with Artman NP-FZ100s for my Alpha setup, and they were solid workhorses for long shooting days.
Artman still sells plenty of camera batteries on Amazon, but oddly enough, their Sony NP-FZ100 kit disappeared right when I needed replacements. My batteries had been stolen a while back (painful day), so I decided to try the K&F Concept NP-FZ100 Battery Pack with LCD Charger instead, and honestly, I’ve been really impressed.
This K&F kit comes with three 2280mAh batteries and a smart LCD charger that can juice up all three at once. It’s fully compatible with Sony Alpha cameras like the A7 IV, A7C, A7R V, and FX30, and works perfectly with my setup. I also love that the charger has both USB-C and Micro USB ports, so I can power it with my Anker power bank or car adapter while I’m on the trail.
Performance-wise, these batteries have been rock solid so far: no overheating, no random shutoffs, and the runtime feels just as strong as the original Sony batteries. The charger’s LCD is super convenient, and the built-in safety features (overcharge and temperature protection) make it a reliable pick for travel and outdoor use.
If you’re hunting for the best Sony NP-FZ100 battery replacement, this K&F Concept 3-pack is a no-brainer. It’s affordable, efficient, and charges faster than most of the older dual chargers I’ve used. Time will tell how they hold up, but right now, I’m seriously impressed.


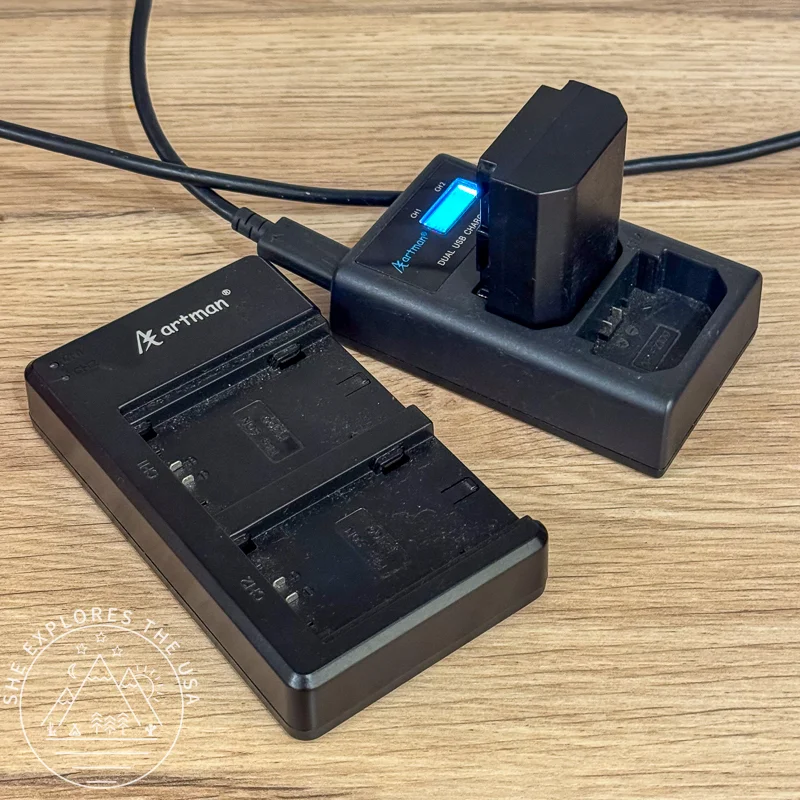
Photo and Video Gear: Action Camera
Essential Adventure Filming Gear List for Backpacking & Travel
When you’re out backpacking, every ounce matters, and so does having the right photo and video gear. While smartphones are convenient, I always bring a dedicated action camera on the trail.
It saves my phone battery for essentials like maps and messages, assuming I even have service, which isn’t always a given on backcountry trails. I carry a Garmin 67i to stay connected in no-signal zones, but I still like keeping my phone free for quick check-ins and navigation. Using an action camera also helps with one of my biggest struggles: phone storage. I take so many photos and videos that I constantly run into space issues (and nope, I’m not an iCloud person). Having a separate device for filming keeps my phone lighter and less cluttered.
Most action cameras are built tough, waterproof, shockproof, and compact, which makes them perfect for long hikes and unpredictable weather. I love being able to schedule a timelapse to capture star trails or sunrise without waking up at 4 am to press record. This kind of automation just isn’t possible on most phones.
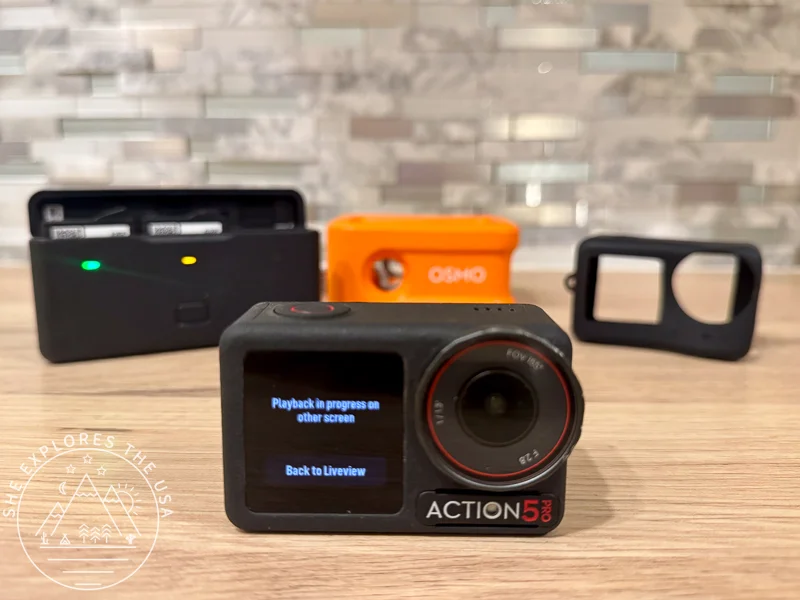
My Switch from GoPro to DJI Action 5 Pro
After five years with the GoPro Hero 9, which I used for everything from backcountry hikes to paddleboarding, I recently made the switch to the DJI Osmo Action 5 Pro, and honestly, I’m never looking back. Well, almost.


Pros & Cons of the DJI Osmo Action 5 Pro
The transition hasn’t been completely seamless. It’s been a bit of a learning curve. The image quality is solid, especially in low light, but at the end of the day, it’s still an action cam, not a DSLR. I’ve noticed that GoPro seems to handle motion and fine detail better, especially fast-moving water or the bright white foam of waves. Sometimes I wonder if I’d get crisper results with a newer GoPro.
That said, DJI Action 5 Pro shines in some major ways that cannot be ignored:
- Battery life is wildly better than GoPro: I can go days without charging, because battery life lasts about 4 hours, and I have 3 batteries.
- It’s reliable and stable: no overheating, no crashes, no surprise glitches.
So while it’s not perfect, it’s been dependable, rugged, and worthy of space in my kit. And it’s becoming my must-have vlogging gear for the Trail.
DJI Action 5 Pro
If you’re building your own list of essential camera accessories for backpacking, a reliable action camera is non-negotiable.
Why I Bought Filters for My Action Camera
One challenge that pushed me to upgrade my setup was an early morning hike down to Havasupai. The top of the canyon was glowing with that gorgeous alpenglow while the trail below was still in deep shadow. I tried to photograph my friends with the canyon behind them, but the sky and sunlit rim kept blowing out, and I couldn’t balance the exposure.
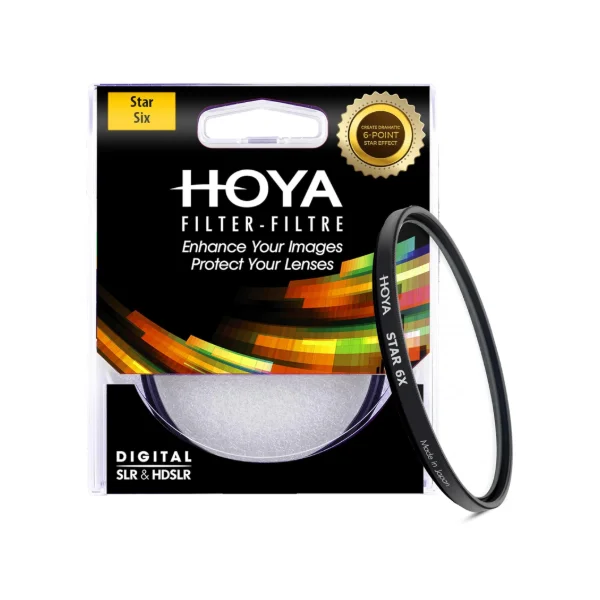
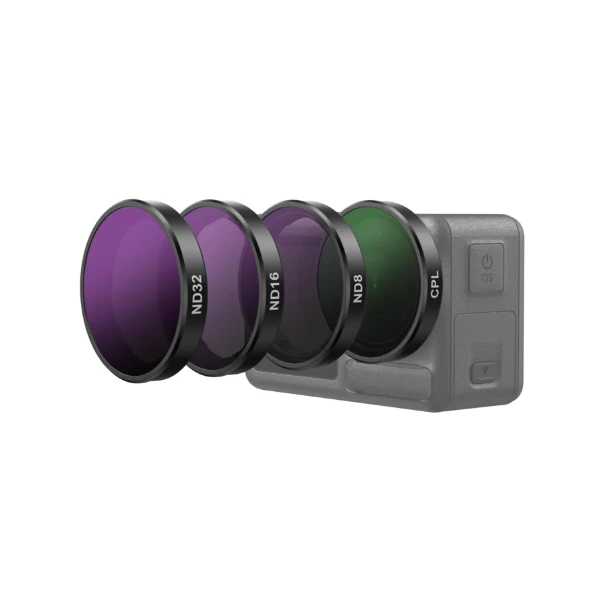
That moment made me realize I needed more control in difficult lighting conditions. So I picked up this 4-Pack Filter Set, which includes ND and CPL filters for the DJI Osmo Action 5 Pro. They’re designed to reduce glare, tame bright skies, and create more cinematic footage. I haven’t had a chance to test them yet (thanks, health stuff), but I’m excited to see how they handle canyon sunrises and bright alpine scenes.
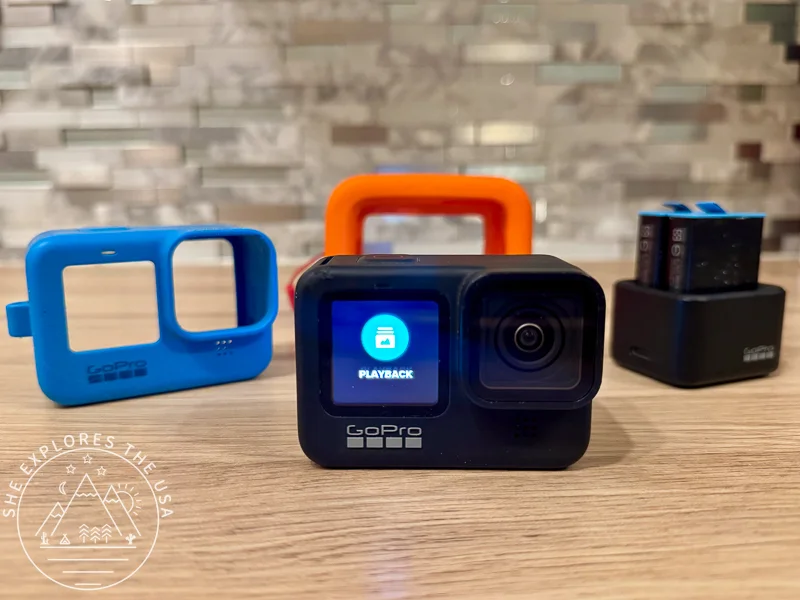
If You’re Still Considering GoPro
If you’re more comfortable with GoPro, the Hero 13 (and even the Hero 11 or 12) is still excellent. Stabilization is where GoPro really shines, especially when filming on the move or on rugged terrain. And if you’re on a budget, the Hero 9 is still a solid option; it’s compact, durable, and packed with features.

List of Essential Camera Accessories for Action Cameras (2026)
Must-Have Accessories for Action Cameras in 2026
A few must-have accessories I always bring along for my action cameras:
- Jaws Flex Arm: Still one of my favorite mounts for filming from the car or capturing odd angles. It works great with both GoPro and DJI. I usually clip it to the top of my car ceiling when the roof is open. It films super smoothly and adds a fun, immersive angle to road trip footage.
- Floaty Case (GoPro | DJI): If you’re taking your action camera into the water, a floaty is a total must-have. It keeps the camera from sinking and gives you peace of mind on paddleboarding or swimming trips. Just a quick tip from experience: be extra gentle when removing the camera from the floaty!! I cracked the back screen on my GoPro once while trying to pop it out a little too forcefully. Oof. Luckily, my GoPro subscription covered a replacement. Still, lesson learned!
More Accessories I’ve Tested
- Dome Port for Underwater Photography
I’ve used this Dome Port for split-shot photos (half above, half underwater), and it’s such a fun creative tool. I originally used it with my GoPro, but love that it also works with the DJI Osmo Action. Great for snorkeling, paddling, or just getting a unique angle underwater. - Silicone Cover with Lanyard for DJI
This silicone sleeve and lens cap combo has been great for protecting my Action 5 Pro from bumps and dust when it’s not in use. That said, the lanyard hook sliced through the silicone, and I almost lost the camera when it fell, so heads up if you plan to rely on that. I’d recommend pairing it with a sturdier clip or wrist strap instead for peace of mind.


Tripods for my Photo and Video Gear
Having a solid tripod setup is essential when you’re shooting both stills and video out in the wild. I chose these two: a heavier-duty option for my mirrorless camera, and a lightweight tripod that’s perfect for my action cam or smartphone.
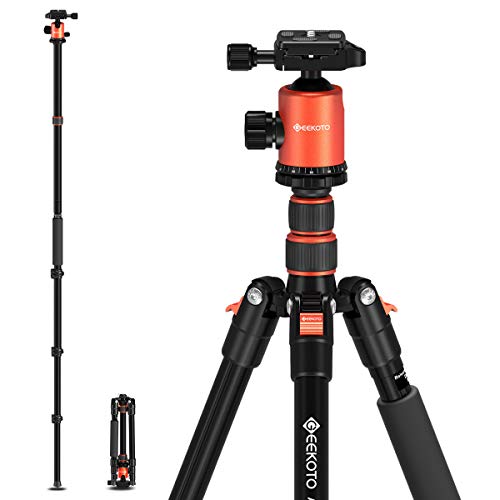
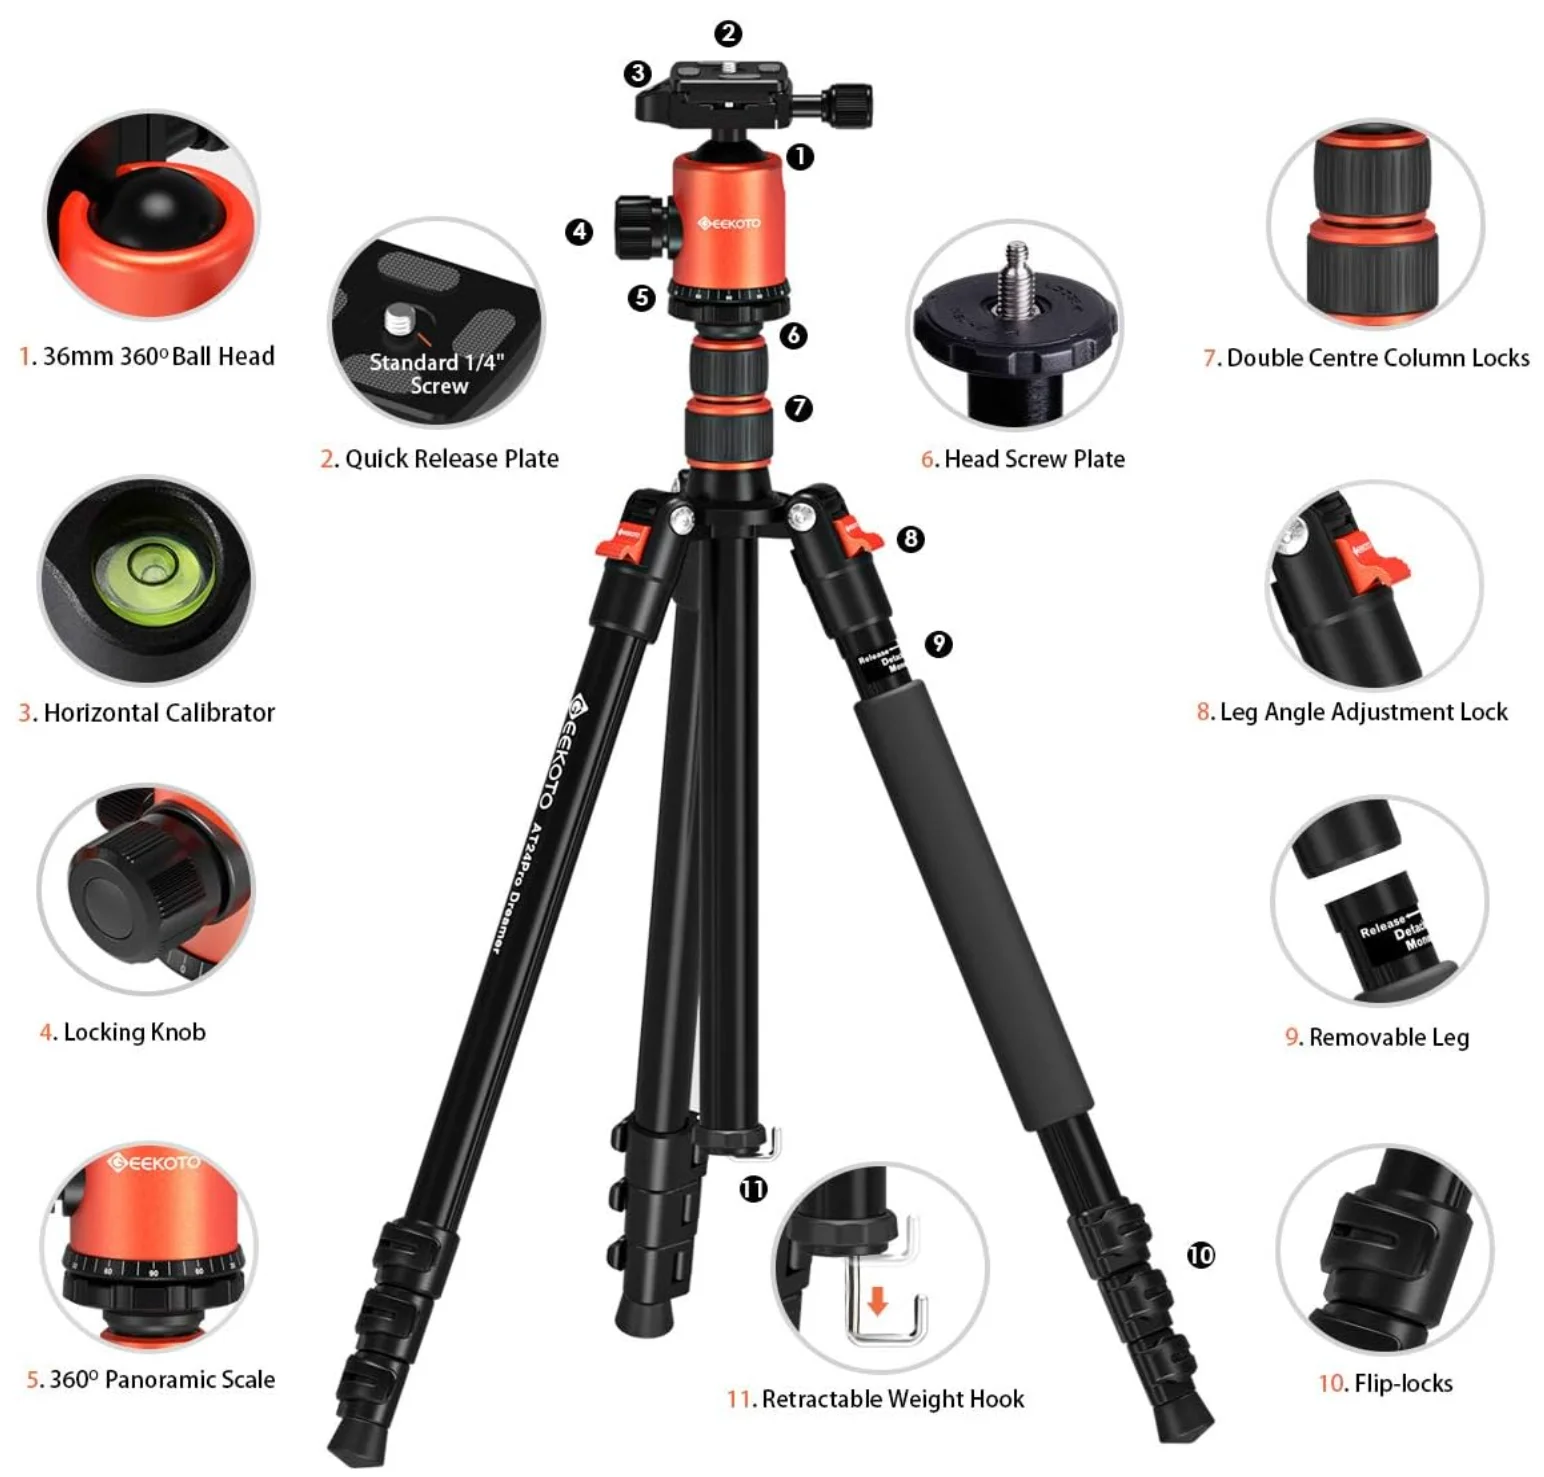
77″ Tripod
The 77″ tripod is my go-to for the Sony Alpha 7 IV. It’s sturdy, extends nicely and tall, and has a 360-degree ball head that gives me tons of flexibility for both landscapes and vertical video. I’ve used it in some windy conditions and it holds up well, but I still brace it with rocks or my backpack just in case. For the weight and the price, it’s been a great addition to my photo and video gear setup.
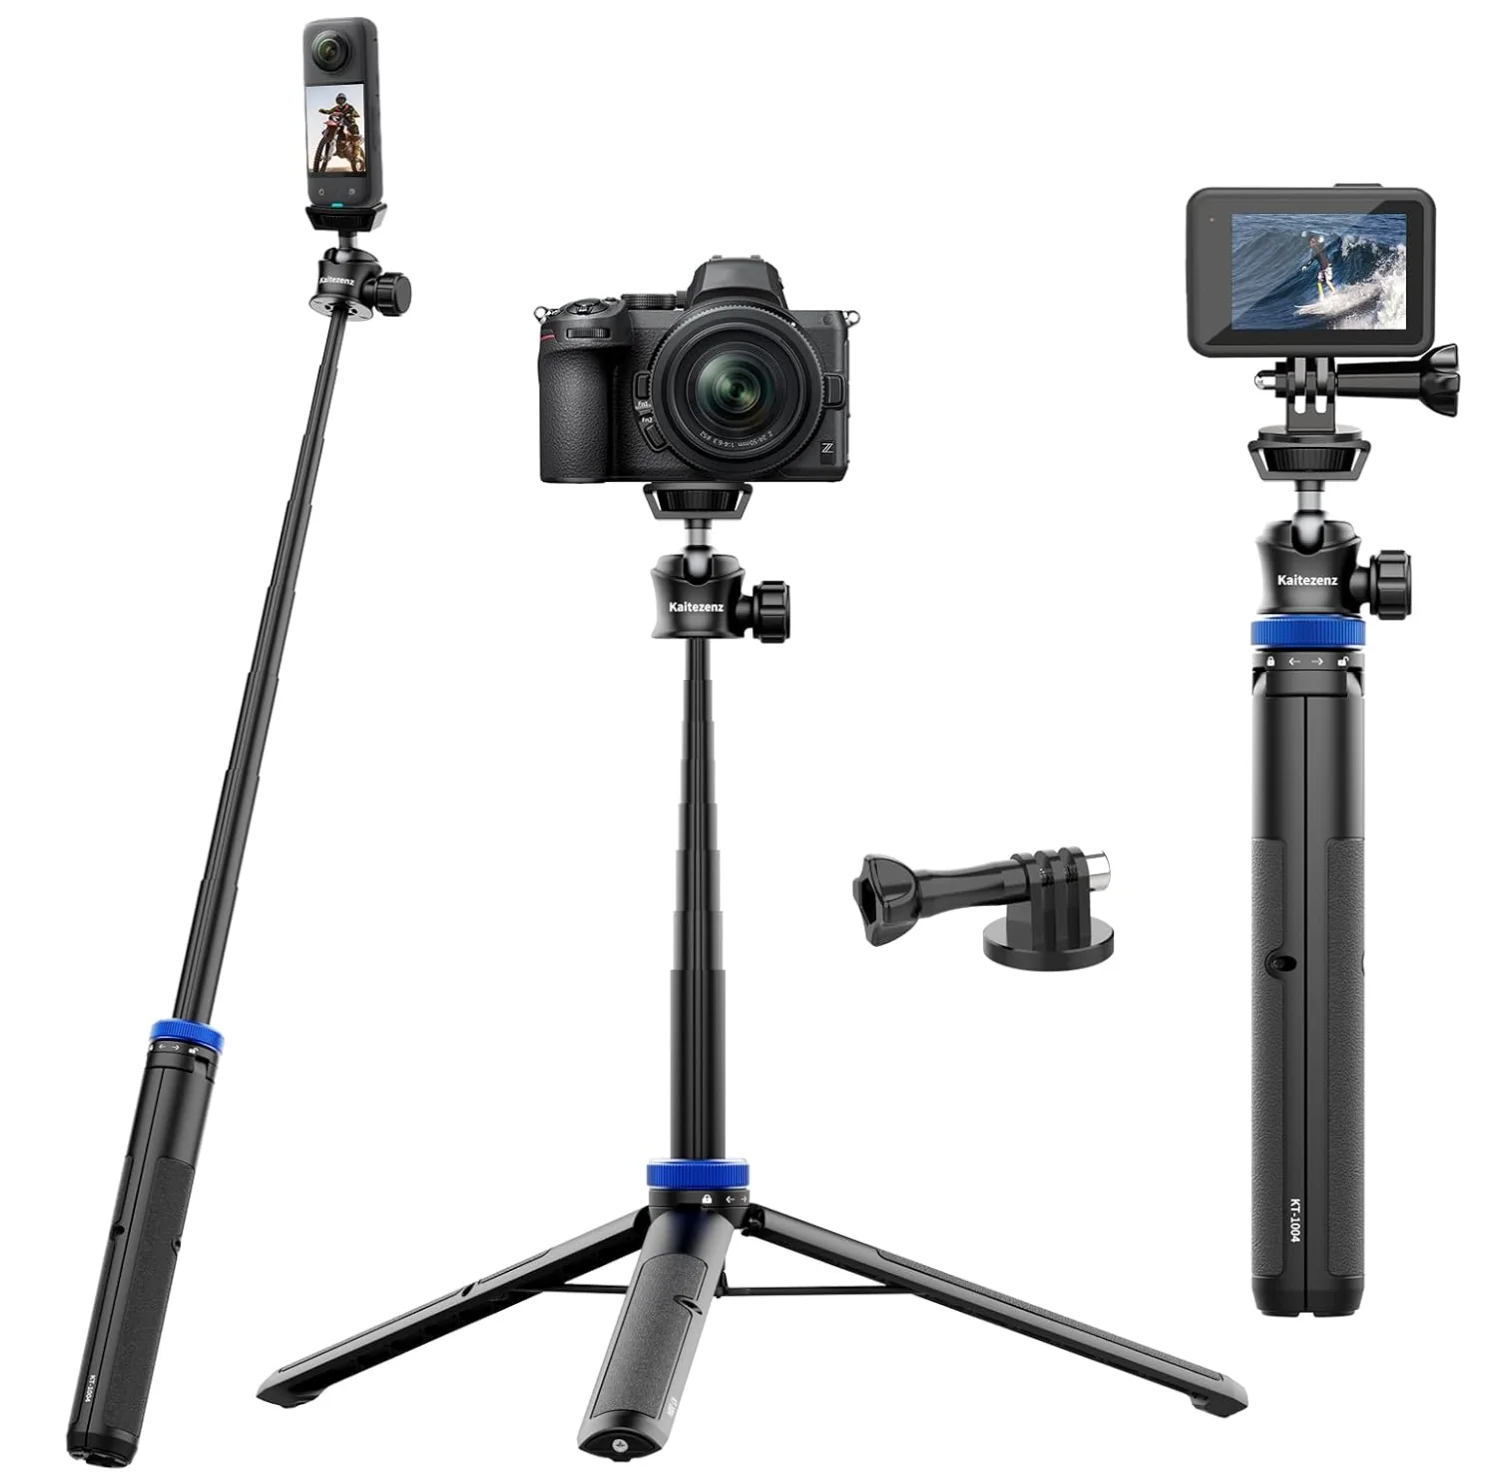
62″ Tripod / Selfie Stick
This smaller tripod surprised me. It’s super light and packs down well, so it’s usually what I bring on backpacking trips when I want to keep things minimal. I’ve used it with my GoPro, the DJI Action 5 Pro, my phone, and yes, even the Sony Alpha 7 IV. When I use it with the mirrorless camera, I just make sure the weather is calm and keep the tripod low to the ground for extra stability. I wouldn’t risk it on a windy ridgeline, but for mellow days or tucked-away campsites, it does the trick. Great option if you’re trying to keep your photo and video gear weight down.

How I Recharge Photo and Video Gear in the Wilderness
When you’re off-grid for days, keeping your photo and video gear charged is just as essential as packing snacks. I’ve used Anker products since 2012, and I don’t see myself switching anytime soon; they’ve been that reliable.
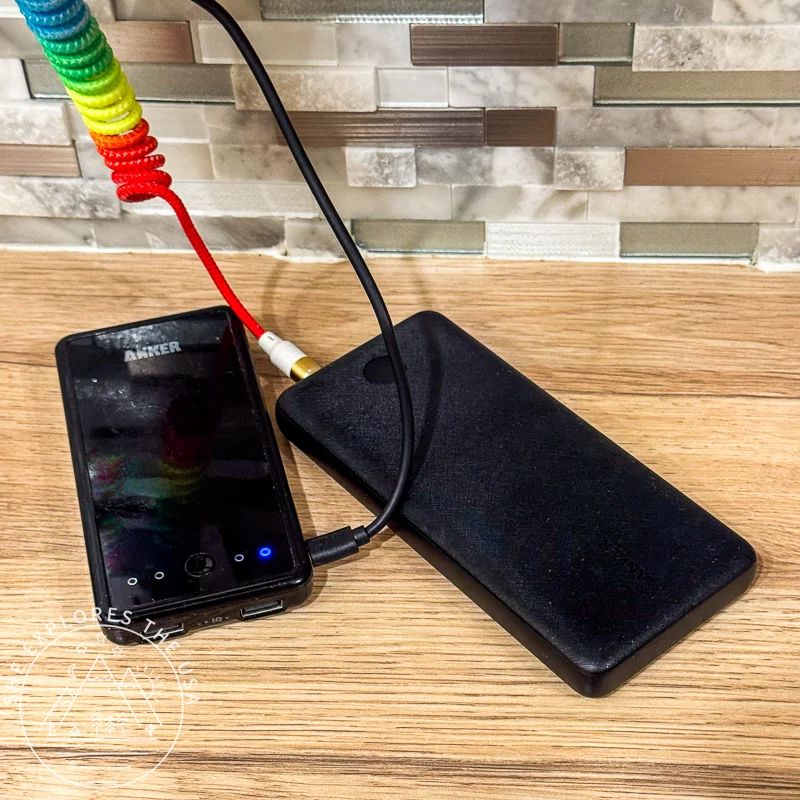
My Original 10K Power Bank
My first 10,000mAh Anker power bank was mainly to keep my phone charged throughout the day while living in London and traveling. That one eventually gave out (and was out of warranty), but the second one I picked up in 2014 is still going strong.
I still use it today for overnight backpacking trips, it’s lighter than the 20K power bank, and usually all I need to recharge my phone overnight. It’s compact, reliable, and just enough power for quick getaways.
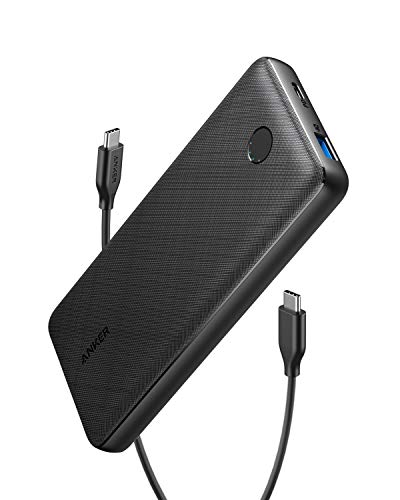
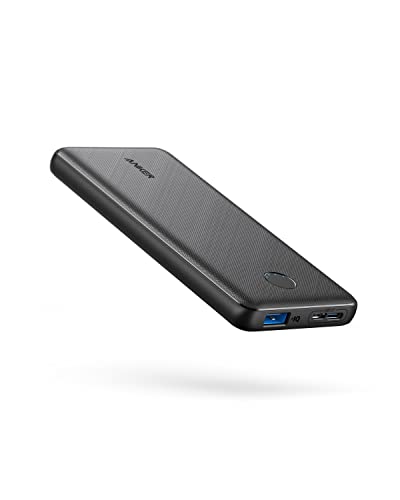
The 20K USB-C Power Bank I Rely On Now
I upgraded to the Anker PowerCore Essential 20,000mAh power bank, and it’s been a total game-changer. It’s powerful enough to charge two devices at once, like my phone and my Sony camera batteries, while I sleep. At just 12.2 ounces, it’s light enough for backpacking and lasts five days or more, depending on how much I’m charging.
I’ve used it to recharge all kinds of trail electronics:
- iPhone
- GoPro and DJI action camera batteries
- Sony mirrorless camera batteries
- Garmin 67i satellite communicator
- Headlamp and camp lights
- Fitbit and Bluetooth speaker
If you’re using a high-capacity USB-C power bank like mine, pairing it with a PD wall charger can drastically cut down charging time at home. I recommend something like the Anker 735 Nano II 65W, it’s compact, powerful, and can fast-charge everything from my iPhone to my backup batteries and even my MacBook Air when needed.
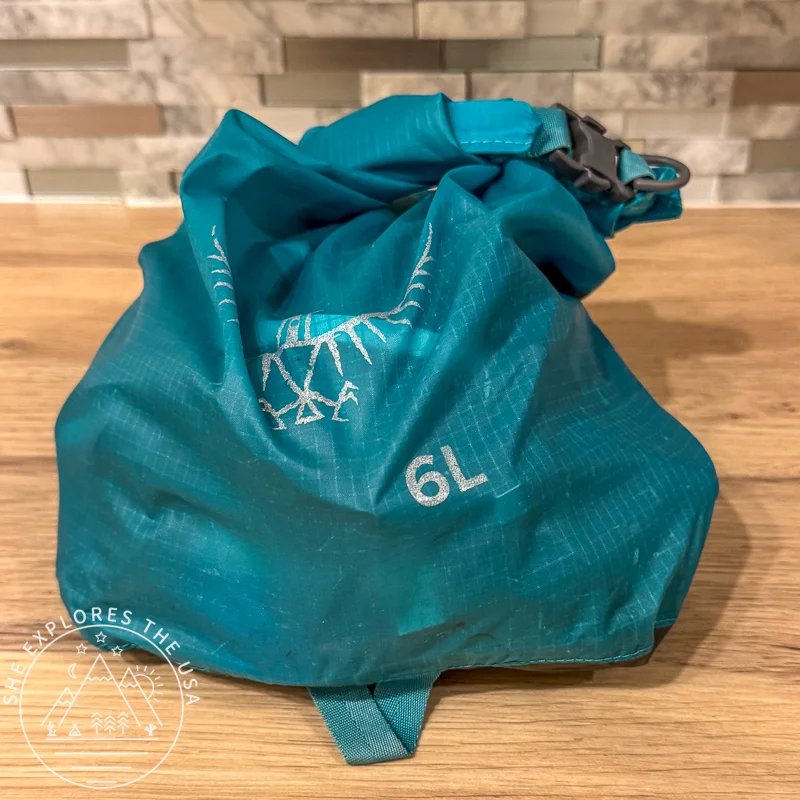
💡 Trail Tip: I keep all my charging gear, power banks, batteries, cables, and wall plug, in a bright-colored Osprey 6L dry sack. It keeps everything dry, contained, and easy to find in my pack.


FAQ: Backpacking Photo & Video Gear
Why did you switch from GoPro to DJI?
Battery life and reliability. The GoPro Hero 9 served me well, but the DJI has better battery performance and never overheats or crashes on me. I do think GoPro handles motion and stabilization a bit better, though.
Do you use solar chargers for recharging in the backcountry?
Nope, I’ve tested a few, but I don’t find them efficient enough for shorter trips or shaded trails. Instead, I make sure everything’s fully charged before I leave and bring power banks sized to match the length of my trip.
Isn’t a full-frame camera too heavy for backpacking?
It really depends on the trip. A full-frame setup like the Sony A7 IV with a G Master lens definitely adds weight, usually around 6 to 10 pounds when you include the camera, lenses, and a proper tripod. But when I want the best possible shots, especially for night sky or wildlife photography, I make it work. That’s usually for a short overnight backpacking trip. I didn’t often bring the mirrorless camera on hikes before, but since I got the Capture Clip, I’ve been taking it on hikes way more often. For faster or rougher hikes, though, I usually stick to my action cam.
Photo & Video Gear Comparison for Hiking & Backpacking
Quick Take:
- Use the Sony A7 IV when quality matters most and you’re willing to carry the weight.
- Bring the DJI Action 5 Pro for backcountry reliability, great battery life, and timelapses.
- GoPro is still the king of movement-heavy footage and crazy angles, but battery life is a drawback.
| Feature | Sony A7 IV (Mirrorless) | DJI Osmo Action 5 Pro | GoPro Hero 13 |
|---|---|---|---|
| Image Quality | 🌟🌟🌟🌟🌟 Full-frame sensor = epic stills | 🌟🌟🌟🌟 Great in low light for an action cam | 🌟🌟🌟🌟 Sharp, with GoPro’s signature color |
| Video Quality | 🌟🌟🌟🌟🌟 (not yet tested much) | 🌟🌟🌟🌟 4K, crisp, handles low light well | 🌟🌟🌟🌟🌟 Arguably, the best stabilization |
| Stabilization | Needs tripod or steady hand | Very good | Market leader |
| Battery Life | Solid but needs extra batteries | 🌟🌟🌟🌟🌟 up to 4 hours | 🌟🌟 Needs frequent swaps |
| Weight | Heavy with lenses (~6–10 lbs total) | Ultra-light (~4.5 oz) | Light (~5 oz) |
| Ease of Use on Trail | Takes practice, better for planned shots | Fast + reliable, great for action | Simple UI, but takes a few seconds to boot |
| Mounting Options | Capture Clip (recommended!), tripod | Universal mounts, floaty, silicone cover | Universal mounts, floaty, silicone cover, Endless accessories |
| Night Photography | Okay, but noisy in low light | Good for timelapse/star trails | Okay but noisy in low light |
| Waterproofing | Nope, needs protection | Yes, rugged & waterproof | Yes, rugged & waterproof |
| Ideal For | Stunning stills, pro-grade landscapes, astrophotography | Fast-action clips, reliable timelapses, minimal weight | Adventure vlogging, rugged trail conditions, creative angles |
| Cons | Heavy, pricey, slower workflow | Not as sharp in motion as GoPro | Short battery life, sometimes glitchy |
| My Trail Verdict | When I want the shot | When I want reliability & battery life | When I want movement + buttery stabilization |
Final Thoughts on Photo and Video Gear for Hiking and Backpacking
After years of hiking, traveling, and testing gear in all kinds of weather and terrain, this current setup feels dialed and like the best video equipment for outdoor adventures. It strikes the balance between quality and portability, which is always the sweet spot when you’re carrying everything on your back.
Of course, there’s no one-size-fits-all when it comes to photo and video gear. What works for me might not be your perfect fit, but I hope this breakdown helps you figure out what’s worth investing in, and what you can skip. Whether you’re shooting sunrise in the backcountry or filming your pup swimming in a lake, the right tools make those moments easier to capture and way more fun to relive.
Let me know if you’ve tried any of these or if there’s a piece of gear you absolutely swear by. I love hearing what works for others on trail.
Post originally published on April 20, 2023, and last updated on April 4, 2026.