Cucamonga Peak Hike via Icehouse Canyon Trail Guide
DISCLOSURE: This post may contain affiliate links. If you purchase after clicking one of my links, I may earn a small commission at no extra cost to you. As an Amazon Associate, I earn from qualifying purchases. For more information, see my disclaimer.
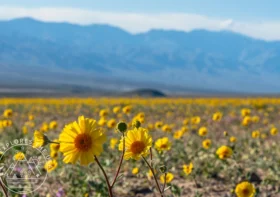
Cucamonga Peak stands out as one of the most iconic hikes in Southern California. Rising to 8,862 feet, it’s a must for anyone tackling the SoCal Six Pack of Peaks challenge, or just craving a serious mountain adventure. In this post, I’ll share everything you need to know about hiking Cucamonga Peak via Icehouse Canyon: from trail details and permits to parking tips and gear recommendations. Whether you’re prepping for your first trip or are a seasoned hiker, this guide aims to set you up for success on the trail.
50% Off AllTrails Plus
Planning hikes, downloading maps, getting a little more off-grid without losing your way… this is the upgrade that actually gets used.
About the Icehouse Canyon to Cucamonga Peak Trail
Fast Facts
- Distance: 11.1 miles round-trip
- Elevation Gain: 4,186 feet
- Trail Type: Out-and-back
- Location: San Bernardino National Forest, near Mount Baldy, CA
- Difficulty: Strenuous
- Best Season: May to November
- Permits: Southern California Adventure Pass + San Gorgonio Wilderness Permit required
- Dog Friendly: Yes, but leash required
Trail Overview and Conditions
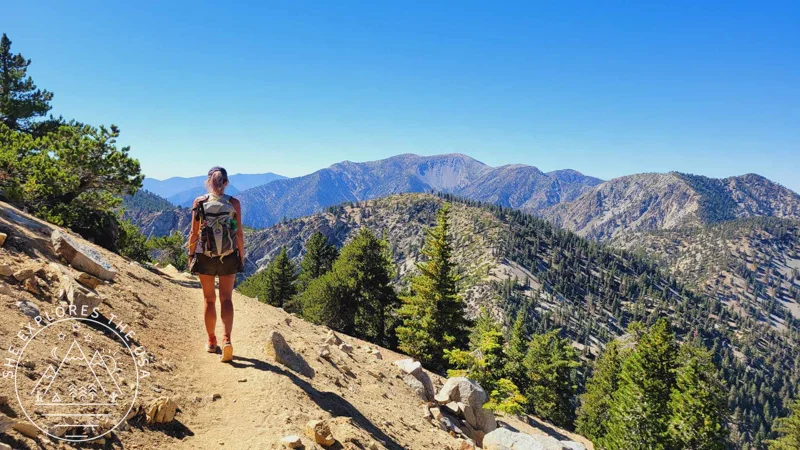
Hiking to Cucamonga Peak via Icehouse Canyon is a demanding yet rewarding adventure. The trail winds through rugged terrain and stunning scenery in the San Bernardino National Forest. It’s a popular route for hikers, backpackers, trail runners, and those tackling the SoCal Six Pack of Peaks challenge.
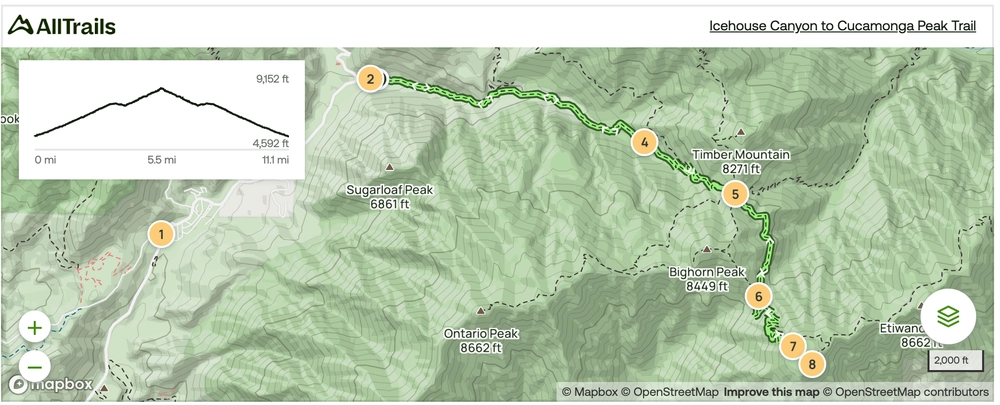
For a quick visual overview, refer to the AllTrails map below for the full route, elevation profile, and trail waypoints.
🥾 Plan Smarter Hikes with AllTrails
AllTrails is my go-to for trip planning, from checking trail reviews to downloading maps, navigating from my phone, and sending routes straight to my Garmin 67i. Offline maps, alerts, and AI route planning make upgrading to Plus & Peak worth it!
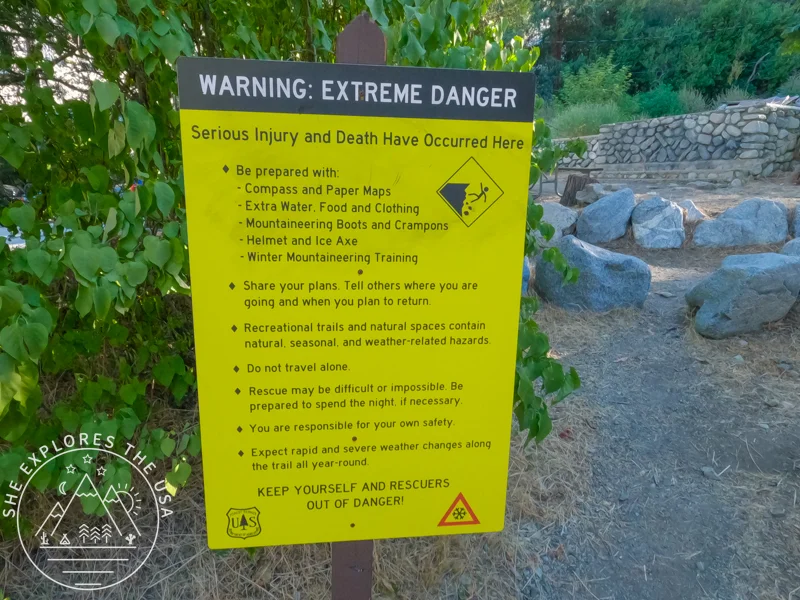
Due to steep and rocky sections, this trail is best attempted between May and November. Snow and ice can make parts treacherous during the winter months. If hiking in icy conditions, winter traction gear like microspikes and crampons is highly recommended, along with a helmet and ice axe if you plan to travel beyond Icehouse Saddle.
If you’re bringing your dog, keep them on leash for safety and trail etiquette as you ascend to the summit.
Parking at Icehouse Canyon Trailhead
There is ample parking at the trailhead, but it fills up fast on weekends. Aim to arrive early, before 7 or 8 AM, or mid-morning when trail runners typically head back. We arrived around 8:30 AM on a Sunday and snagged the last available spot.
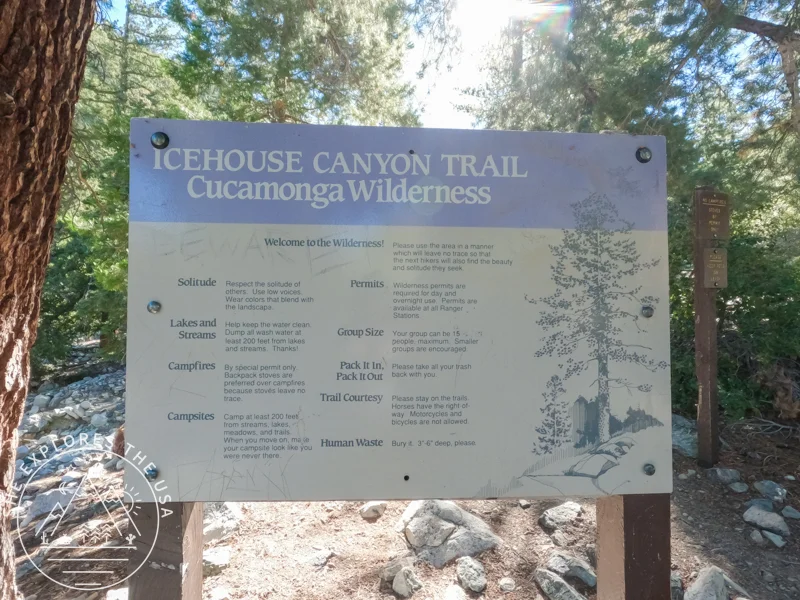
Permits to hike Cucamonga Peak
Two permits are required to hike the Icehouse Canyon to Cucamonga Peak Trail.
- Southern California Adventure Pass: must be displayed in your vehicle at the trailhead
- A San Gorgonio Wilderness permit: required for both day hikes and overnight trips. This permit is easy to obtain online before your hike.

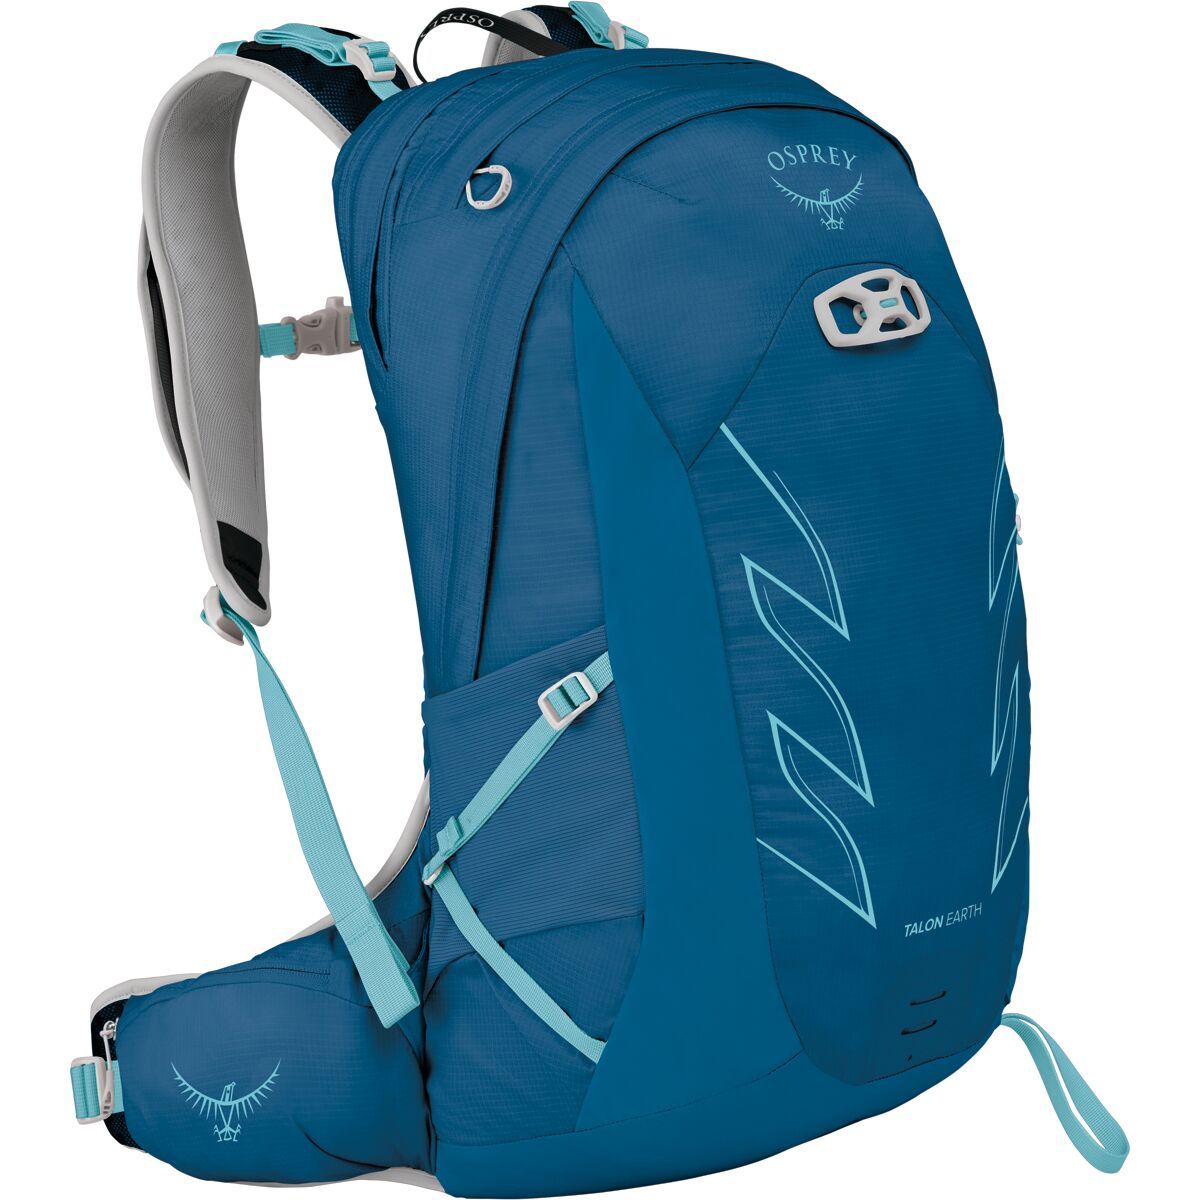
Gear Recommendation to Hike Cucamonga Peak
In conjunction with the famous ten essentials, see more of my tried-and-true trail favorites in my curated outdoor gear shop, and explore the following gear recommendations.


My Experience Hiking to Cucamonga Peak
I hit the trail with a friend who was also doing the SoCal Six Pack of Peaks challenge. We left San Diego at 6 AM, rolled into the trailhead by 8:15, and started hiking at 8:30.
Our plan was ambitious: summit both Ontario and Cucamonga Peaks in one go. I found an itinerary on AllTrails suggesting we could hike to Icehouse Saddle, then Ontario Peak, Bighorn Peak, and finally descend before climbing Cucamonga.
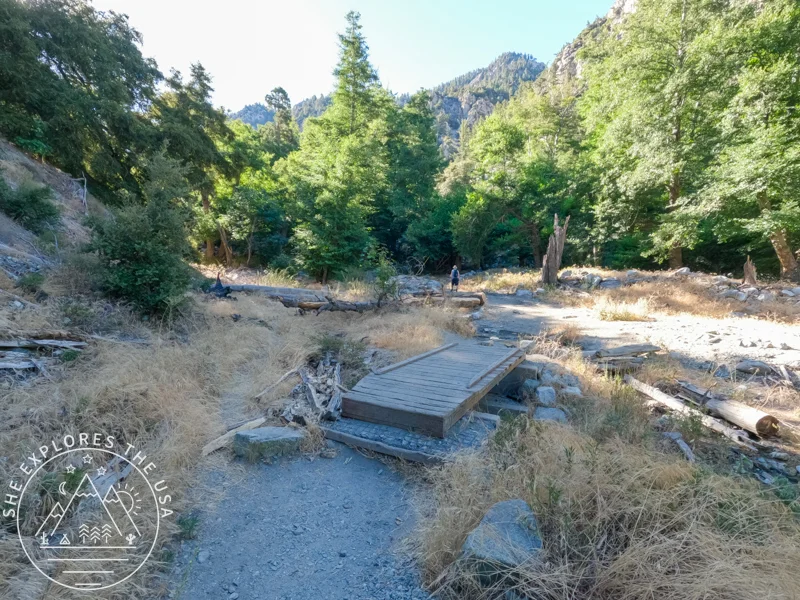
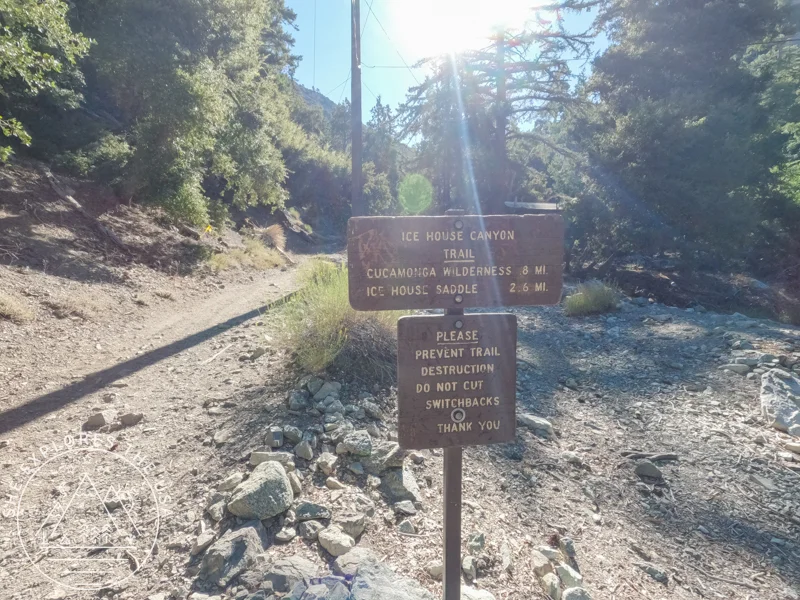
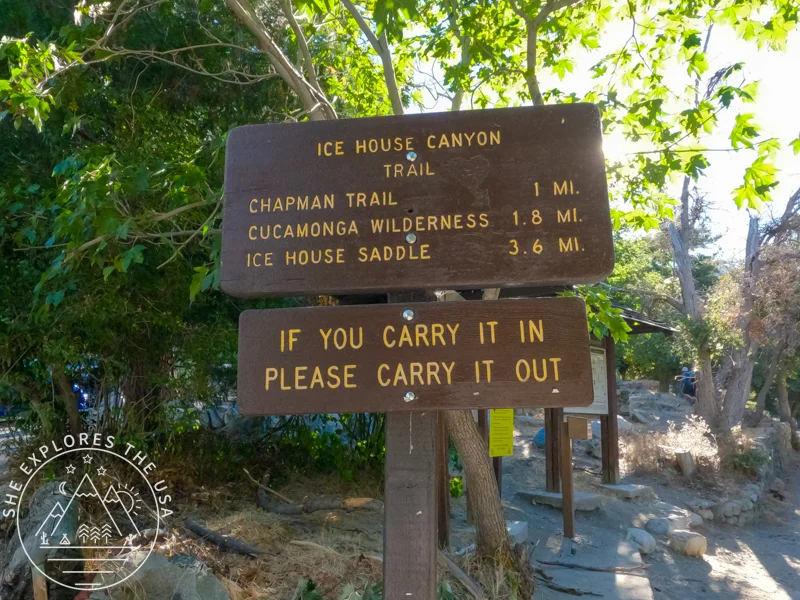
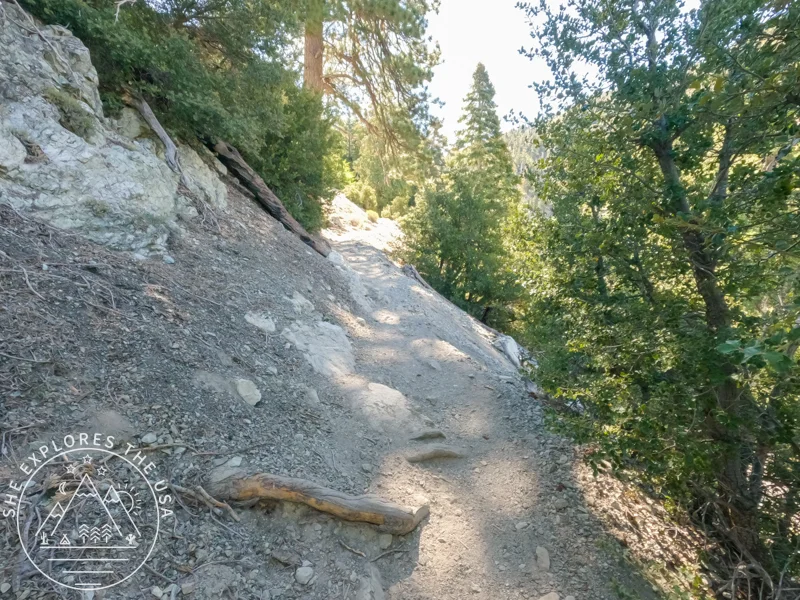
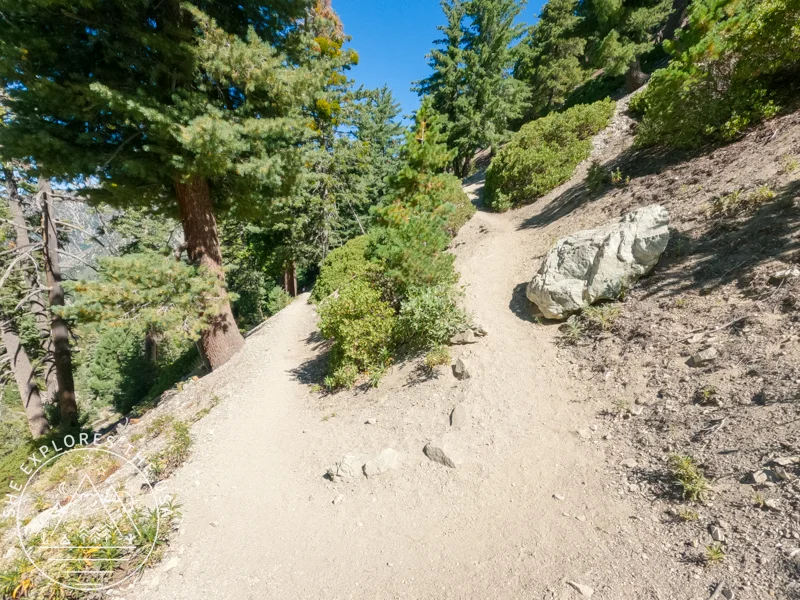
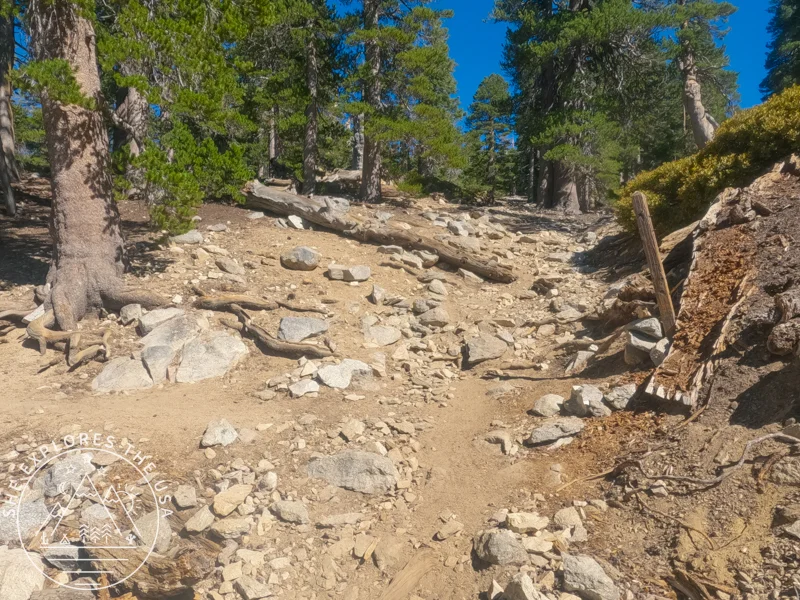
The first 3.5 miles to Icehouse Saddle were rocky and full of switchbacks. Even though the trailhead starts at 4,980 feet, the air felt thin, like we were higher up than expected. We weren’t ready for that, but we pushed on. After a quick snack around mile 2, we kept climbing and eventually reached the saddle.
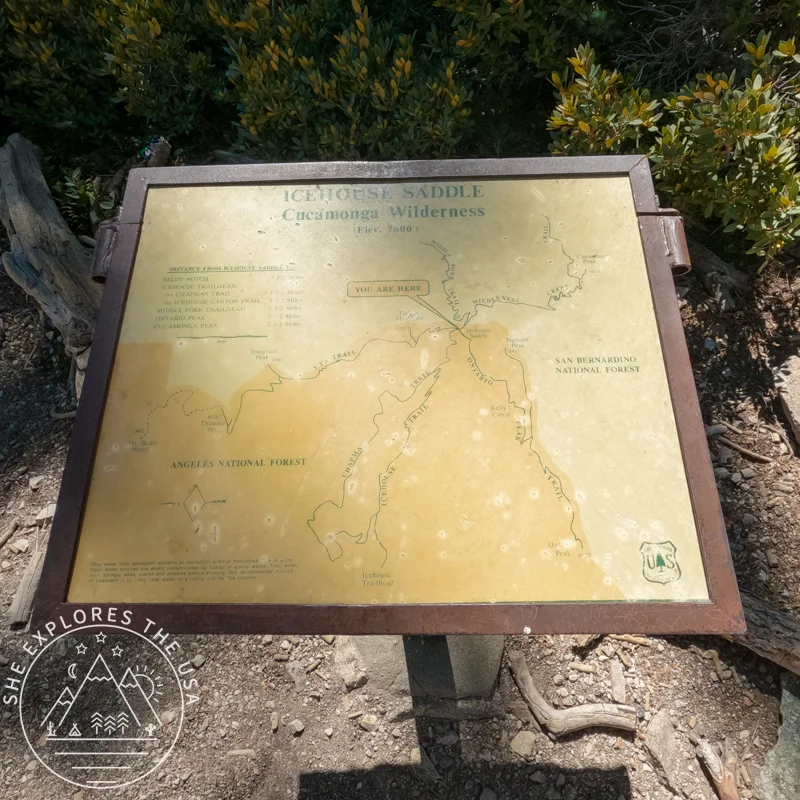
Icehouse Saddle Break
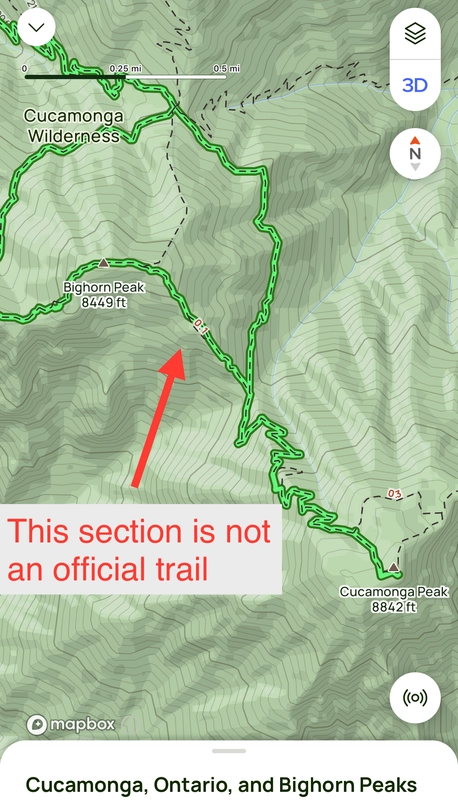
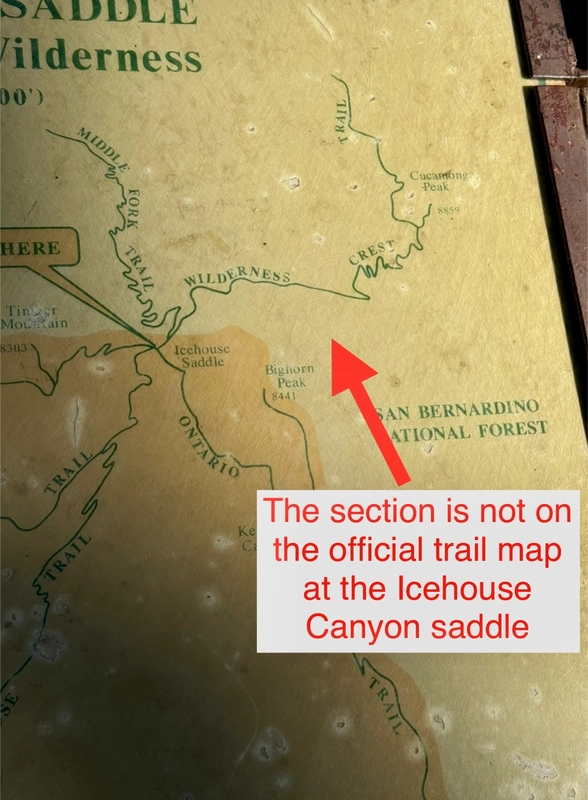
At Icehouse Saddle, we debated which peak to tackle first. While studying the map, I noticed there wasn’t an official trail between Bighorn and Cucamonga, contrary to what AllTrails showed. This made us question whether our route was doable. We decided to bag Cucamonga first, it’s an original Six Pack Peak, and then reassess Bighorn and Ontario.
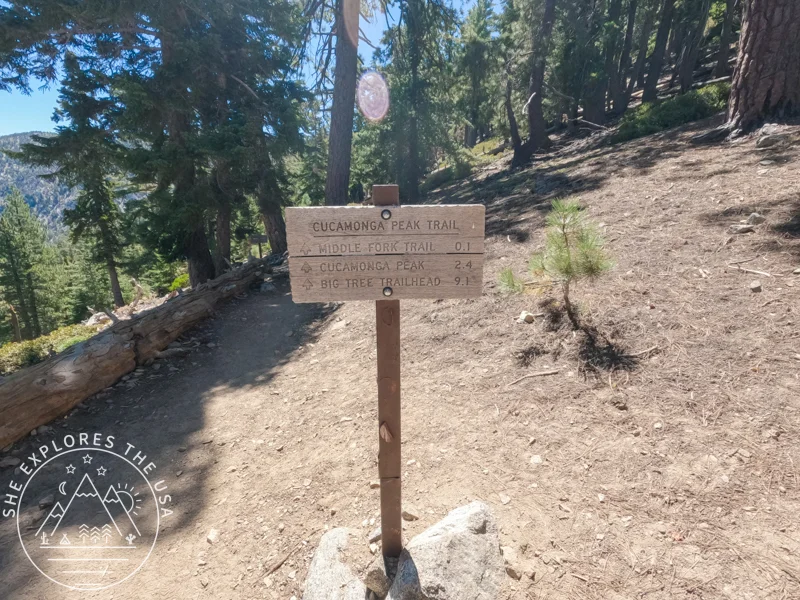

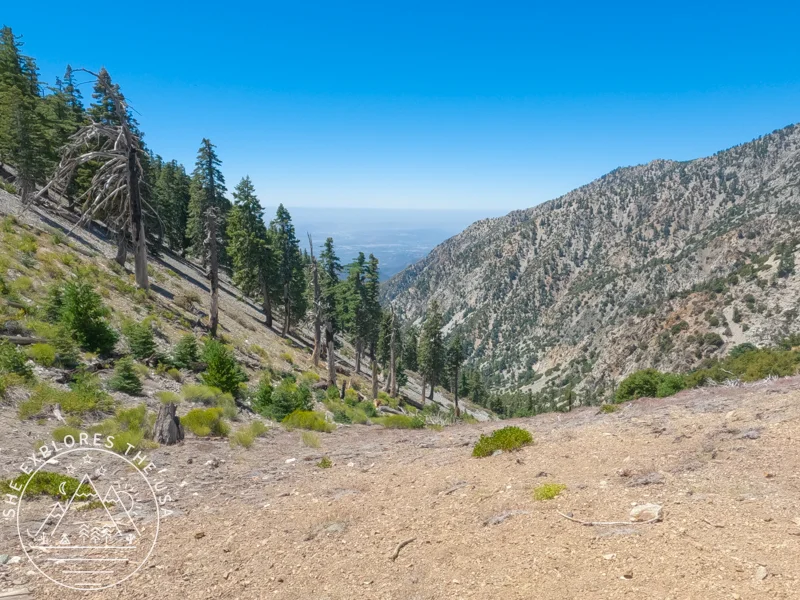
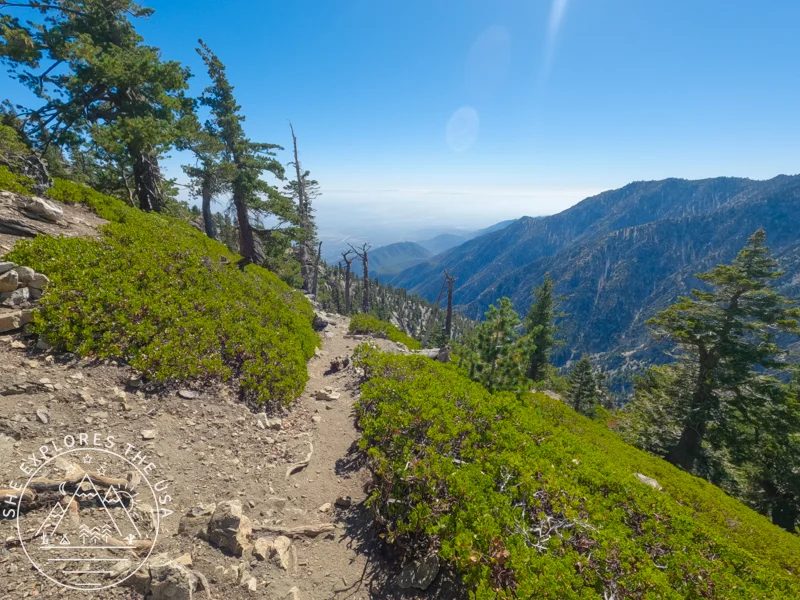
The first mile from the saddle toward Cucamonga was mostly flat but with some steep drop-offs, not for those scared of heights. I wouldn’t want to hike this section in snow or ice. We reached another saddle where the trail to Bighorn branched off, and that’s when we confirmed it was just a steep, rough path with a 60% incline, not an official trail. Glad we didn’t try that route in reverse.
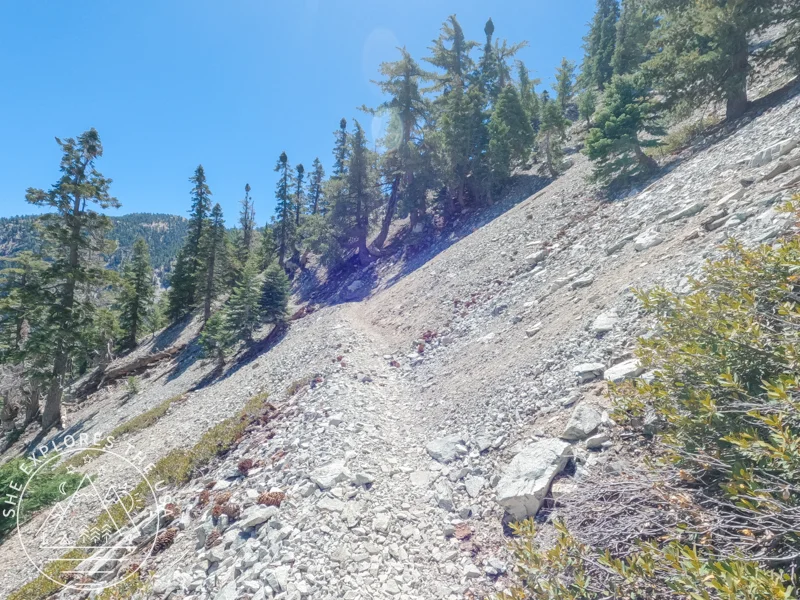
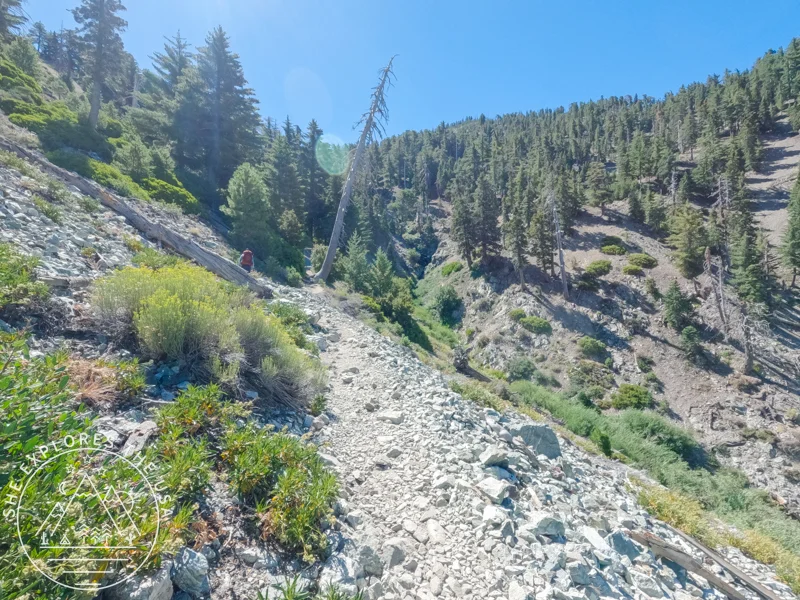
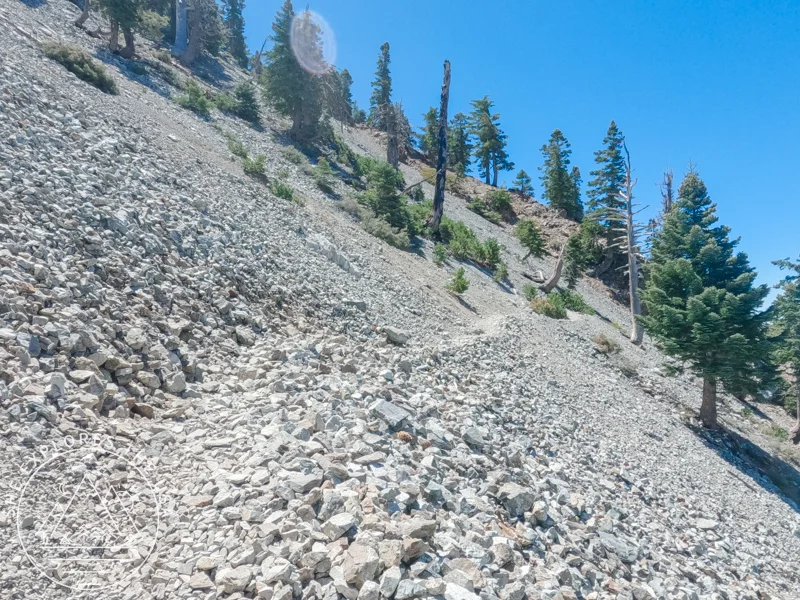
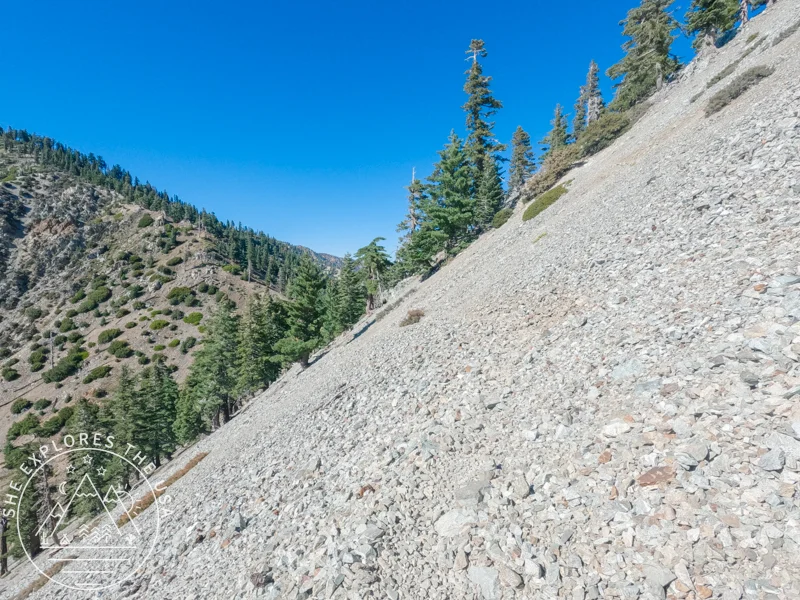
From there, the trail steepened, especially through avalanche zones where rocks dominated. There are a few steep shortcuts along this stretch. We missed the last shortcut before the summit, adding 0.7 miles unnecessarily. We regretted it on the way up, but made sure to use it coming down; it was way better.
Cucamonga Peak Summit
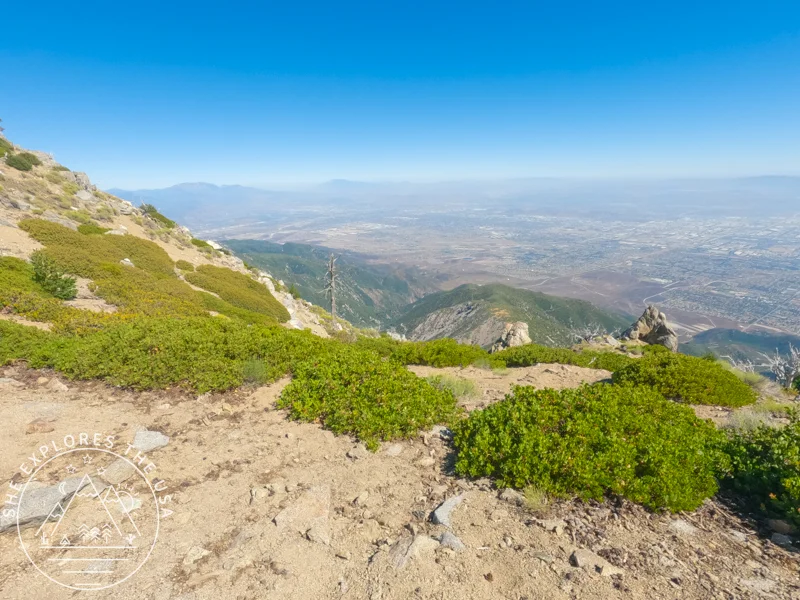
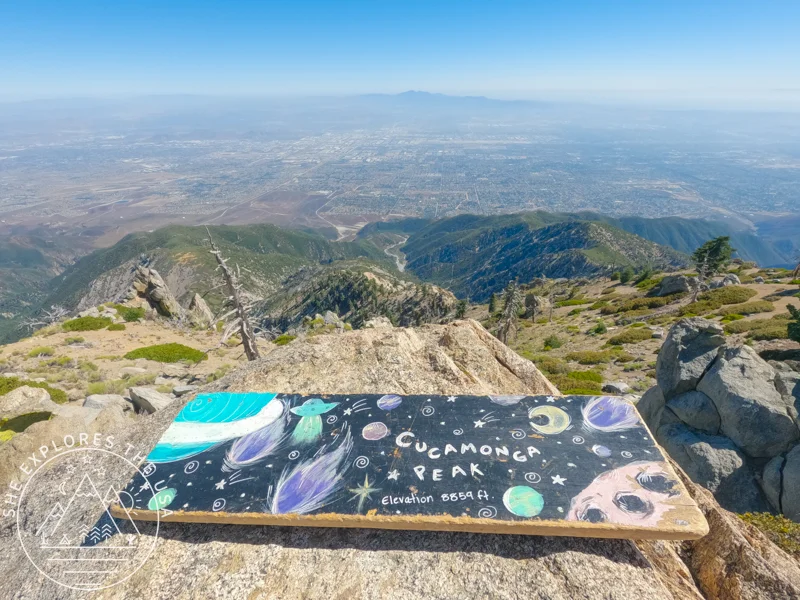
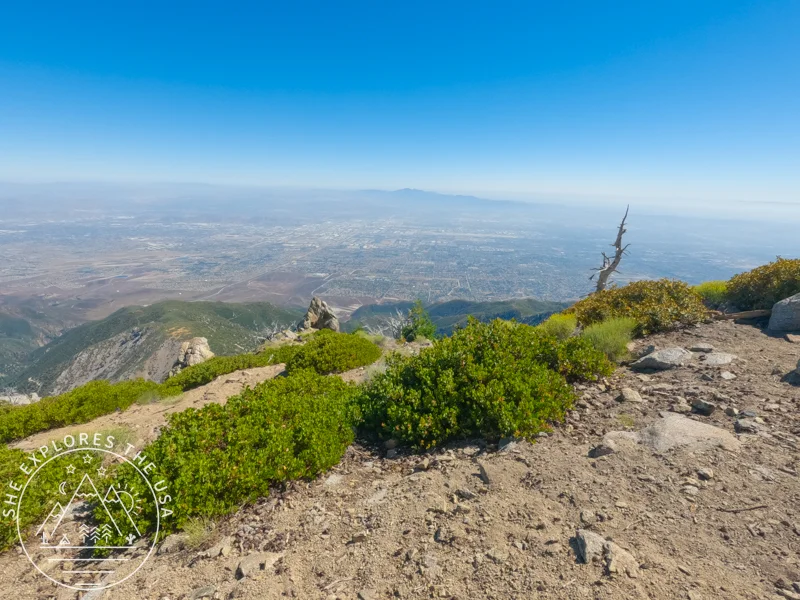
After a quick nap and photo session on the windy summit, we headed back. Running on just two hours of sleep, we decided to skip Ontario Peak and return to the trailhead. I’ll be back soon to tackle Ontario and Bighorn and finish my 12 Peaks Challenge.
The Importance of Proper Research and Map Reading
When tackling challenging hikes like Cucamonga Peak, good research and solid map-reading skills aren’t just helpful, they’re essential. Our planned route came from an AllTrails itinerary that showed a trail between Bighorn and Cucamonga Peaks. The problem? That trail doesn’t officially exist. If we’d blindly followed it, we could have ended up on a dangerously steep and unsafe path.
(That said, I’ve got plenty of friends who’ve hiked this unofficial section since my trip. It’s definitely doable if you have the stamina, so if you want to tackle it, go right ahead!)
To avoid situations like this, it’s essential to:
Thoroughly Research the Trail
Don’t rely on just one app or website. Cross-check multiple sources, official park maps, recent trip reports, and trusted hiking forums to get the full picture.
Know How to Read a Map and Use a Compass
Technology is great, but it can fail. Being comfortable with a topographic map and compass means you can navigate confidently even when your phone battery dies or the GPS signal drops.
Pay Attention to Trail Markings and Terrain
As you hike, stay aware of your surroundings. Compare what you see with your map regularly, look for landmarks, trail junctions, and elevation changes. If something feels off, trust your instincts and reconsider your route.
Prepare for the Unexpected
Carry extra food, water, a first aid kit, and emergency supplies. Weather shifts, trail closures, or detours can happen, and having the Ten Essentials with you can make all the difference.
Taking these steps helps keep your hike safe and enjoyable, because preparation isn’t just about comfort; it’s about making smart choices that could save your life.
Relive My Hike to Cucamonga Peak
Want to see my Cucamonga Peak hike come to life? Check out the video I made with Relive. It’s a cool app that turns your GPS tracks into custom videos, showing every step, elevation change, and scenic moment.
FAQ: Hiking Cucamonga Peak
How long is the Cucamonga Peak hike?
The hike is about 11.1 miles round-trip via Icehouse Canyon.
How hard is the hike to Cucamonga Peak?
It’s considered strenuous, with around 4,186 feet of elevation gain and a mix of rocky, exposed sections.
Do I need a permit for Cucamonga Peak?
Yes. You’ll need two: a Southern California Adventure Pass for parking and a San Gorgonio Wilderness Permit for the hike itself.
When is the best time to hike Cucamonga Peak?
May through November is ideal. Winter conditions can be dangerous due to ice and snow.
Is the trail to Cucamonga Peak open year-round?
Technically yes, but conditions in winter can make the trail risky without snow hiking gear. Always check current trail conditions before heading out.
Can I bring my dog on the Cucamonga Peak trail?
Yes, dogs are allowed, but must be kept on a leash.
Is there a trail between Bighorn and Cucamonga Peaks?
There’s an unofficial route some hikers take, but it’s extremely steep and not recommended unless you’re very experienced.
Is there water on the trail to Cucamonga Peak?
There are seasonal creeks in Icehouse Canyon early on, but don’t rely on them. Bring plenty of water.
Can you camp near the summit of Cucamonga Peak?
While there are no official campsites on Cucamonga Peak, there are a few flat spots close to the summit where you could pitch a tent. If you skip the final shortcut and take the longer trail on the left instead, it adds about 0.7 miles but leads to an area that could work for an overnight stay. As always, follow Leave No Trace principles and make sure your permit allows for overnight camping.
Final Thoughts on Cucamonga Peak
Hiking Cucamonga Peak was a real highlight of my weekend. Finishing the first six peaks in the SoCal Six Pack challenge feels like a solid milestone, proof that grit and good prep pay off. With renewed confidence and some key gear to help me recover faster at altitude, I’m already fired up to tackle the remaining peaks in the months ahead.
If this adventure sparks something in you, I encourage you to set your own challenge, whether that’s hitting new trails, pushing your fitness, or simply getting outside more. The mountains are waiting.
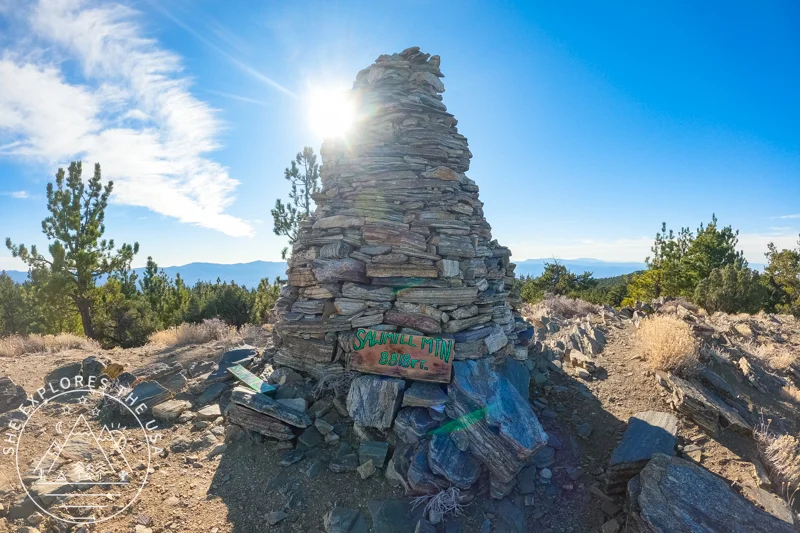
Sawmill Mountain Hike via Mt Pinos (Six Pack of Peaks)
My first hike of the new year was to Mount Pinos and Sawmill Mountain, a trail I had planned to…
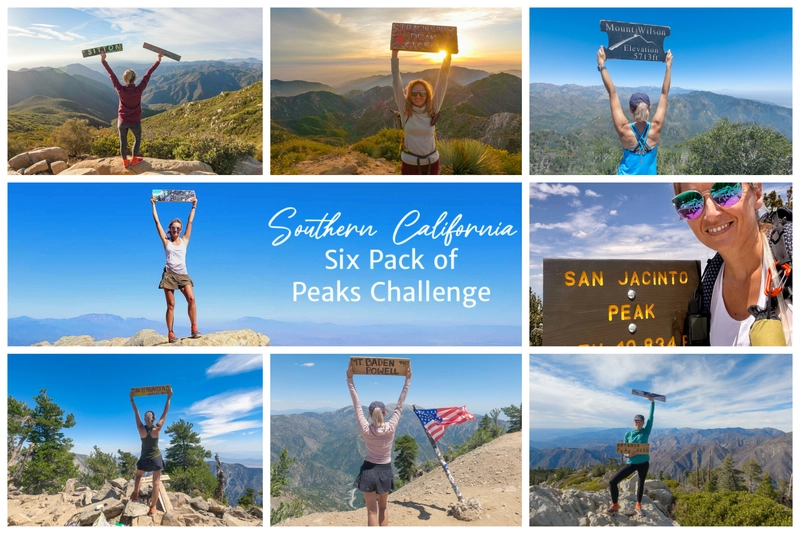
The Epic SoCal Six Pack of Peaks Hiking Challenge
I took on the SoCal Six Pack of Peaks Hiking Challenge, also known as the Southern California Six Pack of…
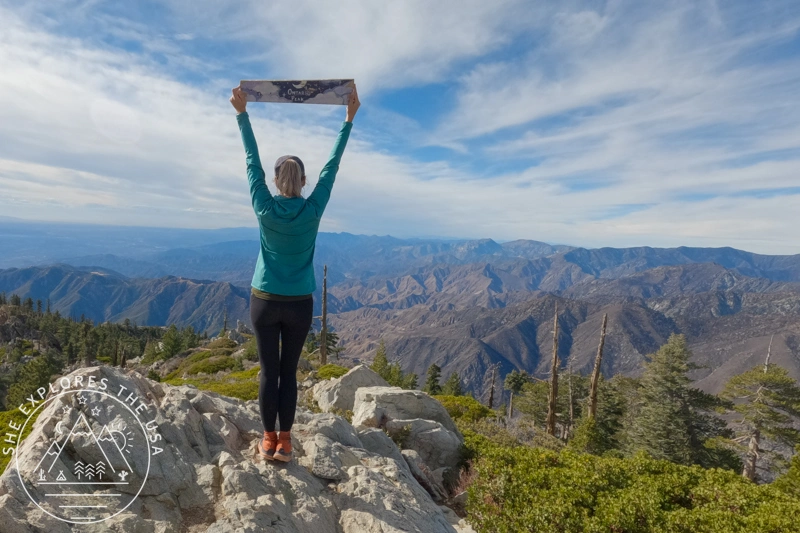
Ontario Peak Hike Guide: Trail Tips & Six Pack Challenge
Ontario Peak is a standout summit in the San Gabriel Mountains, offering panoramic views, alpine vibes, and a solid challenge…
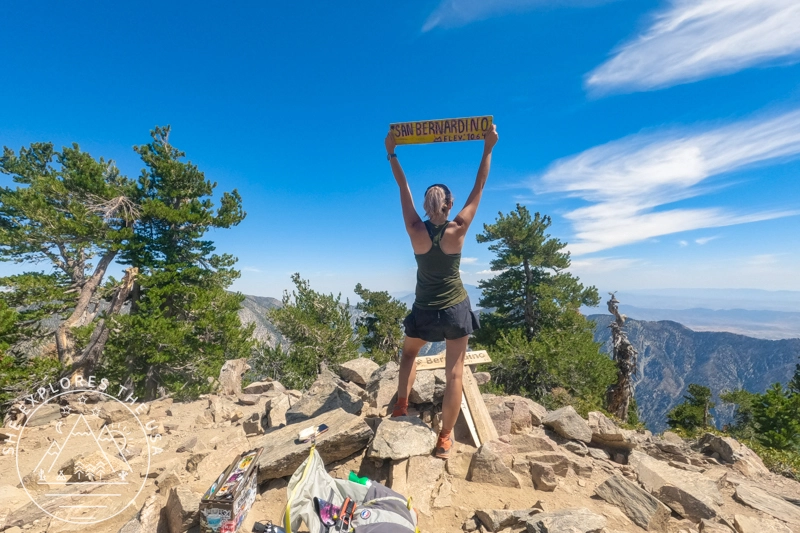
Hiking San Bernardino Peak via the Angelus Oaks Trail
San Bernardino Peak is one of the original hikes in the SoCal Six Pack of Peaks challenge, and the Angelus…
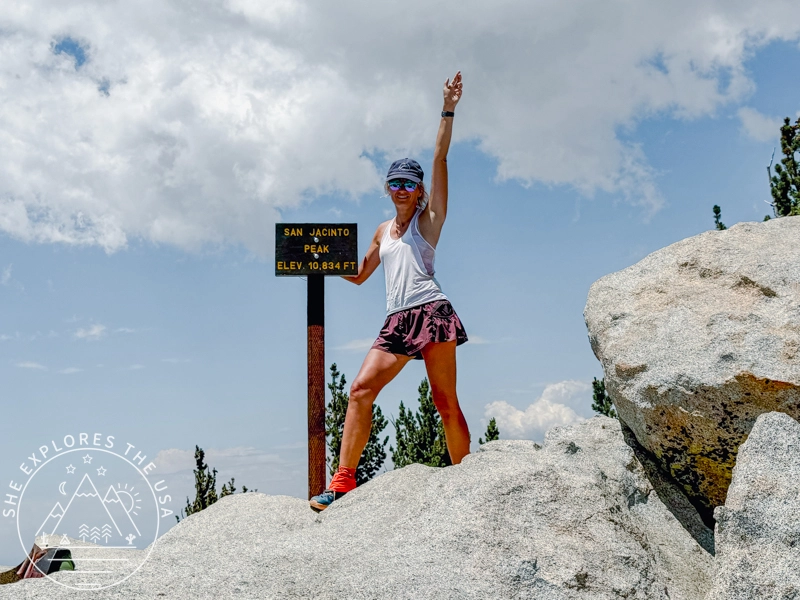
San Jacinto Peak Hike Via Marion Mountain Trail
San Jacinto via Marion Mountain Trail is one of the original SoCal Six Pack of Peaks challenge hikes, and I…
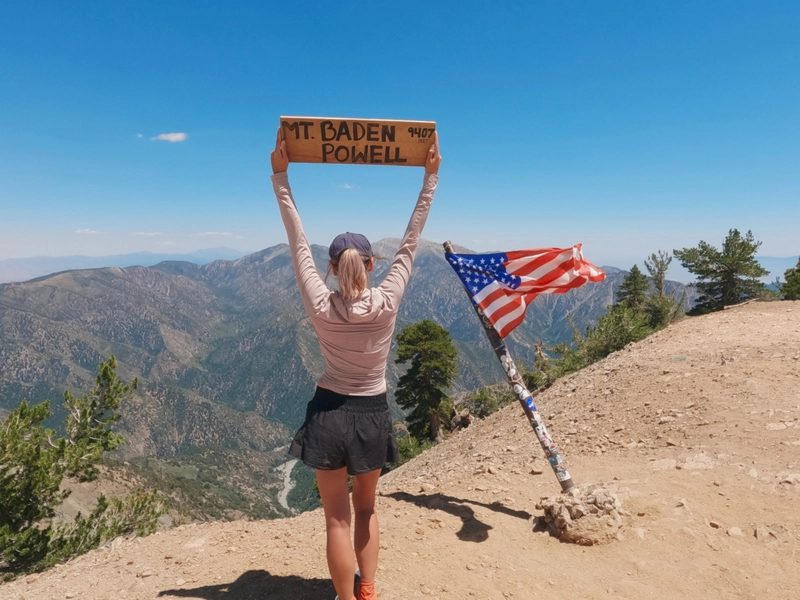
Mount Baden Powell Hike via Vincent Gap Trailhead
I took advantage of the July 4th holiday to drive up to LA and conquer Mt Baden Powell for my…

Mount Wilson Hike: Observatory, Trails & Views
Mount Wilson has a reputation, and it’s well earned. As part of the SoCal Six Pack of Peaks Challenge, this…

Hike Strawberry Peak in LA: Trail Tips & Epic Sunset
In my journey to conquer the peaks of the SoCal six-pack of peaks challenge, I aimed for the Strawberry Peak…
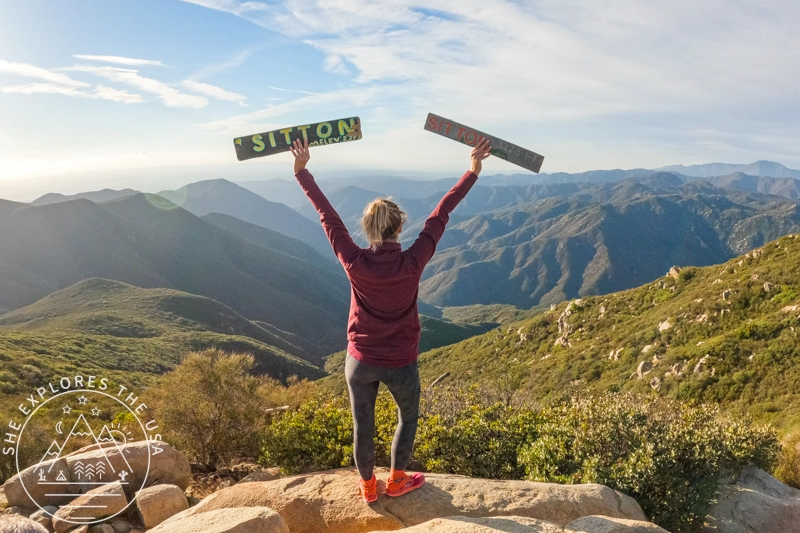
Sitton Peak Trail Guide: SoCal Six Pack’s Easiest Peak
Sitton Peak, nestled in the San Mateo Canyon Wilderness near Lake Elsinore, CA, is a hidden gem and an excellent…
Post originally published on August 28, 2024, and last updated on April 4, 2026.