Havasupai Packing List: What to Bring in 2026
DISCLOSURE: This post may contain affiliate links. If you purchase after clicking one of my links, I may earn a small commission at no extra cost to you. As an Amazon Associate, I earn from qualifying purchases. For more information, see my disclaimer.
Here’s everything on my Havasupai packing list for an unforgettable backpacking trip to Havasu Falls, a dream years in the making. After flash floods derailed our original plans, we finally made it the following April, and the 18-month wait was absolutely worth it. From unreal waterfalls to a few surprises along the way, it ranks as one of my most memorable adventures. Whether you’re searching for a Havasu Falls packing list or a complete backpacking gear list, this is exactly what I used for the hike and camping at the falls, plus where we stayed before and after.
- About Havasupai
- Havasupai Packing List 2026: What to Pack for Havasupai Falls (Complete Backpacking Gear List)
- Day-by-Day Havasupai Itinerary Recap: Travel, Backpacking, and Exploring the Falls
- Havasupai FAQ: What You Need to Know Before You Go To Havasu Falls
- Final Thoughts on my Havasupai Packing List: What to Bring to Havasu Falls
About Havasupai
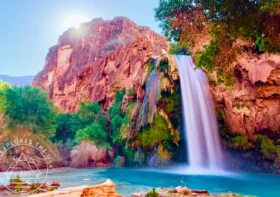
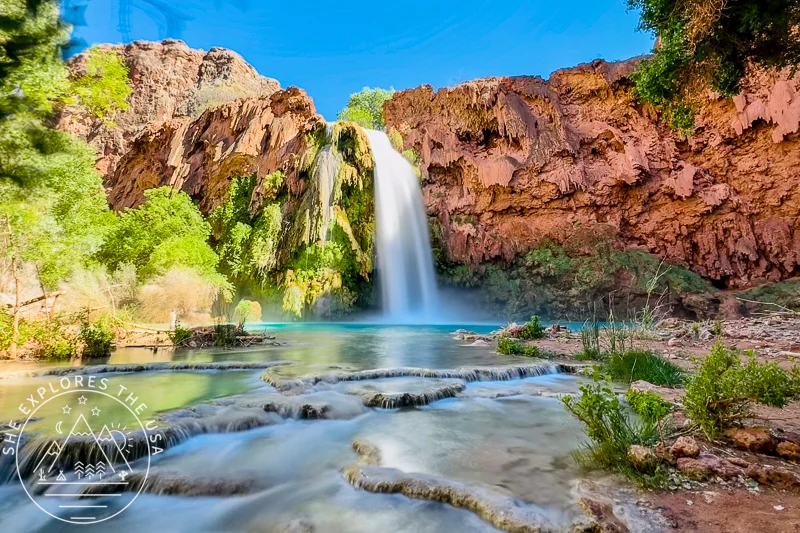
Havasupai, meaning “people of the blue-green water,” is a Native American tribe deeply connected to the Grand Canyon region, with their lands nestled within the national park. Famous for its mesmerizing turquoise waters, especially at Havasu Falls, the tribe’s bond with the land and water is central to their way of life. The name “Havasupai” itself speaks to their unique relationship with these stunning natural resources. The village of Supai, home to the Havasupai people, remains one of the most remote communities in the contiguous United States, accessible only by foot, mule, or helicopter.
Tourism plays a crucial role in the tribe’s economy, with hikers and adventurers flocking to Havasu Falls and other waterfalls within the canyon. Despite the influx of visitors, the tribe’s cultural and historical ties to the land remain strong, and their stewardship of this pristine area is vital.
Havasupai Permit 2026 Updates (Quick Overview)
- No lottery, no transfer board: All permits are first-come, first-served and cannot be resold or transferred.
- Early access: Jan 21-31, 2026, lets you grab permits before Feb 1 for an extra fee ($40/person campground, $160/lodge). Fees are non-refundable.
- Regular sale: Feb 1, 2026, 8:00 a.m. AZ time; same prices, no extra fee.
- Partial refunds: Cancel 90+ days before your trip to get 50% of the permit fee back. Early access fees aren’t refundable.
- Alternative Trip Leader (PATL): Can check in if the reservation holder isn’t there; must be added when booking.
For all the details, including pricing, full rules, and step-by-step instructions, check out my full 2026 Havasupai permit post here.
The Weather: A Mixed Bag of Adventure
I visited in mid-April, and the weather was as unpredictable as it was exciting! From chilly nights that dipped into the 30s to daytime highs of 77°F, we got a little bit of everything. And as if the elements weren’t enough, we also experienced rain, hail, and some seriously wild winds. If you’re heading out there, be ready for anything; the weather can change on a dime, so it’s always good to pack layers and be prepared for all kinds of conditions. It’s a good idea to use the AccuWeather app with the Supai location to monitor the forecast.
Consider Travel Insurance
Because the weather in the canyon can change so quickly, and flash floods are a real risk, I highly recommend having travel insurance that covers trip delays, evacuations, and adventure activities. I personally use World Nomads because it’s designed for trips like Havasupai and lets you get a quick quote online in minutes.
Havasupai Packing List 2026: What to Pack for Havasupai Falls (Complete Backpacking Gear List)
Planning your own trip? Here’s my complete Havasupai backpacking gear list: everything I personally used on our 4-day adventure. I’ve been backpacking for years and have my setup pretty dialed in, so these are tried-and-true picks. I’m linking the items I brought (and loved), including one new addition I picked up just for this trip: a rat sack, lighter than a bear canister and perfect for keeping critters out of your food. 🙂
For even more of my favorite outdoor gear, check out my curated outdoor gear shop.
Get new post alerts, exclusive discounts, and a FREE backpacking checklist!
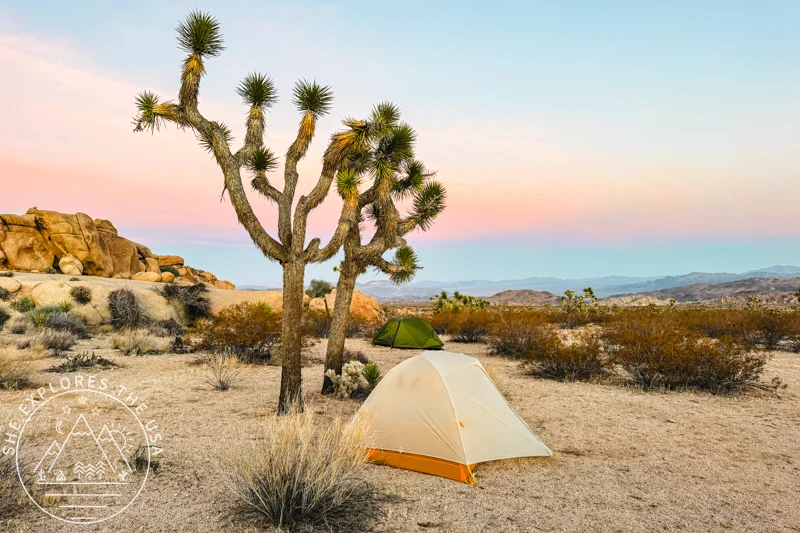
Shelter and Sleep System for Havasupai
If you’re staying at a campground, you’ll definitely need a shelter, most commonly a tent or a hammock, as well as a sleeping pad and a pillow to ensure a comfortable night’s rest.
Sleeping Bag Warmth Recommendations for Havasupai
- November to March: Aim for a bag rated between 10°F and 20°F, such as this REI sleeping bag. Nights can get surprisingly cold, especially with desert lows and canyon winds. Don’t underestimate those chill factors.
- April and October: A 30°F bag like this REI bag hits that sweet spot, warm enough for cooler nights but not too heavy. These shoulder months can swing between chilly and mild.
- May through September: A lighter 40–55°F bag usually does the trick, like this Sea to Summit one. Summer nights are generally milder, but a little extra warmth can’t hurt for comfort, especially if you’re camping near water where it might get damp and cool.


Havasupai Food: What to Eat and Pack
Bringing your own food is highly recommended, as the facilities in Supai aren’t always open. There is a small store about 2 miles from the campground that sells cold drinks, ice cream, and shelf-stable goods, but access isn’t always convenient to hike 2 miles (one way) to go there. You’ll also find a couple of fry bread stands at the entrance to the village (over 2 miles from the campground) and one more conveniently located at the top of Havasu Falls, near the campground entrance, which typically opens in the afternoon.
Here’s everything I brought for my trip.
- Spork + Collapsible Mug
- Stove & Pot + Fuel + Lighter
- Trash Bag
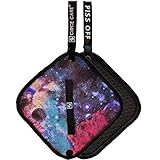
- Rat Sack (1 person: small or medium; 2 people: medium or large – really depends on how much food you typically bring; I bought medium, but I could have gotten away with the small, also depends on how bulky your dehydrated meals are)
- Biodegradable Soap + Dish Cloth
- Dehydrated meals, trail mix, bars (food post coming soon, but I typically make my own dehydrated meals! Read this tutorial here!)
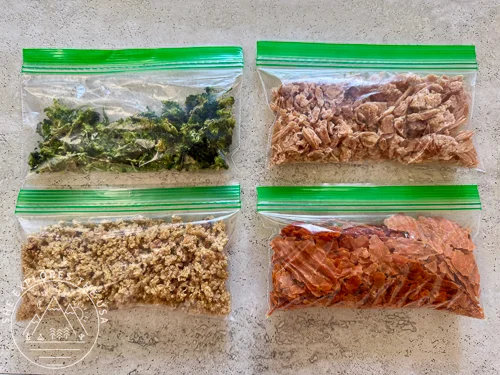
How to Dehydrate Meals for Backpacking: A Simple Guide
Summer is here, and it’s the perfect time to enjoy meals outdoors in beautiful places! With my food allergies and…
Havasupai Food Storage Tips
A rat sack was essential. Small critters like mice and squirrels are very active at night and will go after anything with a scent, food, trash, even toiletries, and may even chew through your backpack or tent to get to it. Always store scented items in odor-proof bags inside a rat sack or bear canister, and secure it outside your tent.


Clothing & Accessories
I usually pack light when it comes to clothes on backpacking trips, but since we knew the weather would be unpredictable, I brought a bit more than usual for this one.
I brought a couple of items that I didn’t end up using. First, the rain jacket, it rained a lot, but mostly at night when I was in the tent. I didn’t need it during the day, so a poncho would have been a lighter alternative (hindsight is always 20/20). I also packed neoprene wetsuit bottoms for the 16 water crossings to the Confluence, thinking the chilly, rainy weather would make them necessary. But I ended up wearing shorts, and thanks to being tall, my shorts stayed mostly dry, and my legs dried quickly, so I was warm enough all day.
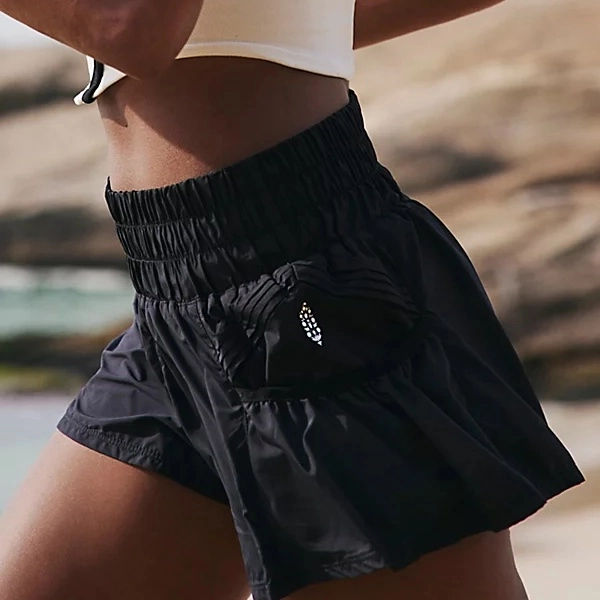
Clothing
- Tank Top x 1
- Sun Hoodie x 1
- Shorts x 1
- Hiking Pants x 1
- Pullover x 1
- sports bra x 1
- Hiking Socks x3
- Undies x2 (wash overnight)
- Swimwear x 1
- Neoprene wetsuit bottoms (I didn’t end up wearing them)
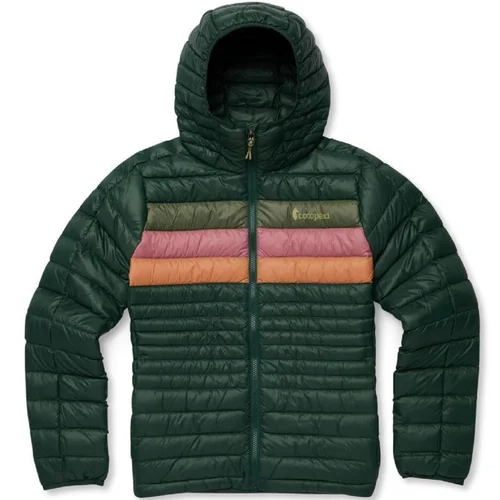
Outerwear & Layers
- Puffy Jacket
- Rain Jacket (it rained, but I never used it… in hindsight, a poncho would’ve been lighter)
- Buff
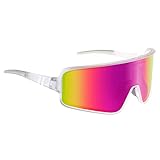
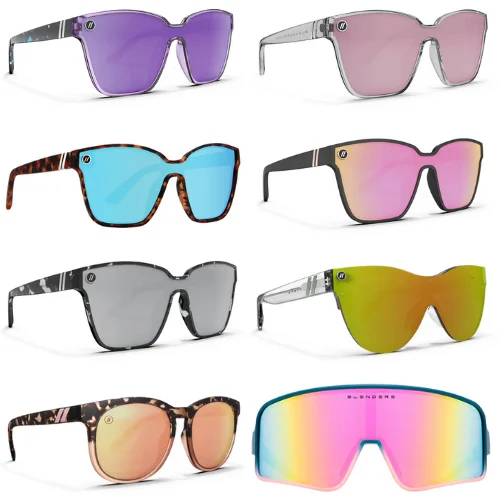
- Hat + Sunglasses
Sleepwear
Footwear


Navigation and Trail Safety at Havasupai
I didn’t bring a physical map or compass since both my phone and Garmin have those features built in. My backpack also has a whistle attached, so I didn’t need to pack a separate one.
I highly recommend downloading the AllTrails maps ahead of time before your adventure. The trails from the trailhead to Supai, Havasu Falls, campground, and Mooney Falls is very easy to follow.
The hike to Beaver Falls and the confluence is a bit trickier because you’re deep in the canyon, and the GPS cannot lock onto your exact location, so the tracking often looks confused or jumps around. But using AllTrails to navigate still worked perfectly for us. Be sure to download the maps offline before you go. If you’re on the free AllTrails plan, you can sign up for the 7-day trial of AllTrails Plus here. It’ll make your trip much more enjoyable!! That’s what we relied on the whole time.
- Headlamp
- Map + compass
- Satellite Phone
- First Aid Kit + whistle
- Multi-Tool Knife
- Emergency Shelter
- Sunscreen & Lip Balm
Since you’re hiking deep into a remote canyon with limited cell service, having travel insurance that includes emergency evacuation is a smart move. World Nomads covers backcountry hiking and can be a lifesaver in places like Havasupai.


Staying Hydrated in Havasupai
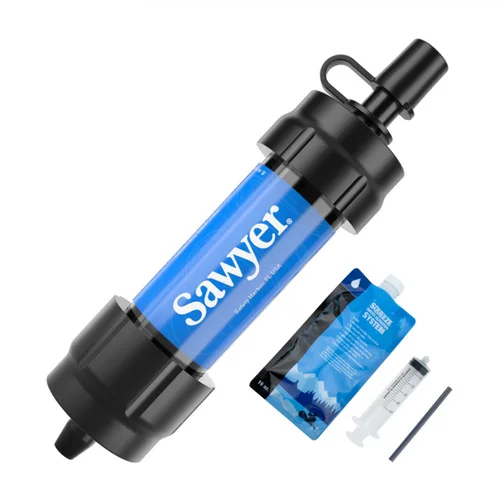
When backpacking in places with water sources, I typically bring two 1L Smartwater bottles or the new CNOC Thrubottles: one for clean, filtered water and one for “dirty” water that I drink through a Sawyer filter. I also pack a collapsible water bladder for camp use and a 16-oz Nalgene just for electrolytes


Other Essentials for Your Havasupai Packing List
I didn’t bring a camp chair on this trip since many of the campsites have picnic tables and benches. However, I packed a pair of grippy gloves, which were super helpful for the descent to Mooney Falls, and a microfiber towel that ended up being more useful inside the tent. A few hours after we arrived, a sandstorm blew in a lot of sand, and having the towel on the floor covered it and made a big difference.
There are three restroom locations in the campground: one near the entrance, one in the middle, and one at the far end near Mooney Falls. However, it’s a good idea to bring a backcountry poopy kit with you since there are no restrooms along the hike or while exploring.
The gear I brought
- Backpacking Backpack (I use a 55L pack)
- Daypack – I didn’t end up bringing this daypack, but I purchased it for the trip. It’s only 4oz, and I highly recommend it as a day pack for the day hikes in Havasupai. I ended up bringing my new Elevate 22, coz I’d just bought it and was too pumped about it to leave it behind!
- Trekking Poles
- Powerbank (this one comes with charging cables!)
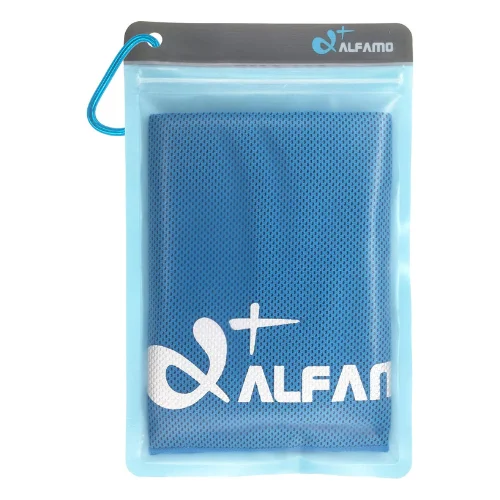
- Microfiber Towel – in hot summer months, I also highly recommend this cooling towel!! It’s a godsend for the hike!!
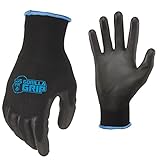
- Grippy gloves (these gloves are a must for Mooney Falls, super grippy and held up well even in wet conditions)
- Hygiene kit
- “Backcountry poopy kit”
- Camera
- Gear Repair Kit


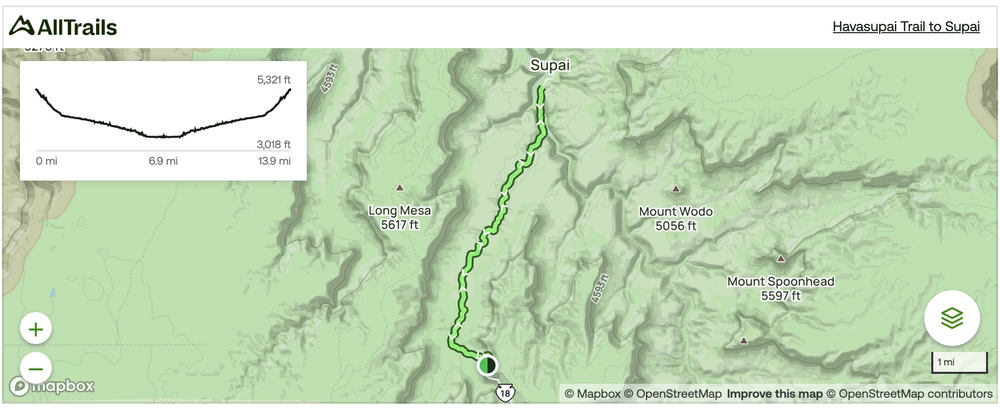
Day-by-Day Havasupai Itinerary Recap: Travel, Backpacking, and Exploring the Falls
All campground reservations at Havasupai are for 4 days and 3 nights, giving you plenty of time to explore the area, soak in the stunning falls, and just relax in nature. Here’s what our adventure looked like.
Click the map to view the full route on AllTrails.
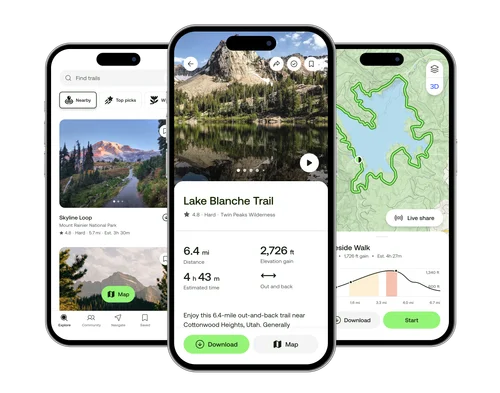
🥾 Plan Smarter Hikes with AllTrails
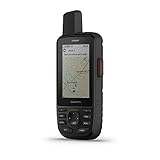
AllTrails is my go-to for trip planning, from checking trail reviews to downloading maps, navigating from my phone, and sending routes straight to my Garmin 67i. Offline maps, alerts, and AI route planning make upgrading to Plus & Peak worth it!
Wednesday: Arriving and Getting Ready for Havasupai
On Day 0, we drove from San Diego and met at the Hualapai Lodge to rest before the big hike. I highly recommend staying there the night before your adventure begins. Located in Peach Springs, the lodge offers an outdoor pool and hot tub, a restaurant, and free Wi-Fi, perfect for relaxing and prepping for the trail.
If you’re the trip leader, don’t forget you’ll need to check in at the Grand Canyon Caverns Inn near Seligman, Arizona. That’s where you’ll pick up wristbands, bag tags, and your group’s entrance form.

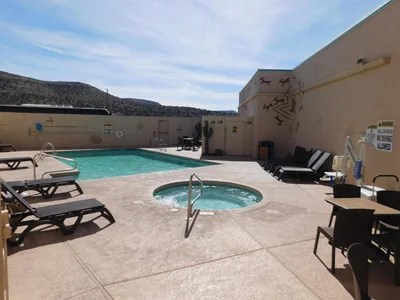

Hualapai Lodge

- Where to stay before and after Havasupai
- Outdoor pool and hot tub
- Restaurant & free WIFI
Thursday: Driving to Hualapai Hilltop and Hiking into Havasupai (10-Mile Trail to Campground)
We left Hualapai Lodge at 4:30 AM to get an early start on the 10-mile hike to the campground. The drive to the trailhead took about 1 hour and 20 minutes, and we hit the trail just before 6 AM. The first 1.5 miles feature a steeper section with switchbacks, but after that, the trail becomes a flattish downhill. After about 8 miles, we stopped by the village store for some ice cream before continuing to the campground.
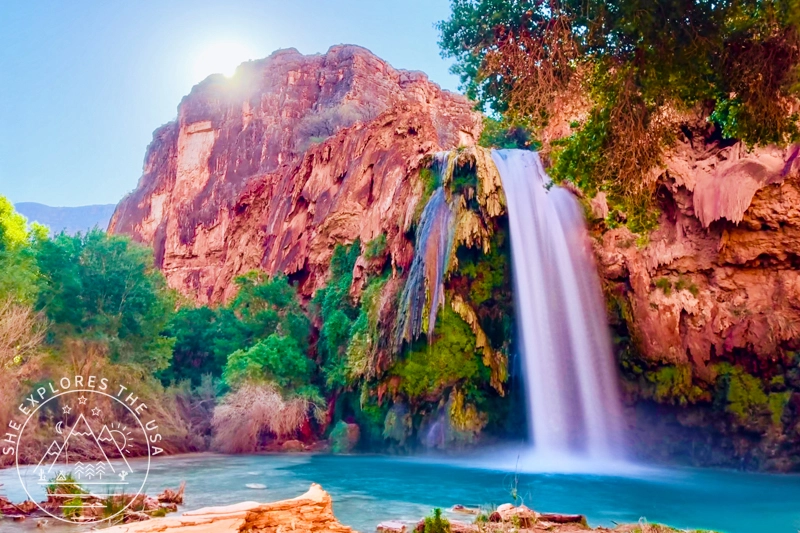
We arrived around noon and set up camp near Fern Spring. With a group of 16, we found a great spot where we could all stay close together. Once we were settled, we explored the creek, snapped some photos at Havasu Falls, and hiked down to Mooney Falls to scout out the steep descent. The rest of the day was spent relaxing at camp.


Friday: Lower Waterfall Adventures (Mooney Falls, Beaver Falls) & a Surprise Sandstorm
On Day 2, we hiked to the lower waterfalls: Mooney Falls and Beaver Falls. Our plan was just to reach Beaver, so we left camp around 7:30 AM. After descending Mooney Falls, an exciting climb involving chains, ladders, and mist, we made it to Beaver Falls by 10:00 AM and were back at camp by 12:30 PM.
A few other group members left camp earlier, around 6:30 AM, because they were heading to the Confluence. That hike requires leaving Beaver Falls by 10:30 AM at the latest to have enough daylight to return safely.
We had an amazing time soaking in the scenery and exploring the waterfalls. A quick tip for future hikers: bring your own grippy gloves for the Mooney Falls descent. While there are often some used gloves left near the chains, they’re usually wet, worn, and not always the right size.
Havasupai Sandstorm in April
Later that afternoon, on April 17th, a sudden sandstorm hit camp. It didn’t last long, but with winds over 20 mph, the air filled with swirling sand in an instant. It was a wild, short-lived reminder of how fierce and unpredictable nature can be in the canyon. You can watch the Havasupai Campground sandstorm in this YouTube Shorts video!


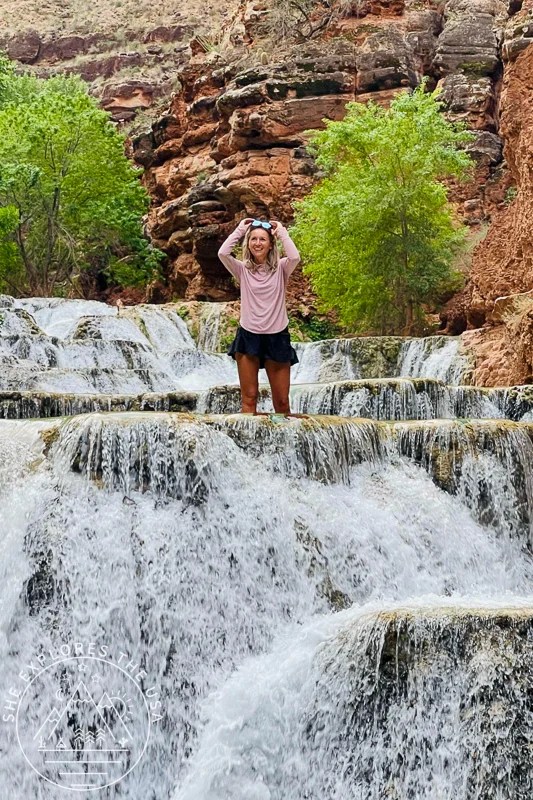


Saturday: Exploring the Upper Falls: Havasu Falls, Fifty Foot Falls, and Navajo Falls
Day 3 was dedicated to the upper waterfalls: Fiftyfoot, Little Navajo, Hidden Falls, and, of course, Havasu Falls. It was the perfect day for exploring, snapping photos, and just soaking up the beauty of the canyon. These falls are just as breathtaking as the famous Havasu Falls, and the whole experience was beyond memorable.


Sunday: Hiking Out of Havasupai
On Day 4, I went to enjoy breakfast at Havasu Falls and had the place to myself! I then packed up camp and began the hike out of the canyon, but without any pressure to rush. Our group naturally split up, with some folks hitting the trail as early as 7 AM. I started my hike around 10:30 AM, stopped by Havasu Falls one last time, and it took me about four hours to reach the hilltop. The weather was warm, just how I like it, mid-70s in the canyon and mid-60s at Hilltop, perfect hiking conditions in my book.
We spent our final night at the Hualapai Lodge again, which gave us a chance to unwind, shower, and relax after the adventure without the stress of needing to be anywhere. It was the perfect, low-key way to wrap up the adventure.


Monday: Heading Home
On Day 5, we drove back to San Diego, reminiscing about our incredible time at Havasupai. The journey home was smooth, but the memories of the waterfalls, the hikes, and the camaraderie we shared will stay with me for a long time.
Havasupai FAQ: What You Need to Know Before You Go To Havasu Falls
How do I get permits for Havasupai?
In 2026, Havasupai Permits are first-come, first-served and sold through havasupaireservations.com. Early access runs Jan 21–31; regular sale starts Feb 1.
When is the best time to visit Havasupai?
Spring (March–May) and fall (September–October) offer the best weather with milder temps. Avoid summer if possible; it gets dangerously hot.
Flash floods can happen any time of year. There were major floods in August 2024 and June 2025, so always check weather alerts before heading in.
How hard is the hike to Havasupai?
The 10-mile hike starts with a 1.5-mile steep descent, followed by 8.5 miles of mostly flat, sandy canyon walking. It’s not technical, but the length, sun exposure, and pack weight can make it feel intense, especially on the hike out when you’re gaining elevation.
Do I need trekking poles for Havasupai?
Trekking poles aren’t required, but they can definitely help, especially on the way out. The first 1.5 miles of the hike down into Havasupai is steep, and that same stretch becomes a climb on your way back. I brought mine and didn’t use them on the way in, but I was glad to have them for the hike out. Personally, I only used them for that final uphill section, but it made a difference when I was tired and carrying a full pack.
Where should I sleep the night before the Havasupai hike?
I highly recommend staying at the Hualapai Lodge the night before your adventure begins. Located in Peach Springs, the lodge offers an outdoor pool and hot tub, a restaurant, and free Wi-Fi, perfect for relaxing and prepping for the trail. We also stayed there the night after the hike out, so we were fresh to drive 9 hours the next day!
Are drones allowed in Havasupai?
No, drones are strictly prohibited in Havasupai. Bringing or flying one can result in fines and confiscation.
Is there drinking water at the campground?
Yes, Fern Spring is a reliable source of fresh water near the middle of the campground.
I personally drank straight from Fern Spring without filtering, but I brought a Sawyer Mini to filter water from other sources if needed. Better to have it and not need it!
Can you buy food at Havasupai, or should you bring your own?
Bring all your meals and snacks. There are several food stands located near the village and occasionally near Havasu Falls, as well as a small store approximately 2 miles from camp. However, they aren’t always open or easily accessible.
What’s the bathroom situation like?
There are three composting toilet stations throughout the campground, at the entrance, middle, and near Mooney Falls.
They do provide toilet paper, but bring a backup stash just in case. For the hike in/out or day hikes beyond camp, pack a lightweight backcountry bathroom kit.
What size backpack do I need for Havasupai?
A 50–60L backpacking pack is ideal. I used a 55L and had room for everything. You’ll want something supportive with good hip straps to manage the load.
Do I need a bear canister?
Bear canisters aren’t required, and they’re heavy. I used this rat sack, which is much lighter and works perfectly to protect food and scented items from mice, squirrels, and other critters at night. Highly recommend.
Can you swim at Havasupai?
Yes, you can swim in the pools beneath the falls, which are beautiful and refreshing. Just be careful to stay clear of the actual waterfall drops, especially Mooney Falls, as the water there is powerful and dangerous.
Can I camp anywhere?
All camping must be within the designated Havasupai campground, which stretches about a mile between Havasu Falls and Mooney Falls. There are no assigned spots, so it’s first-come, first-served; getting in early helps secure a great site.
Is there cell service in Havasupai?
Expect to be mostly off-grid. Some people get limited service in the village, depending on their carrier. I have T-Mobile and got zero service the entire time, not even in the village. Download maps offline and bring a power bank or satellite communicator if you want backup navigation or emergency contact.
How do I prepare for the hike?
Train with 8–10 mile hikes carrying your full pack to build up stamina and get used to the weight. Strengthening your legs, back, and core will also help, especially for the hike out. And don’t forget to break in your shoes beforehand!
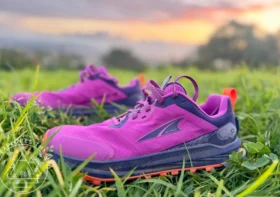
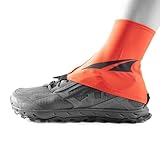
Do you need water shoes for Havasupai?
Water shoes are recommended, especially for crossing streams and swimming around the falls, but they’re not strictly necessary. I used my Altra Lone Peak trail runners because they dry fast, and I also brought sandals. Even if they were still damp in the morning, they’d usually dry out within the first hour of hiking. Just know that whatever you wear will get wet at some point, so quick-drying and comfort matter more than bringing an extra pair just for water.
What if I don’t want to (or can’t) carry my backpack or do the full hike?
If you don’t want to or can’t carry your pack, there are other options! You can hire a mule to carry your gear, ride a horse, or take a helicopter to the village.
AirWest operates the helicopter and typically flies on select days between Hualapai Hilltop and Supai Village. Mules and horses must be arranged in advance through the official Havasupai reservation site. Keep in mind that weather, trail conditions, and tribal operations can affect availability.
Is alcohol allowed at Havasupai?
No, alcohol is strictly prohibited in Havasupai. It’s clearly stated in the rules you agree to when reserving your permits. Bringing it can result in fines or getting kicked out, so it’s just not worth the risk.
How much does a mule cost at Havasupai?
A round‑trip pack mule costs $400 per mule and can carry up to 4 bags (maximum 32 lb per bag) between Hualapai Hilltop and the campground. If you miss the usual morning pickup on your return day, there’s an additional $300 late‑run fee. One mule can handle multiple bags, so it’s easy to split the cost with friends if you’re packing light. Always check the official Havasupai website before your trip for the most current info. Check out this page for the latest details.
How much does the helicopter to Havasupai cost?
The helicopter costs $300.00 per person each way, including one carry-on (extra luggage costs extra). There are no reservations, so you must sign in by 10 AM at Hualapai Hilltop or Supai Village. Flights operate on Sunday, Monday, Thursday, and Friday from 9 AM to 1 PM. Priority boarding goes to tribal members and essential services, so wait times can be long. If you’re short on time, you can send your pack by helicopter and hike out. Flight time is about 15 minutes. Weather may cause cancellations, so always have a backup plan. For more information, call Airwest Helicopters (623) 516-2790.
Why is the water at Havasupai so blue?
The water in Havasupai gets its stunning blue color from high mineral content, mainly calcium carbonate and magnesium, that reflects sunlight in a way that makes the pools look almost unreal. It’s one of those natural magic moments you just have to see.
Final Thoughts on my Havasupai Packing List: What to Bring to Havasu Falls
Havasupai truly is the backpacking trip of a lifetime, and having the right gear makes all the difference in ensuring a smooth and unforgettable adventure. The gloves for Mooney Falls were hands down my favorite item, but every piece of gear played a role in making the experience incredible. I hope this Havasupai packing list helps you feel more prepared and excited for your own trip. If you have any questions about the gear or the trail, feel free to drop them below; I’m happy to help!


Post originally published on March 9, 2026, and last updated on March 31, 2026.