How To Clean A Hydration Bladder The Easy Way
DISCLOSURE: This post may contain affiliate links. If you purchase after clicking one of my links, I may earn a small commission at no extra cost to you. As an Amazon Associate, I earn from qualifying purchases. For more information, see my disclaimer.
Hydration bladders are a game-changer for staying hydrated on the trail. However, even if you’re only filling them with clean, filtered water, mold and bacteria can still infiltrate and become a health hazard. That’s why regular cleaning is so important. In this post, I’ll walk you through how to clean an Osprey hydration bladder step by step, the same method works great for other brands too, like CamelBak, Platypus, and Hydrapak. I’m also sharing easy ways to keep your bladder cleaner for longer and answering common questions I get from other hikers.
Review of Osprey Hydration Bladder Reservoirs & Cleaning Kit
Osprey Hydration Bladder Review
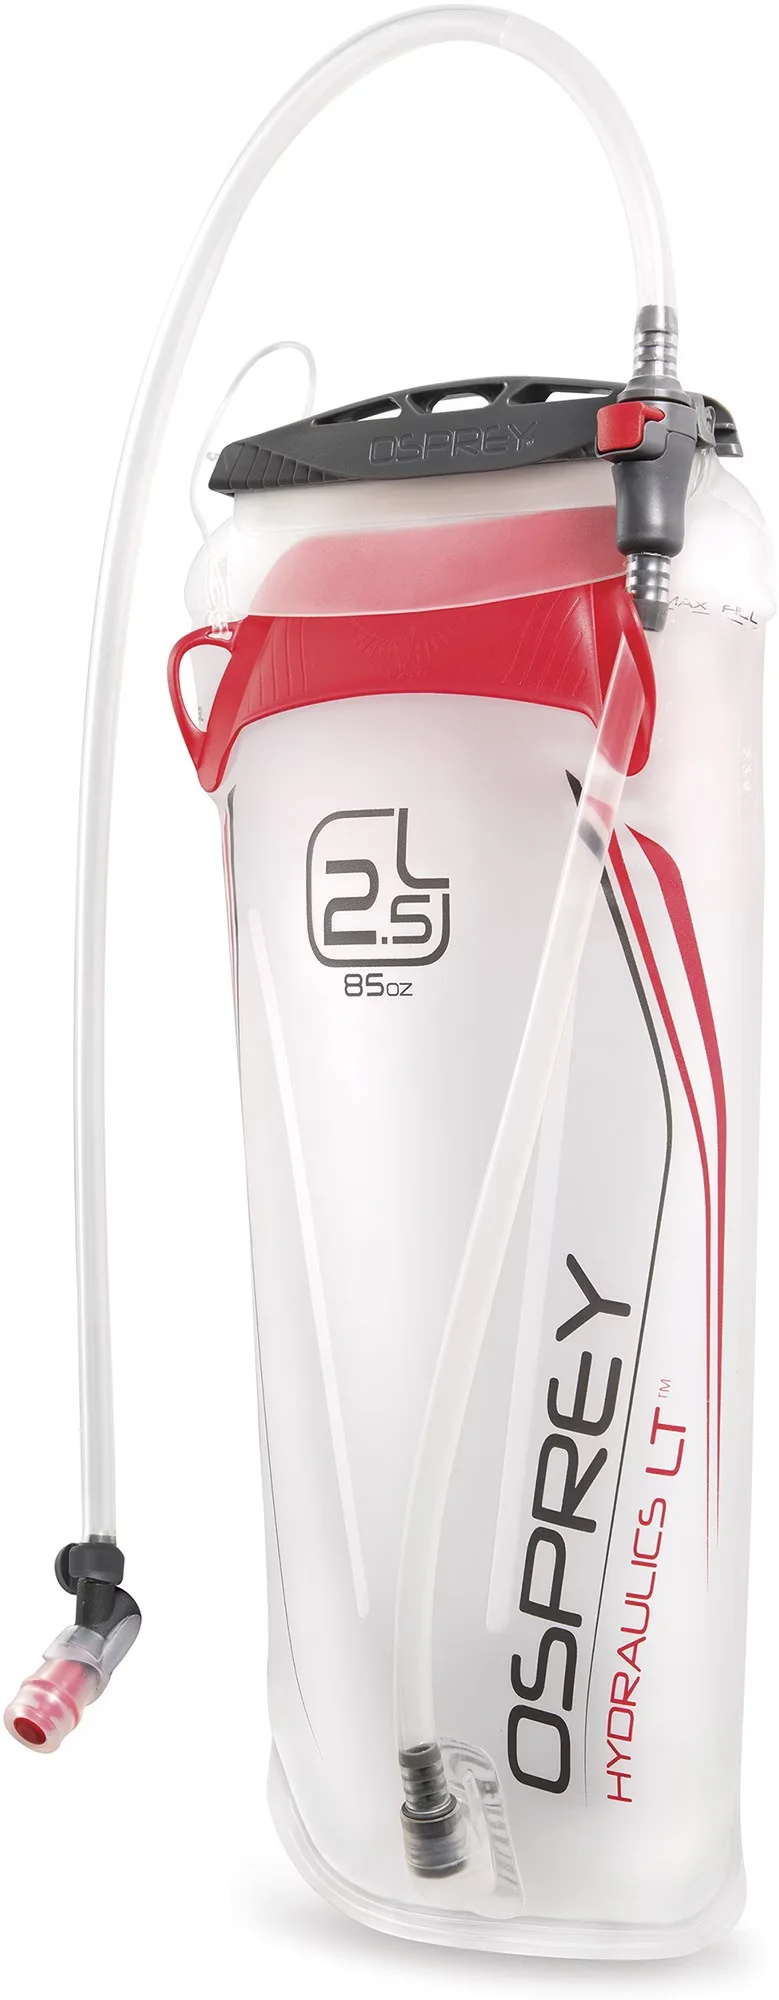
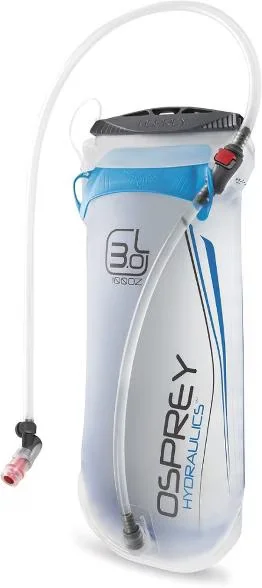
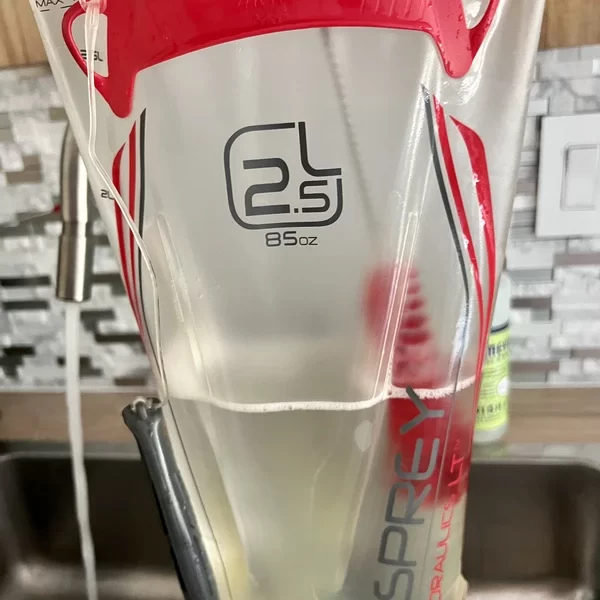
I own both the Osprey 2.5L Hydration Bladder and the Osprey 3L Hydration Reservoir, and after five years of use, they have been leak-proof, durable, and reliable on all my outdoor adventures.
An REI expert once advised me to choose a top-fill hydration bladder instead of a cap-fill design, as top-fill reservoirs are less prone to leaks. While I haven’t tested cap-fill versions, I can confidently say that my Osprey bladders have never leaked.
The slide-seal closure makes them easy to fill and clean, while the durable materials hold up well on rugged hikes. The bite valve delivers a steady flow of water, making it a great companion for hiking, backpacking, and trail running. Overall, the Osprey Hydration Bladder is an excellent investment for any outdoor enthusiast, offering reliable hydration for all types of adventures.
Pros
- Leak-proof and durable after years of use
- Easy to fill, clean, and dry with the wide top opening
- Steady water flow with a well-designed bite valve
- Fits comfortably in most hydration-compatible packs
Cons
- The hose connection can be stiff when detaching for cleaning, but it’s a good thing because no leaks in your backpack!
Osprey Hydraulics Reservoir Cleaning Kit
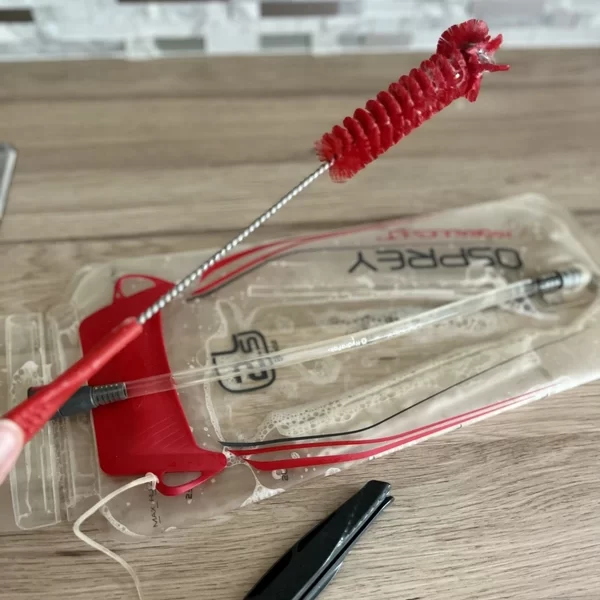
The Osprey Hydration Bladder Cleaning Kit is a must-have for maintaining your hydration system, it makes the process so much easier. It includes a cleaning brush for scrubbing the reservoir, a delivery system cleaning brush for the hose, and a drying rack to ensure everything dries thoroughly. The brushes are well-designed to reach all areas, preventing mold and buildup. The drying rack is useful for keeping the reservoir open for proper air circulation. While the kit is a bit pricey, it’s a worthwhile investment for keeping your hydration bladder clean and functional for longer.
Pros
- Effective cleaning brushes for thorough scrubbing
- Drying rack helps prevent mold and odors
- Durable and well-designed
Cons
- Slightly expensive compared to generic cleaning kits
Now, let’s dive into how to clean an Osprey water bladder!
Osprey 2.5L Water Bladder
Osprey 3L Water Bladder
Osprey Reservoir Cleaning Kit

- Reservoir cleaning brush
- Delivery system cleaning brush
- Drying rack
How to Keep Your Hydration Bladder Clean (Between Deep Cleans)
Following a few simple best practices can help you extend the life of your hydration bladder and keep it cleaner for longer. Here are some essential tips:
- Use Your Reservoir Only for Water: Stick to water only! Using your hydration bladder for electrolytes or sugary drinks can lead to sticky residue buildup inside the reservoir, tube, and bite valve, making cleaning more difficult. While you could replace the tubing and bite valve, that can be both wasteful and costly over time.
- If You Must Use Electrolytes, Clean Immediately: If you do use your water bladder for sports drinks, make sure to clean it thoroughly right after your hike to prevent mold and bacteria growth.
- Filter Your Water Before Filling Your Bladder. If you’re sourcing water in the wilderness, always filter it first before adding it to your reservoir. Carry a separate pouch for raw water and filter it before transferring it into your bladder. I personally use a Sawyer water filter, which comes with a reusable pouch, making it easy to keep my hydration reservoir clean and free of contaminants.
- Extend Cleanliness Between Deep Cleans: You can reduce the need for frequent deep cleans by draining and drying your hydration bladder after each use or by freezing it. When my bladder is nearly empty, I drain the remaining water and hang it upside down to dry. If there’s still a good amount of water left, I place it in the freezer to prevent bacterial growth and eliminate any lingering bad tastes.
⚠️ Pro tip: Never freeze a full hydration bladder! Water expands as it freezes, which can cause your bladder to burst or develop slow leaks. Always drain a little before freezing to allow for expansion. ⚠️
By following these simple hydration bladder care tips, you can ensure that your reservoir stays cleaner, fresher, and lasts longer!
Sawyer Mini Water Filter
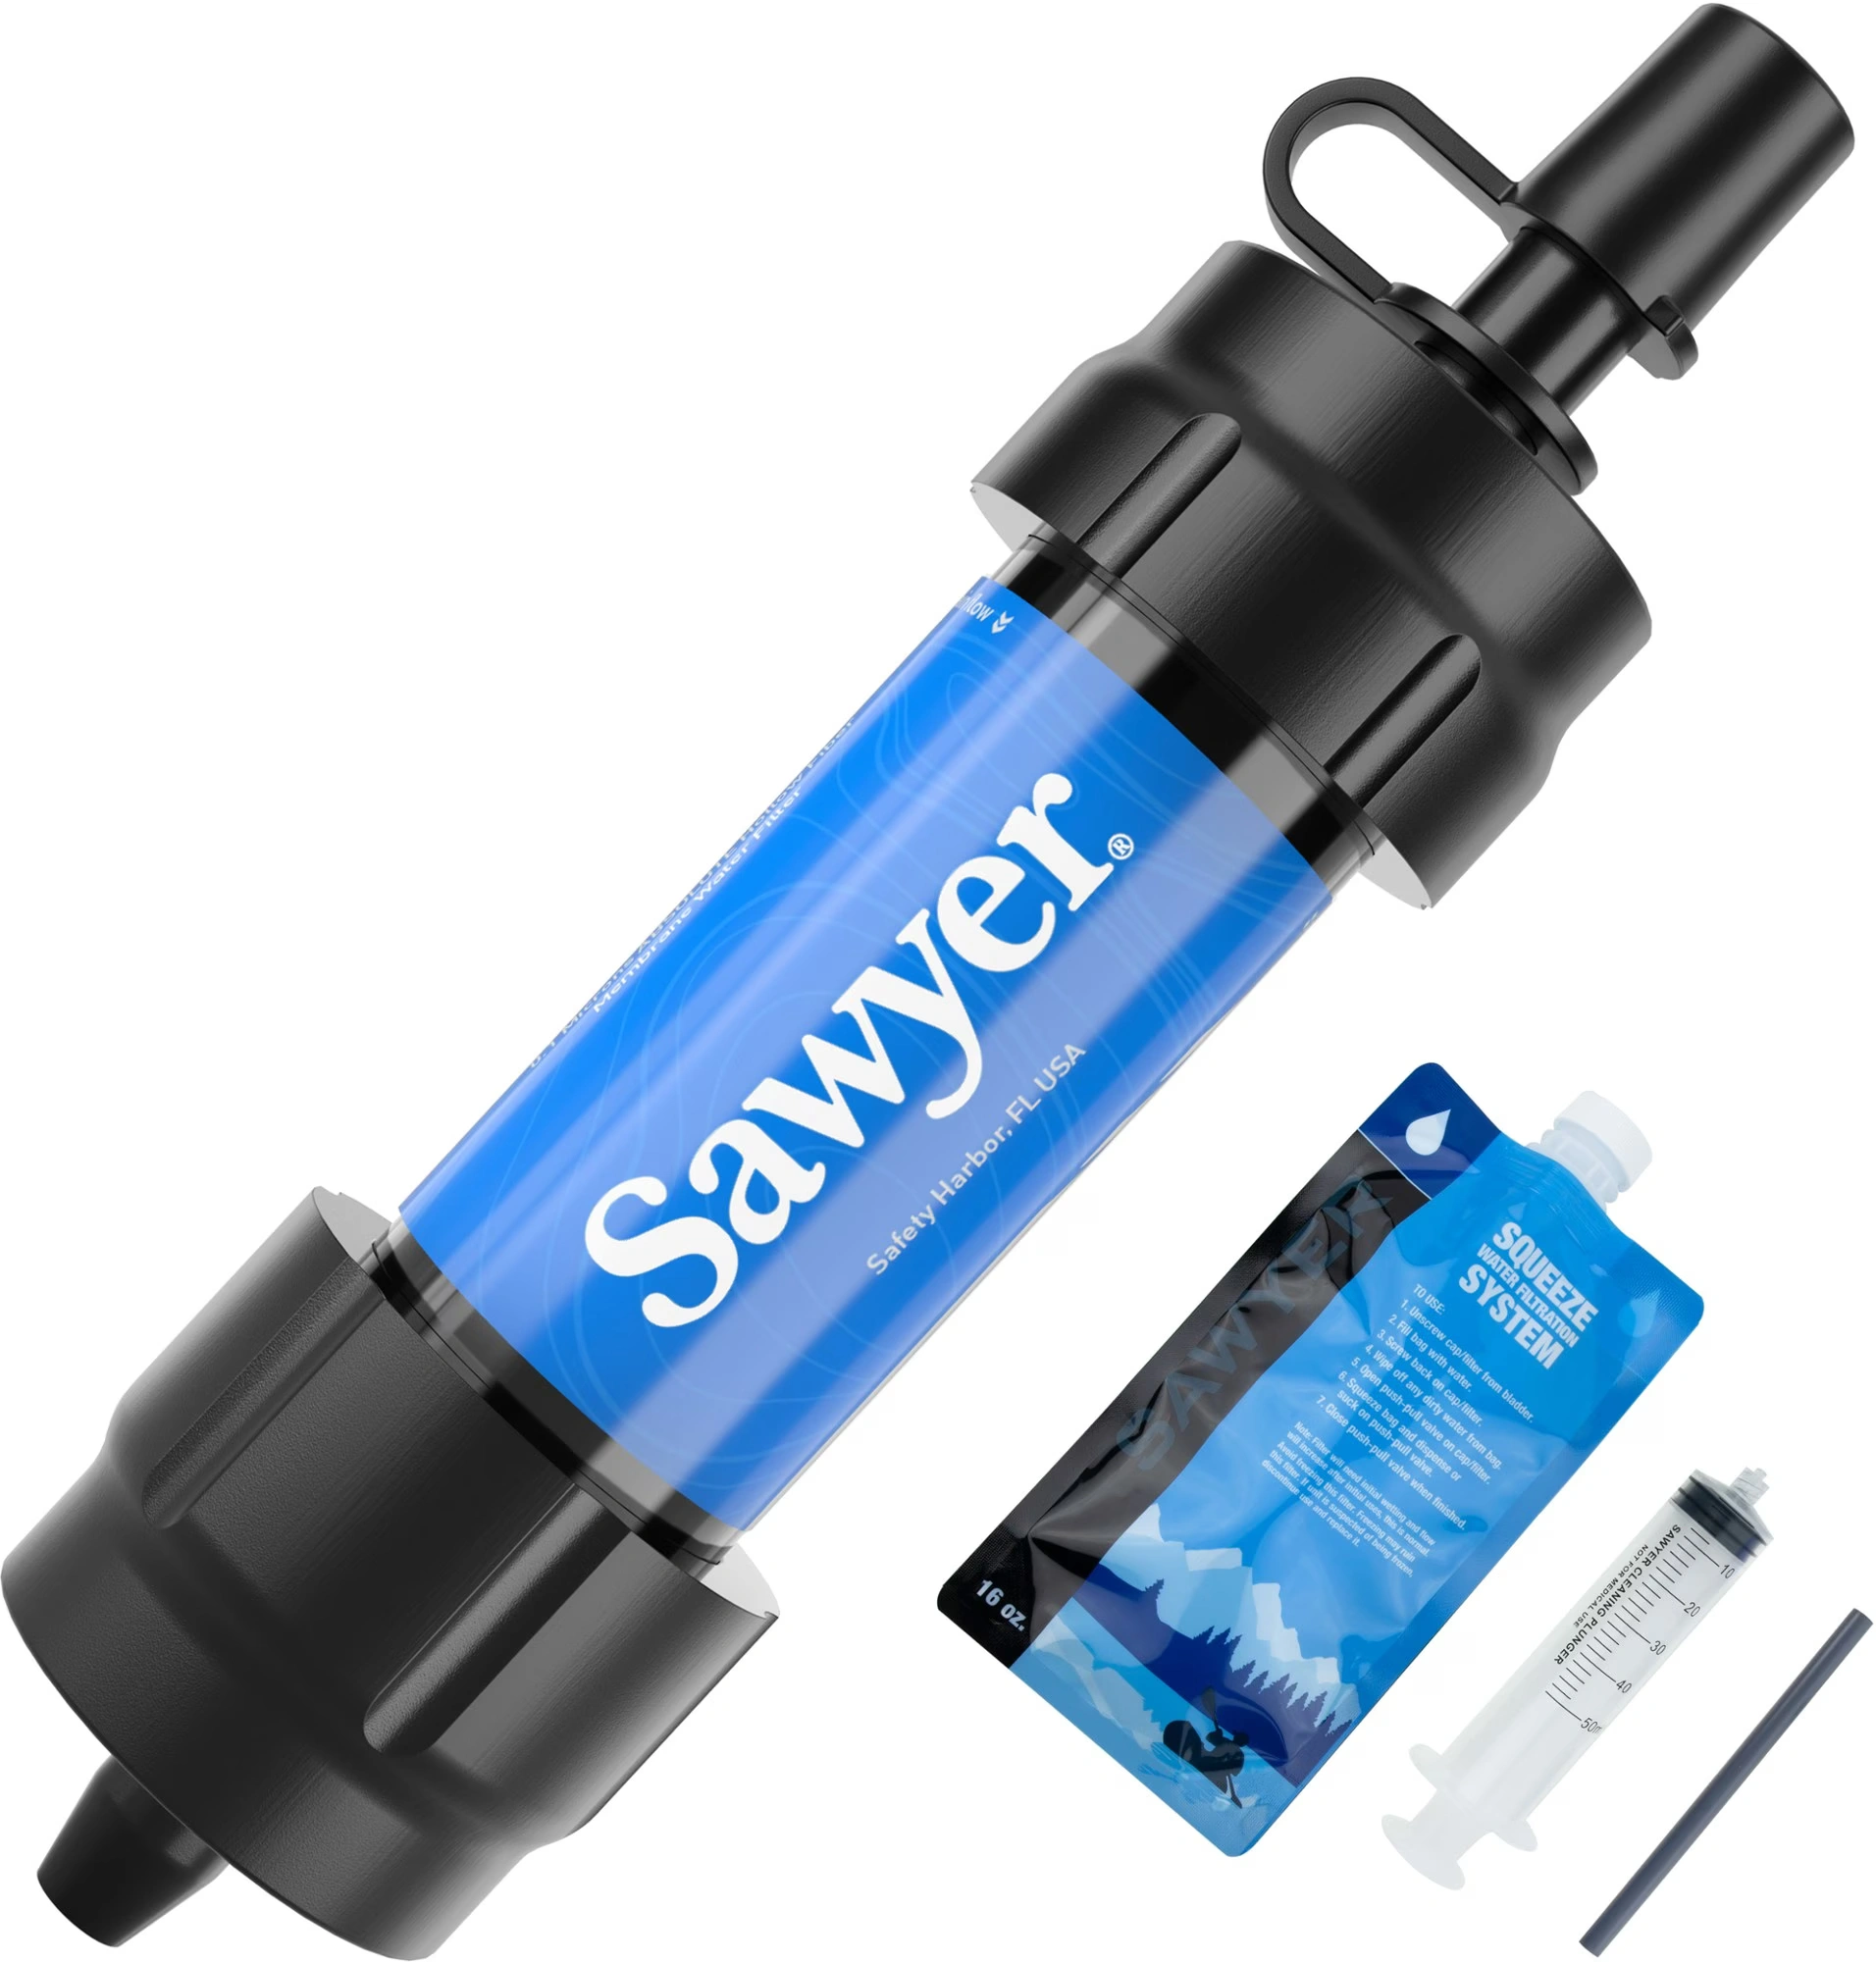
- Hollow-fiber membrane offers a high flow rate
- 0.1-micron filter
- Lighter than Sawyer squeeze
No Posts Found
How to Clean a Hydration Bladder (Step-by-Step)
Cleaning a hydration bladder can be as simple as using dish soap and hot water, giving it a good shake, and scrubbing with a sponge or brush. But for a deeper clean, one that gets into the hose, bite valve, and all those awkward corners, I recommend using effervescent water bladder cleaning tablets and a cleaning kit made for hydration reservoirs.
This method works no matter which brand of hydration bladder you use. I personally use Osprey bladders, but when it comes to cleaning, I recommend this hydration bladder cleaning kit. If you’re looking for the best hydration bladder cleaning kit with everything in one place, brushes, tablets, a drying hanger, and a pouch, this one is a solid option. It’s compatible with popular brands like Osprey, CamelBak, and Platypus. While I use a different kit, this one gets great reviews and includes more tools than many others I’ve seen, which makes it a good choice for most hikers.
Hydration Bladder Cleaning Kit ⭐⭐⭐⭐⭐
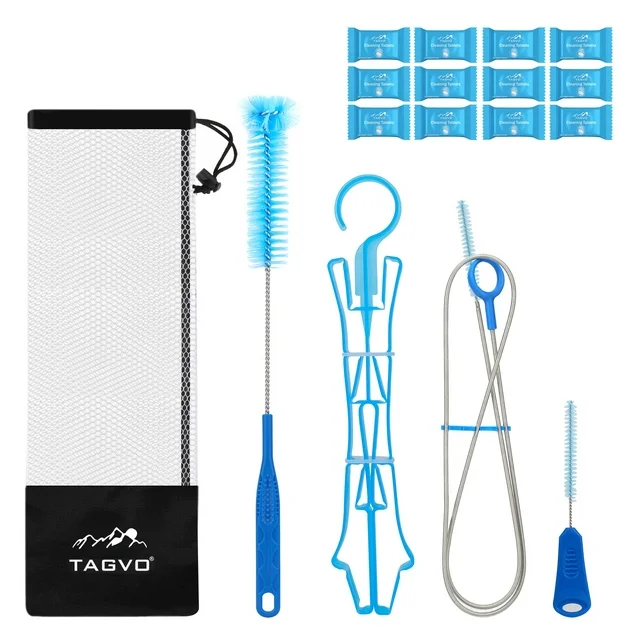
6 in 1 Cleaning Set
- 3 Brushes
- Collapsible Hanger
- 12 Cleaning Tablets and Carry Pouch
- Water Reservoir Cleaning Tools for Hydration Backpack
Bottle Bright Cleaning Tablets
Pack of 12 effervescent tablets
- No scrubbing required
- Removes stubborn stains and odors
- Tablets are biodegradable and chlorine-free
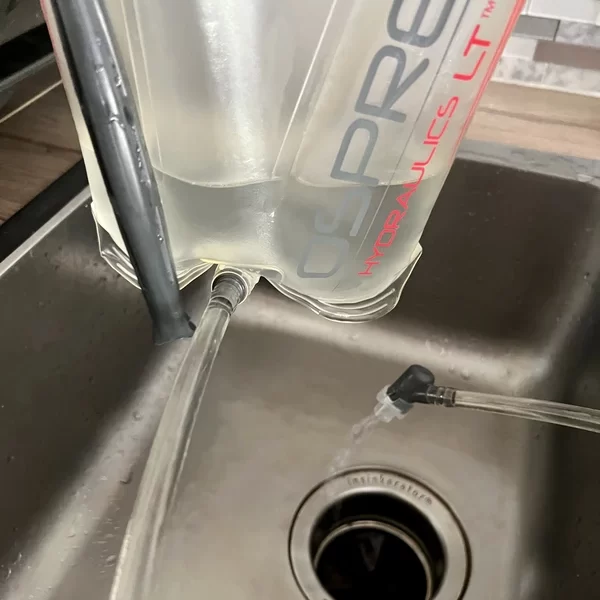
Step 1: Empty your water reservoir
Before you start cleaning, pour out any remaining water. If you have plants around the house, this is a great opportunity to use that leftover water rather than wasting it.
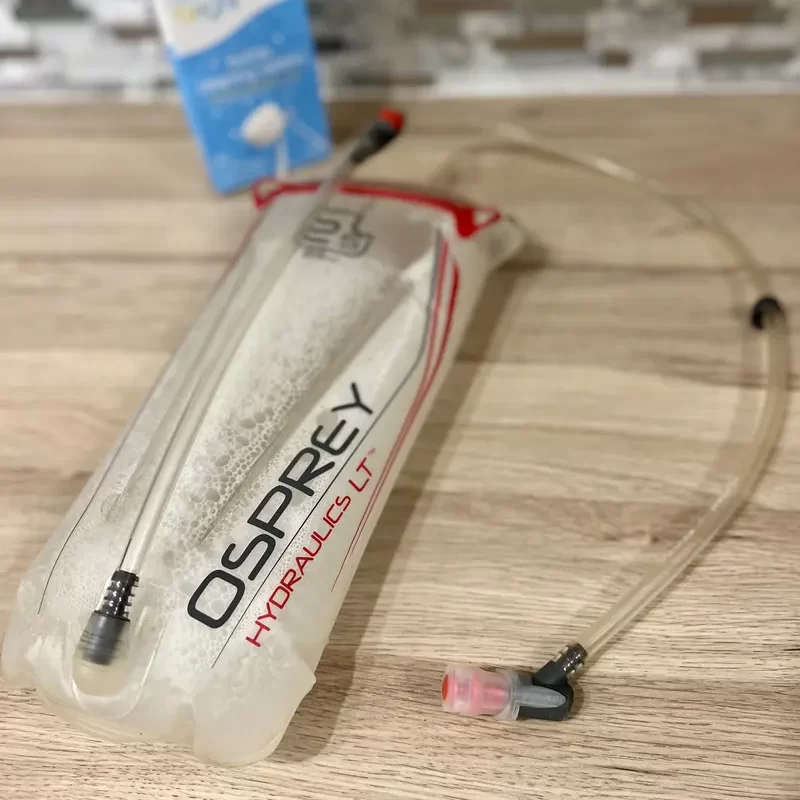
Step 2: Clean the hydration bladder, tubes, and valve with brushes
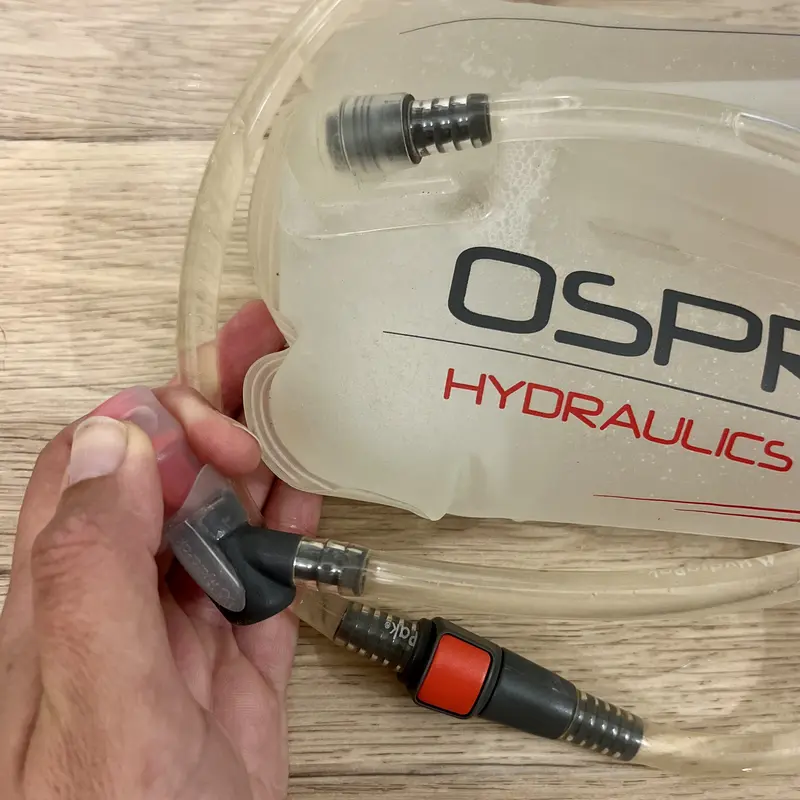
Using dishwashing liquid and the brushes from a cleaning kit, scrub all components thoroughly. This includes the reservoir, mouthpiece, and drinking tubes. At this stage, disconnect the bite valve, straw tubes, and reservoir so that you can give each component a thorough scrub. This ensures the cleaning solution can reach every part of the system properly when you reach step 3.
How to Clean a Hydration Bladder Bite Valve
The bite valve is the soft rubber piece you drink from. Inside, there’s usually a small red or colored plastic piece that regulates water flow; this is a common place for mold to appear. To clean it:
- Hold the bite valve securely in one hand.
- Push firmly but gently the red plastic piece out in the opposite direction of water flow.
- Soak both parts in hot water with dishwashing liquid or a cleaning tablet.
- Squeeze the bite valve to release any remaining dirt or residue.
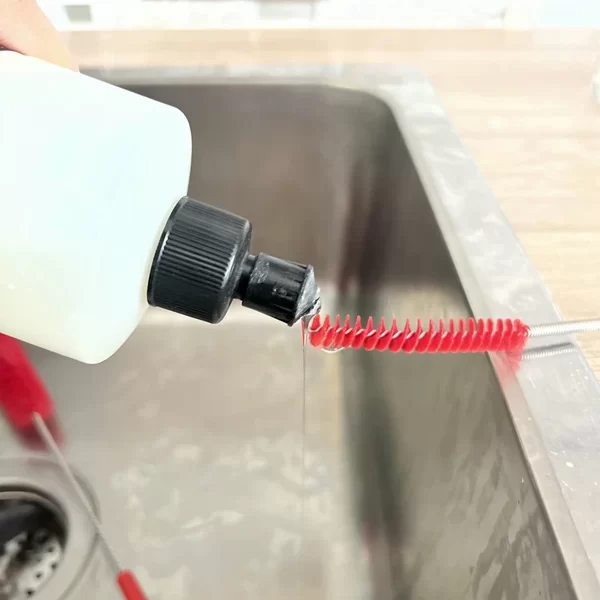
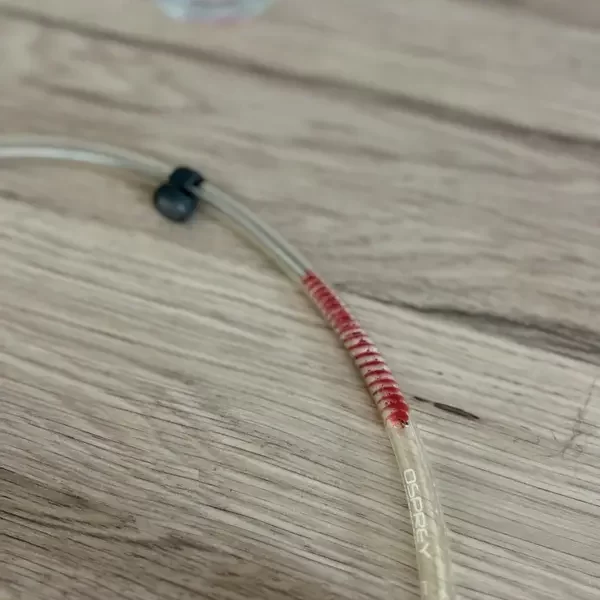
Cleaning the Drinking Tubes (a.k.a. Hydration Bladder Hose)
Use the thinnest brush in the kit to scrub the inside of the drinking tubes. Apply a little dishwashing soap to the brush and pass it through the tubes for a deep clean.
Cleaning the Reservoir
Scrub the inside of the reservoir using a larger brush, paying close attention to the corners and edges where dirt and mold tend to build up.
If you’re only using dishwashing soap, skip to Step 4. Otherwise, proceed to Step 3!
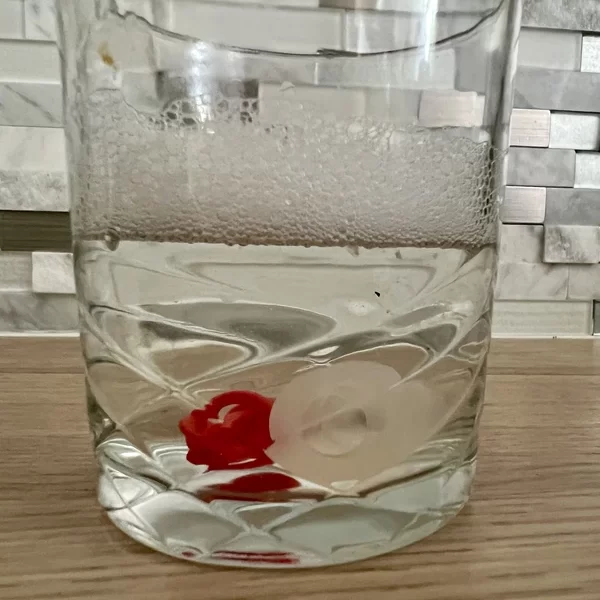
Step 3: Soak the water bladder with a Cleaning Tablet
For a deeper clean and to neutralize odors, reconnect all parts of the bladder system and let it soak with a cleaning tablet.
- Reattach the tube and the bite valve.
- Fill the bladder with hot tap water.
- Drop in 1 cleaning tablet per liter of water.
- Let the tablet dissolve, then gently shake the reservoir to distribute the cleaning solution evenly.
- Open the bite valve and squeeze to allow some cleaning solution to pass through the tube.
- Close the valve and let the entire system soak for 15-30 minutes (or overnight for a deep clean).


Step 4: Rinse Thoroughly
Once soaking is complete, drain the cleaning solution. To flush out any remaining residue:
- Open the valve and squeeze the mouthpiece while draining water through the tube.
- Hold the bladder slightly higher than the tubes so gravity helps with rinsing; this ensures no cleaning residue is left behind.
- Rinse the reservoir, tubes, and bite valve thoroughly with clean water.
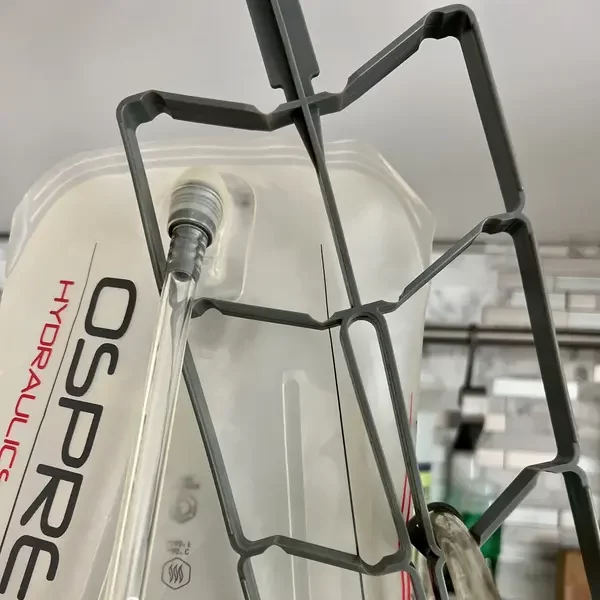
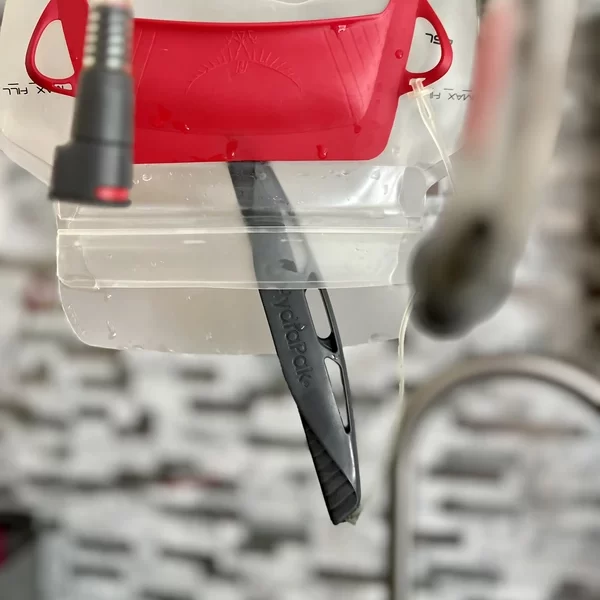
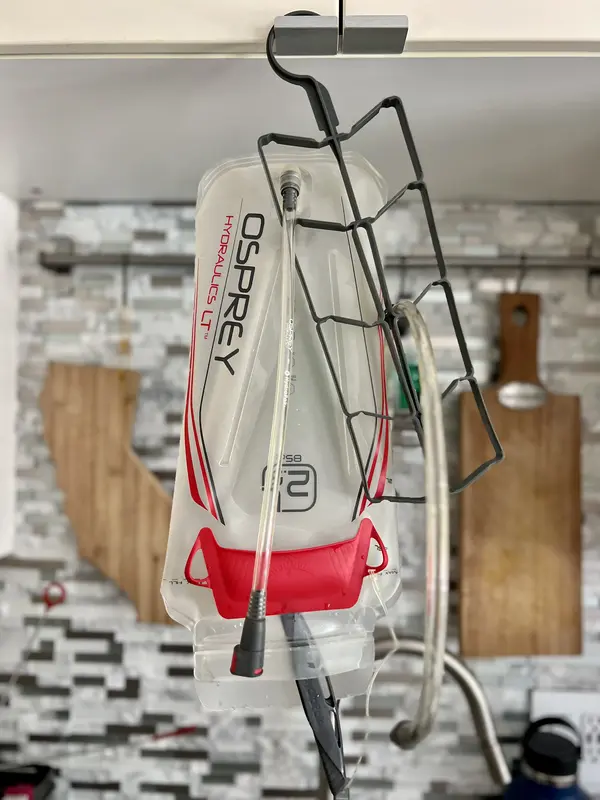
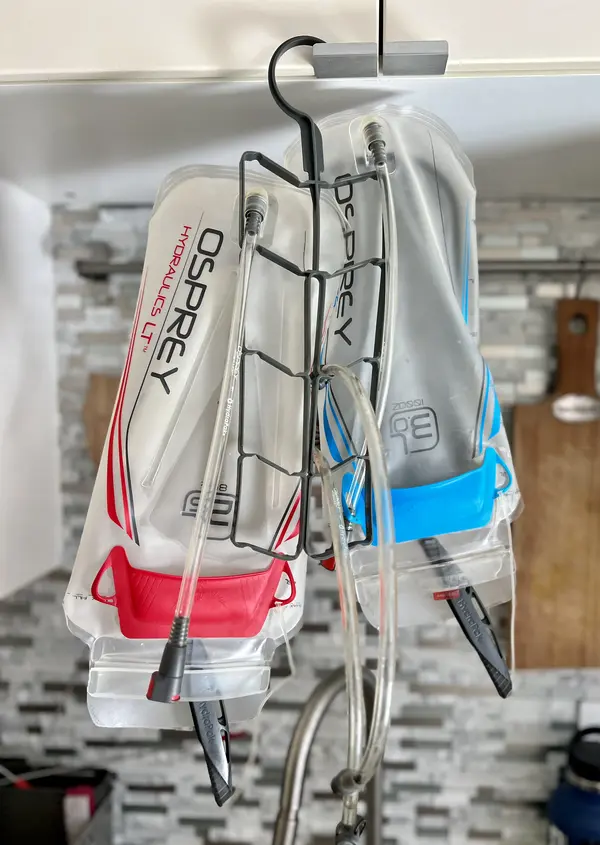
Step 5: How to Dry a Hydration Bladder
Properly drying your hydration bladder is crucial to prevent bacterial and mold growth.
- Use a reservoir hanger to dry the bladder upside down. While I don’t use the hanger exactly as intended, my method allows me to dry multiple reservoirs at once, making it far more efficient.
- If you don’t have a cleaning kit, a regular clothes hanger can work just as well.
- Slip the slide seal through the bladder’s opening to allow more airflow for faster drying.
- Ensure the bladder, tubes, and valve are completely dry before storing. A damp bladder can lead to bacterial growth.
- Use a dry towel to speed up the process if needed.
Alternative drying options if you dont have a hanger
- Stuffing with a Paper Towel: After rinsing the bladder, you can stuff it with a clean paper towel or a cloth towel. This helps absorb moisture from the inside, promoting faster drying.
- Using a Fan: If a hanger isn’t available, you can set up a fan near the opening of the bladder. Placing the bladder upside down and allowing air to circulate through it speeds up the drying process.
By following these five steps, your hydration bladder will stay clean, fresh, and ready for your next adventure!
FAQ About Cleaning Hydration Bladders and Water Reservoirs
Should I clean my water bladder before its first use when it’s brand new?
Yes, it is a good idea to rinse your water bladder before first use. A little soapy water before first use will be enough to ensure any manufacturing residues wash off. Just don’t forget to let it dry completely before using it!
How long can you leave water in a hydration bladder?
How long you can leave water in a hydration bladder depends on usage frequency. If you use it to go hiking every day or every weekend, you can get away with keeping the water in there. Perhaps keep it in the fridge or freezer in between trips. If you only use it once a month, it’ll be better to drain and dry the bladder until your next outing.
How often should you clean a water bladder?
Cleaning frequency depends on usage frequency as well. You could get away with cleaning it every few months if you use your hydration bladder lightly. But if you’re using it a lot, like for an extended backpacking trip, it’s safer to clean it when you get back, even if you only just washed it before your trip. If you don’t clean it for a while, you’ll notice the bladder starts to turn a little yellow, or at least mine does. So I’m sure you will know when to clean yours.
Final Thoughts on Cleaning Hydration Bladders
A clean hydration bladder makes every adventure better, with no weird tastes, no funky smells, and no unwanted bacteria tagging along. It doesn’t take much: a brush, a tablet, and a few minutes of care go a long way.
I’ve had my Osprey bladders for years, and with regular upkeep, they’ve stayed leak-free and reliable. Whether you’re just getting started or deep into the backpacking life, keeping your reservoir clean is one of those small habits that make a big difference.
Happy trails, and stay hydrated!
Hydration Bladder Cleaning Kit ⭐⭐⭐⭐⭐
6 in 1 Cleaning Set
- 3 Brushes
- Collapsible Hanger
- 12 Cleaning Tablets and Carry Pouch
- Water Reservoir Cleaning Tools for Hydration Backpack
Bottle Bright Cleaning Tablets
Pack of 12 effervescent tablets
- No scrubbing required
- Removes stubborn stains and odors
- Tablets are biodegradable and chlorine-free
Post originally published on May 25, 2023, and last updated on April 4, 2026.