How to Dehydrate Meals for Backpacking: A Simple Guide
DISCLOSURE: This post may contain affiliate links. If you purchase after clicking one of my links, I may earn a small commission at no extra cost to you. As an Amazon Associate, I earn from qualifying purchases. For more information, see my disclaimer.
Whether you’re prepping for a backpacking trip, a camping weekend, or simply want easy homemade meals, knowing how to dehydrate meals at home is a game-changer. Dehydrated meals are lightweight, nutrient-packed, and convenient, perfect for outdoor adventures or quick meal prep. In this guide, I’ll walk you through simple steps to prepare, dehydrate, store, and rehydrate your meals so you can enjoy delicious food anytime, anywhere.
- Why Dehydrate Meals for Backpacking and Camping?
- Gear You’ll Need to Dehydrate Meals for Backpacking
- Cosori Food Dehydrator Review: Perfect for Backpacking Meal Prep
- STEP 1: Prepare Food to Dehydrate Meals
- STEP 2: Dehydrate Meals for Backpacking Overnight
- STEP 3: Place the dehydrated food in storage bags
- STEP 4: Rehydrate Your Dehydrated Meals
- FAQ: How to Dehydrate Meals for Backpacking
- Final Thoughts on How to Dehydrate Meals for Backpacking
Why Dehydrate Meals for Backpacking and Camping?
Dehydrating meals at home is a game-changer, especially if you have food allergies or sensitivities like I do. Store-bought dehydrated meals often contain preservatives, additives, or ingredients that don’t agree with me. By making my own dehydrated meals, I have full control over what goes into my food, ensuring everything fits my dietary needs.
Foods like chicken, turkey, fresh veggies, and quinoa are my favorites to dehydrate because they retain great flavor and nutrition when dried. Dehydrating also makes these foods lightweight and easy to carry on backpacking or camping trips, saving precious space and weight in your pack.
Plus, dehydrated meals last much longer without refrigeration, reducing the risk of spoilage on the trail. This means you can bring homemade, nutritious, and allergy-friendly meals wherever your adventures take you.
Benefits of Dehydrating Meals for Backpacking
- Lightweight: Dehydrating removes moisture, significantly reducing the weight and bulk of food, perfect for carrying less on the trail.
- Nutrient Retention: Preserves essential nutrients like protein, vitamins, and minerals to keep your meals nutritious.
- Longer Shelf Life: Without moisture, foods last longer without refrigeration, lowering the risk of spoilage during trips.
- Customizable: You control every ingredient, tailoring meals to your taste preferences and dietary needs.
- Convenient: Ready-to-eat meals that are easy to pack, perfect for quick meal prep or snacking on the go.
Gear You’ll Need to Dehydrate Meals for Backpacking
Before you start to dehydrate meals for backpacking, it’s important to have the right gear. While a food dehydrator is the most efficient tool, there are other options depending on your budget and available equipment. Here’s what I use:
- Food Dehydrator: This is the easiest way to evenly dry your meals. I use this one with adjustable temperature control and multiple trays. It works great for chicken, turkey, quinoa, veggies, and everything I need.
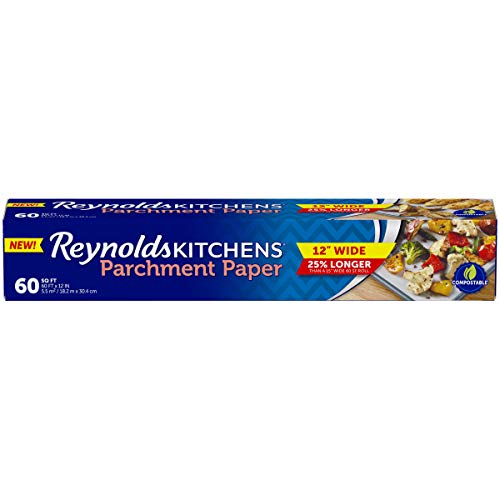
- Parchment Paper: Use parchment paper to prevent sticking on trays and make transferring food easier after dehydration.
- Digital Kitchen Scale: Weighing your food before and after dehydration helps you calculate the correct water amount for rehydrating your meals on the trail.
- Ziploc Bags: These are my go-to for storing dehydrated meals while backpacking. They’re lightweight, easy to pack, and I reuse them as much as I can until they wear out.
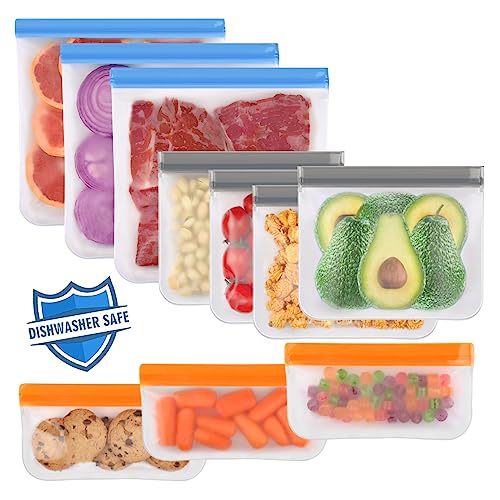
- Reusable Silicone Bags: If you’re looking for a more eco-friendly option, these leakproof, dishwasher-safe silicone bags are a solid alternative for storing dehydrated meals.
- Oxygen Absorbers: These help extend shelf life when storing meals ahead of time or prepping in bulk.
- Cookware Kit: Lightweight and compact, this kit includes a pot, stove, spork, and mesh bag, perfect for rehydrating your meals while backpacking.
- Titanium Spork: A durable, ultralight spork designed for eating meals on the trail.
- Portable Camping Stove: A reliable, wind-resistant stove with piezo ignition, ideal for heating and rehydrating meals during backpacking trips.
If you don’t have a dehydrator yet, you could try using your oven or an air fryer that comes with a dehydrator function. I haven’t tried those methods myself, but they could work if you’re just testing the waters before investing.
My Favorite Gear to Dehydrate Meals for Backpacking


Cosori Food Dehydrator Review: Perfect for Backpacking Meal Prep
If you’re serious about dehydrating your own meals at home, the COSORI Food Dehydrator is my go-to. I’ve used it every month for 4 years to prep meals for backpacking and camping trips. It’s big, powerful, and makes meal prep a breeze. I can dehydrate chicken, turkey, quinoa, mashed sweet potatoes, frozen veggies, fruit leathers, and jerky all at once without worrying about uneven drying.
Key Features of my Cosori Food Dehydrator
- Bigger Than 7 Trays: 6 stainless steel trays with 6.5 ft² drying space, that’s 27% larger than standard 7-tray models, letting you dry more food at once.
- Powerful & Efficient: 600W motor with rear-mounted fan and upgraded airflow dries food faster and more evenly than smaller 480W models.
- Super Quiet: Brushless motor runs under 48 dB, so you can dehydrate overnight without noise.
- Fully Equipped: Comes with 6 dishwasher-safe trays, mesh screen, fruit roll sheet, recipe book, and user manual.
- Precise Control: Digital panel lets you set temperatures from 95–165°F and a timer up to 48 hours.
- Safe & Reliable: Auto shutoff, overheat protection, and food-grade stainless steel construction.
Pros & Cons of Cosori Food Dehydrator
Pros
- Large capacity is perfect for batch prepping meals for multiple trips.
- Quiet operation is great if you dehydrate overnight.
- Consistent results with meats, veggies, fruits, and even yogurt.
- Comes with extras like mesh screen, fruit roll sheet, and a recipe book
Cons
- Bigger footprint: needs counter space.
Cosori Food Dehydrator Verdict
This dehydrator makes homemade backpacking meals super easy and reliable. I use it monthly to prep chicken, turkey, quinoa, mashed sweet potatoes, frozen veggies, fruit leathers, and jerky. Everything comes out perfectly dried every time. The quiet operation lets me run it overnight, and the large trays mean I can prep multiple trips in one go. For anyone serious about meal prep for camping or backpacking, this is hands-down my favorite dehydrator: versatile, durable, and totally stress-free.
COSORI Food Dehydrator

Backpacking Meals Made Easy
- Large 6-Tray Capacity
- Quiet 600W Motor
- Perfect for Meals & Snacks


STEP 1: Prepare Food to Dehydrate Meals
What Foods Can You Dehydrate?
You can dehydrate just about anything, but for backpacking meals, I usually go with quinoa, mashed sweet potato, ground turkey, chicken breast, broccoli, and mixed frozen veggies. I make larger batches of quinoa and sweet potatoes so they’ll last through a few trips, but I rotate meats and veggies more often to keep meals fresh and interesting.
I also bring small containers of olive oil and coconut aminos with me on trail to add flavor during rehydration, but we’ll get into that more later.
Additionally, the recipe book that came with my dehydrator has other ideas too, like jerky, fruit, yogurt, and herbs, if you want to branch out.
Prep Your Food to Dehydrate Meals
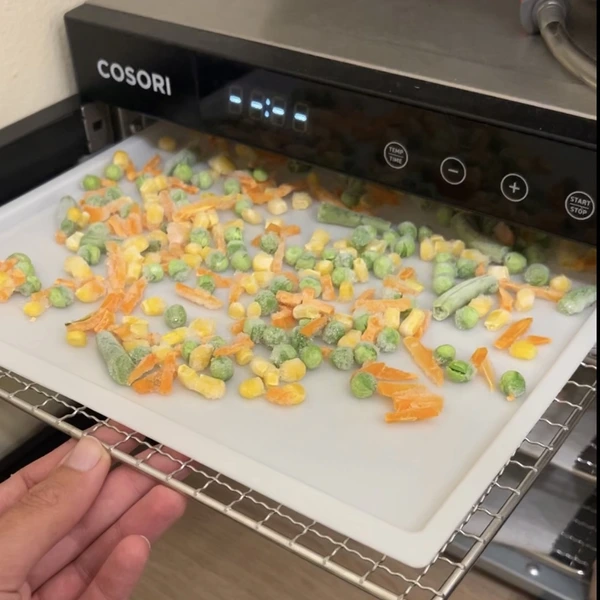
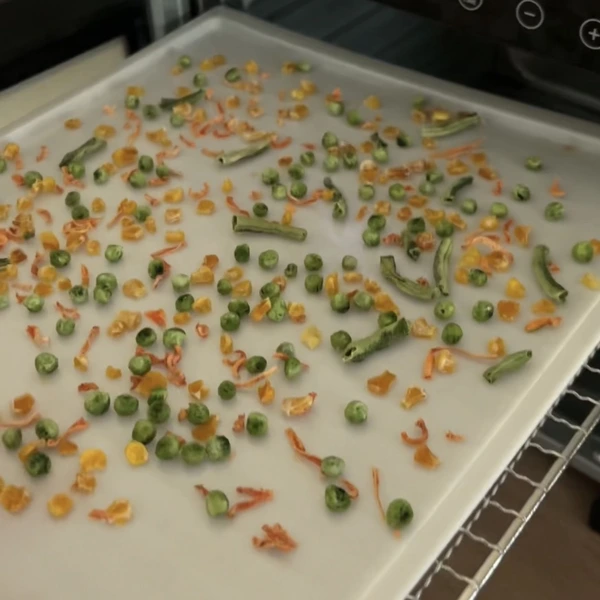
I usually dehydrate store-bought frozen veggies because they’re easy to work with and save prep time. I dehydrate them straight from frozen. Fresh veggies work too, but if you’re using bulkier ones like broccoli or Brussels sprouts, chopping into smaller pieces helps them dry evenly.
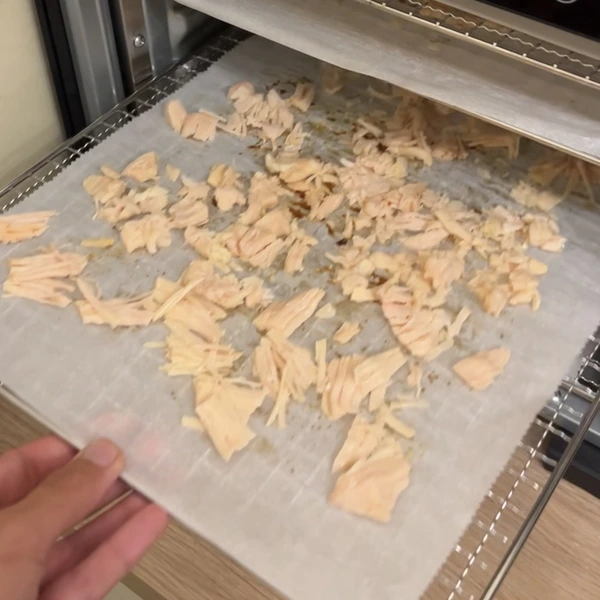
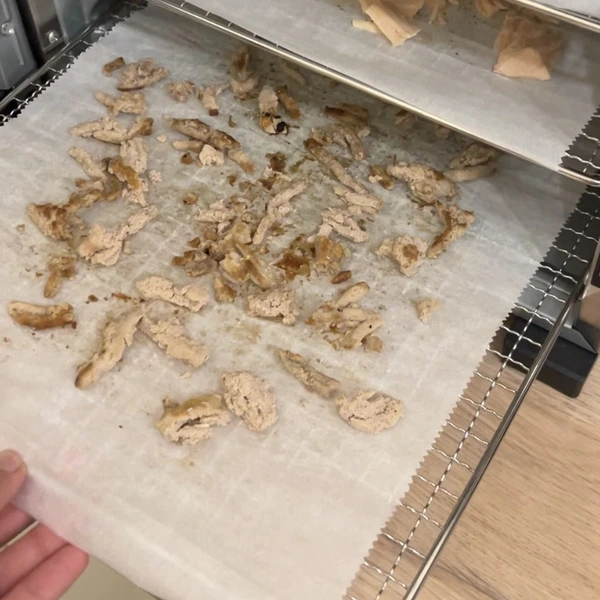
There wasn’t any organic chicken at the store, so I used tinned chicken breast in water. I drain it (my cat LOVES drinking the chicken water) and spread it thinly on the trays.
For ground turkey, I buy the leanest one I can find, cook it in a pan with a little olive oil, salt, and pepper, then rinse it with boiling water to remove excess fat. This helps your food last longer on the trail and keeps it from going rancid.
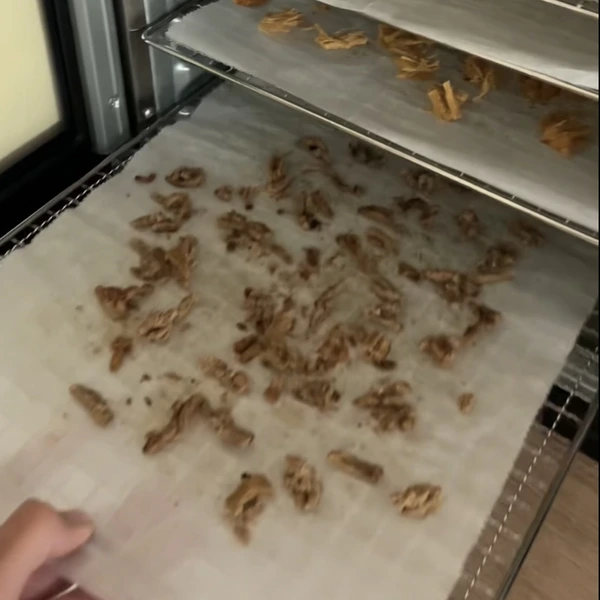
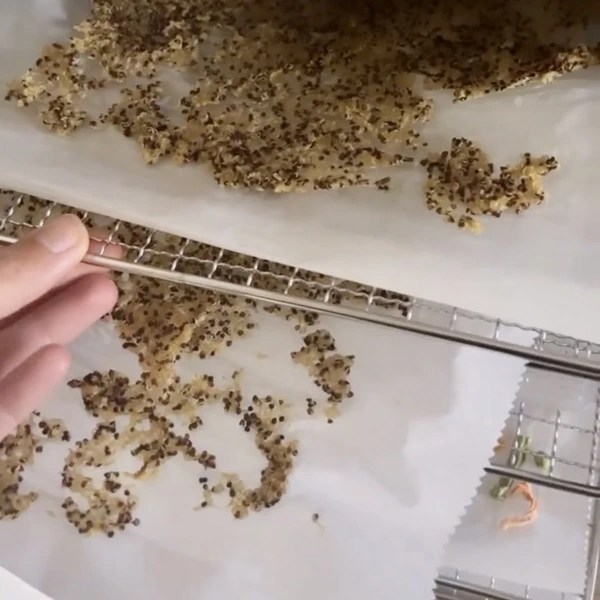
Spread It Out on the Trays
Spread each food in a thin, even layer on the dehydrator trays, using one tray per ingredient if you can. Try not to overcrowd; airflow is key.
I like to use parchment paper for things like quinoa or mashed sweet potatoes. It helps prevent sticking and makes transferring food to bags way easier later.
Optional: Weigh Before and After
If you want to get precise with your rehydration ratios, you can weigh the food before and after dehydrating. I don’t usually bother, but it’s helpful if you’d like to calculate exactly how much water to add later. Just weigh your food on the tray both times; the tray weight won’t change.
STEP 2: Dehydrate Meals for Backpacking Overnight
Time to Dehydrate Your Food
Once your trays are loaded, it’s time to let the dehydrator do its magic! I usually dehydrate meals for backpacking overnight to save energy and take advantage of cheaper electricity rates.
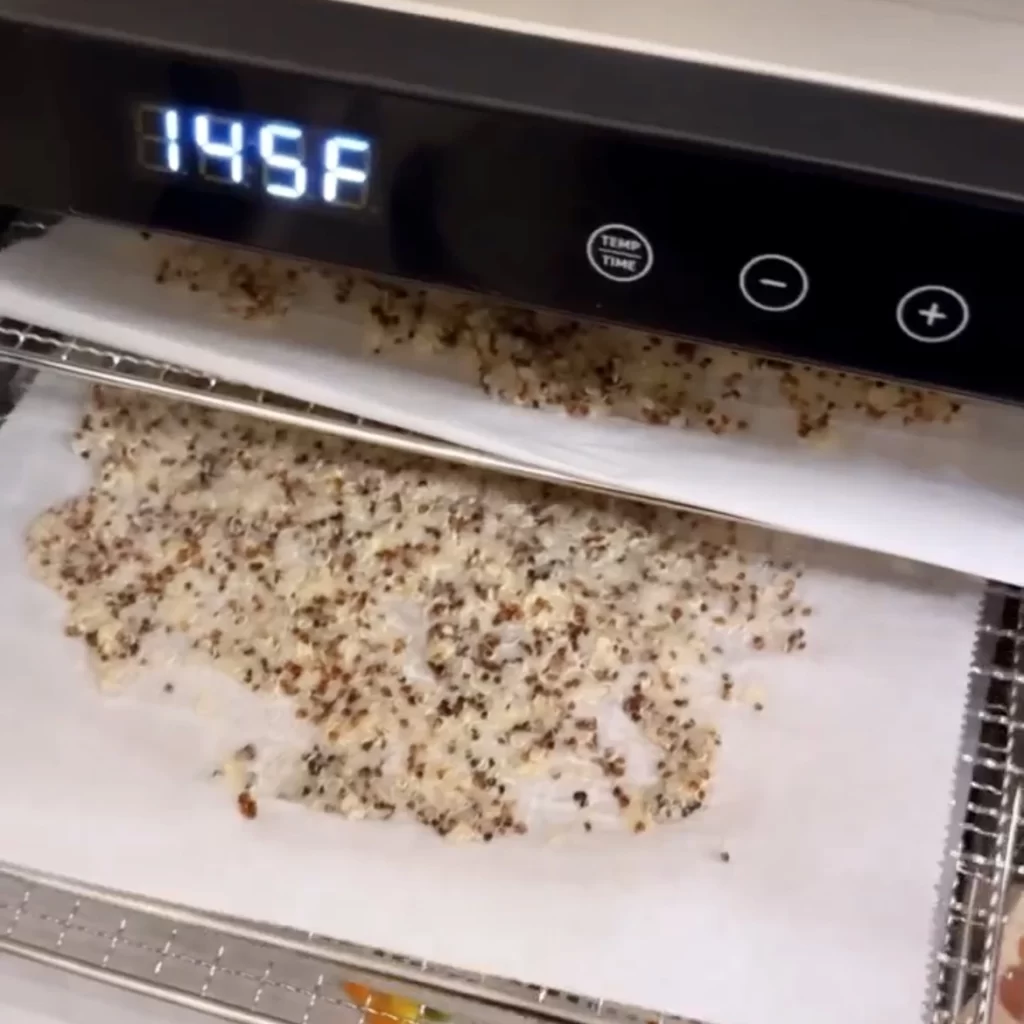
Here are the temperatures and times I typically use:
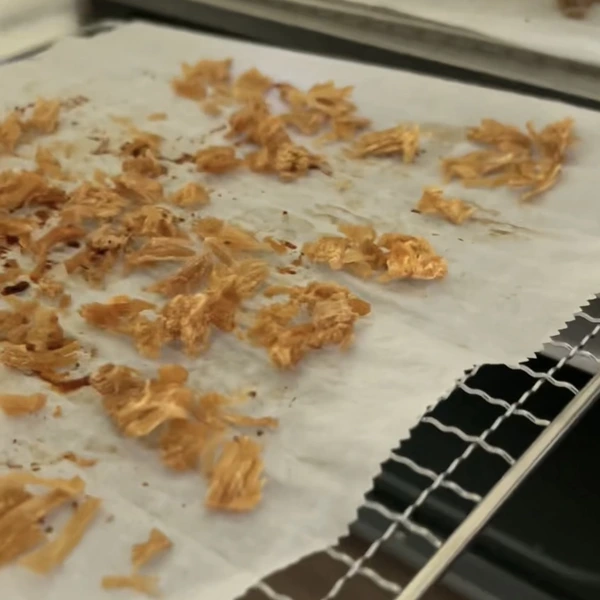
- For meats and veggies like chicken, ground turkey, broccoli, and mixed veggies: set your dehydrator to 145°F (63°C) for about 8 hours.
- For quinoa and mashed sweet potatoes, I use a lower temperature of 125°F (52°C) and dehydrate for around 6 hours.
If you’re unsure, starting with 8 hours at 145°F is a safe bet for most ingredients, but keep an eye on the texture and dryness. You want your food to be completely dry and crisp but not burnt.
Want to see this in action? Check out my quick YouTube Shorts video where I dehydrate quinoa, broccoli, chicken, and sweet potato mash all at once, it turns out perfect every time!
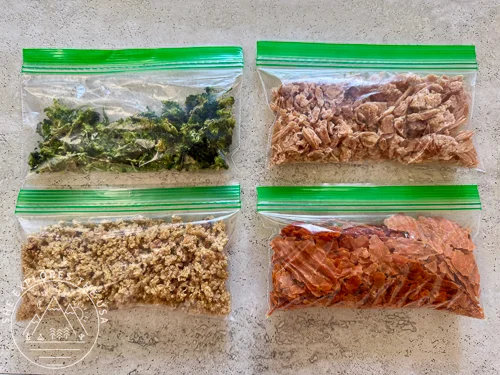
My Havasupai Backpacking Food Setup
Here’s a peek at my 4 dinners of dehydrated meals packed in Ziploc snack-size bags, ready to hit the trail! You’ll also see my favorite flavor boosters: olive oil and coconut aminos, which I add during rehydration to keep meals tasty. Read all about my Havasupai adventure here!!

Havasupai Packing List: What to Bring in 2026
Havasupai packing list! Here’s everything I brought on my backpacking trip to Havasupai, which had been a […]…
STEP 3: Place the dehydrated food in storage bags
Weigh Your Food (Optional)
If you weighed your trays before dehydrating, now is a good time to weigh them again. This helps you figure out the exact amount of water to add when rehydrating your meals. Just remember, because water evaporates during boiling, you’ll want to add a little extra water beyond the weight difference.
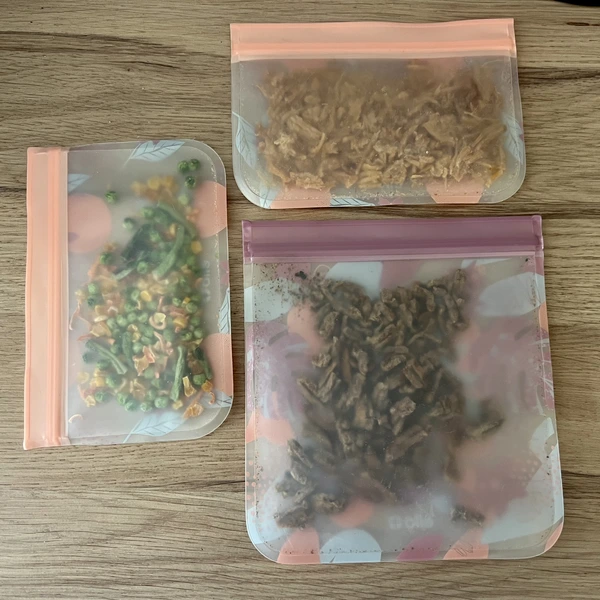
Transfer Your Food to Storage Bags
The next morning, remove your dehydrated food from the dehydrator and transfer it into your storage bags. If you used parchment paper, you can use it as a funnel to make this easier and less messy.
What Bags to Use & Packing Tips
I mostly use Ziploc snack-size bags for backpacking because they’re lightweight and easy to pack, and I reuse them until they’re worn out. For car camping or when I have more space, I prefer silicone reusable bags for their durability and eco-friendliness.
When backpacking, I pack each full meal in a separate Ziploc snack bag to keep my load light and make meal prep on the trail easier.
Optional: Using Oxygen Absorbers
If you want to extend the shelf life of your dehydrated meals, especially if you plan to store them for longer periods, you can add oxygen absorbers to your storage bags. These help reduce oxidation and keep your food fresh.
Pro Tip: Label Your Bags
I like to write the date and contents on each bag with a permanent marker so I can keep track of freshness and what’s inside without opening them when I prepare batches for many trips in advance.
STEP 4: Rehydrate Your Dehydrated Meals
How to Rehydrate Your Dehydrated Meals on the Trail
When it’s time to eat, rehydrating your meals is simple and lets you enjoy delicious, homemade food even miles from home.
I usually use my portable camping stove and pot to boil water. For meats like chicken, I add them to the water as it’s boiling, giving them extra time to soak and soften properly. This helps ensure the meat is fully rehydrated and easy to eat.
Once the meat is rehydrated, I add other ingredients like quinoa or mashed sweet potatoes, along with any seasonings or flavor boosters.
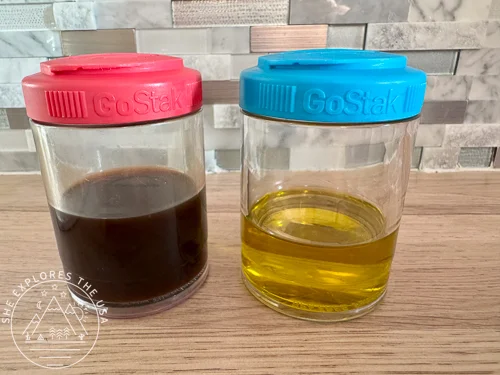
I always bring olive oil and coconut aminos in small travel containers to add extra flavor and richness to my meals.
Tips for Perfect Rehydration
- Use enough water to fully cover the food, but not so much that your meal becomes soupy (unless that’s what you want!).
- Give the food time to absorb the water, usually about 10-15 minutes, depending on the ingredients and temperature.
- Stir occasionally to help the heat and moisture distribute evenly.
Bonus: Store Extra Flavor Boosters
Additionally, adding simple extras like olive oil or coconut aminos makes a big difference in taste and keeps your meals exciting. I pack mine in these compact, travel-friendly liquid storage containers that are lightweight and leakproof, perfect for backpacking!
FAQ: How to Dehydrate Meals for Backpacking
What foods are best for dehydrating for backpacking?
I recommend lean meats like chicken breast and ground turkey, cooked quinoa, mashed sweet potatoes, and mixed veggies such as broccoli and frozen blends. These foods rehydrate well and provide good nutrition on the trail.
Can I dehydrate food without a dehydrator?
You can try using your oven or an air fryer with a dehydrating function, but results may vary. A food dehydrator offers the best control and consistent drying, especially for meats and mixed meals.
How long does it take to dehydrate meals at home?
Typically, meat and veggies take around 8 hours at about 145°F, while quinoa and mashed sweet potatoes take about 6 hours at 125°F. Exact times can vary based on thickness and moisture content.
How do I rehydrate dehydrated meals on the trail?
Boil water using a portable stove, then add dehydrated meat and veggies first to soak until soft (about 10-15 minutes). Afterward, add grains or mashed veggies and seasonings. Adding olive oil or coconut aminos can boost flavor.
How should I store dehydrated meals for backpacking?
I use Ziploc snack-size bags for lightweight, easy packing and reuse them until worn out. For longer storage, adding oxygen absorbers helps keep meals fresh longer. Silicone reusable bags are a great, eco-friendly alternative.
Can I dehydrate meals in advance for multiple trips?
Absolutely! Label your bags with the date and contents using a permanent marker. This helps keep track of freshness and makes packing for trips quick and easy.
Are dehydrated meals nutritious enough for backpacking?
Indeed, dehydration preserves most nutrients, including protein and vitamins. You can customize your meals to ensure balanced nutrition and cater to any dietary needs or allergies.
Final Thoughts on How to Dehydrate Meals for Backpacking
I hope this tutorial was helpful! While a food dehydrator might feel like an investment at first, it’s absolutely worth it if you love camping, hiking, or backpacking. Think about how much you can save compared to buying individually packaged backpacker meals, and how much control you have over what you eat.
Dehydrating your own meals is easier than you might expect, and it makes your outdoor adventures even more enjoyable and tasty. So, what will you try dehydrating first?
Post originally published on July 11, 2023, and last updated on April 4, 2026.