Cuyamaca Peak Hike: My New Favorite in San Diego
DISCLOSURE: This post may contain affiliate links. If you purchase after clicking one of my links, I may earn a small commission at no extra cost to you. As an Amazon Associate, I earn from qualifying purchases. For more information, see my disclaimer.
For my third hike in the San Diego Six Pack of Peaks challenge, I climbed Cuyamaca Peak on a late Saturday afternoon to reach the summit just in time for sunset. Located within Cuyamaca Rancho State Park, Cuyamaca Peak offers a spectacular hiking experience. Below, I’ve compiled everything you need to know about hiking Cuyamaca Peak. I’ve also included a Relive video to provide a visual glimpse of what this hike is truly like. Enjoy the adventure!
- Preparing for the Cuyamaca Peak Hike
- Gear Recommendation for the Cuyamaca Peak Hike
- The Ascent and Scenic Views to Cuyamaca Peak
- Reaching the Cuyamaca Peak Summit and Enjoying a Break
- The Descent Via The Paved Service Road
- Relive my Cuyamaca Peak hike
- FAQ About the Cuyamaca Peak Hike
- Final Thoughts on the Cuyamaca Peak Hike
Planning a winter hike? Click here to see what Cuyamaca is like in the snow. Or check out my guides to the other San Diego Six Pack of Peaks hikes to complete your challenge!
Preparing for the Cuyamaca Peak Hike
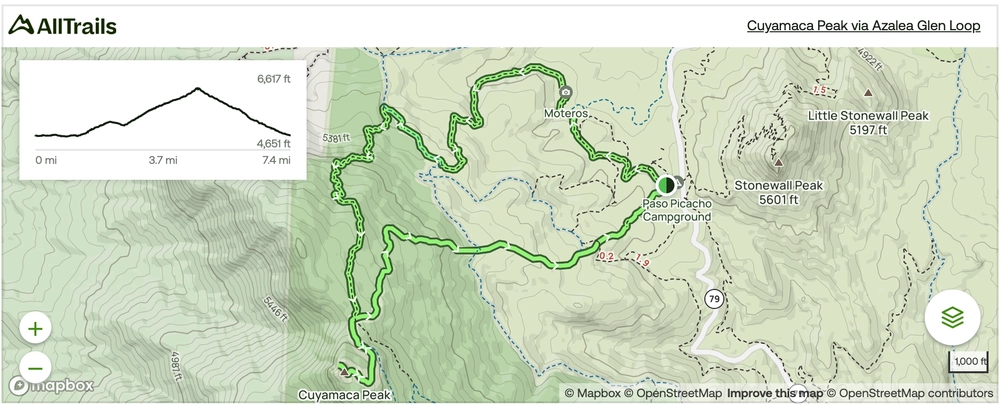
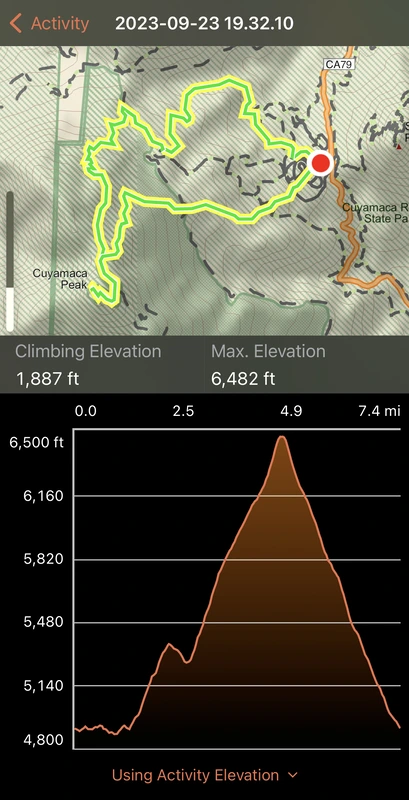
Cuyamaca Peak is a 7.4-mile hike located in Cuyamaca Rancho State Park, near San Diego, California. According to my GPS tracker, the hike has an elevation gain of 1,887 ft, and it took me two hours and 41 minutes of moving time to complete it. To break it down, that’s two hours to go up and approximately 41 minutes to get back down. When you factor in photo breaks, I was back at my car after three hours and 17 minutes.
The trail is rated as moderate on AllTrails, and it truly lives up to that rating. Especially if you take the Azalea Glen Loop Trail to go up and return via the service road, the ascent will be relatively easy.
IMPORTANT: If you choose to take the service road up, then the hike will be a lot harder, and you’ll be hiking on a steep paved road the whole time. But if you do that, and also come back down the service road, then your favorite furry companion could join you on the hike. Otherwise, leave your dog at home!
Quick Hike Stats
- Distance: 7.4 mi; Elevation gain: ~1,887 ft
- Summit elevation: 6,512 ft (2nd highest in SD County after Hot Springs Mountain)
- Duration: ~3–4 hours round-trip
- Difficulty: Moderate
Cuyamaca Peak Trail Map
🥾 Plan Smarter Hikes with AllTrails
AllTrails is my go-to for trip planning, from checking trail reviews to downloading maps, navigating from my phone, and sending routes straight to my Garmin 67i. Offline maps, alerts, and AI route planning make upgrading to Plus & Peak worth it!
Cuyamaca Peak Hike: Trailhead & Parking Information
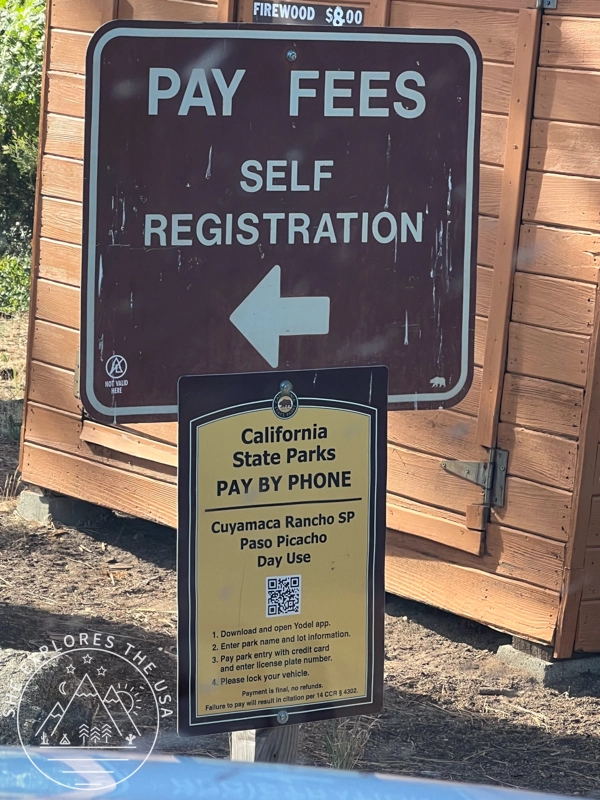
The Cuyamaca Peak trailhead is located inside the Paso Picacho campground, near the entrance. There is a day-use parking area for a $10.00 fee. The fee is payable at the Rangers station, and credit cards are accepted, but there’s also a self-registration station if you come outside of the Rangers’ working hours.
Please note that the park doesn’t use the Yodel app anymore.
Cuyamaca Peak Hike Preparation Tips
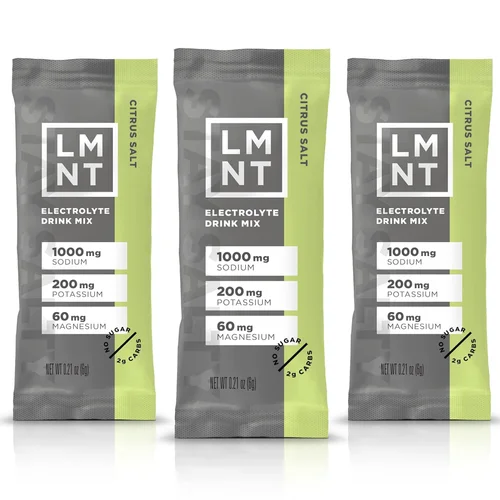
I started my hike after 4 p.m., so it was not hot. A large section of the trail is through a forest, providing ample shelter from the wind. However, you would be exposed to the sun in the middle of the day in some other sections. So, of course, don’t forget your sunscreen, plenty of water, and some electrolytes!
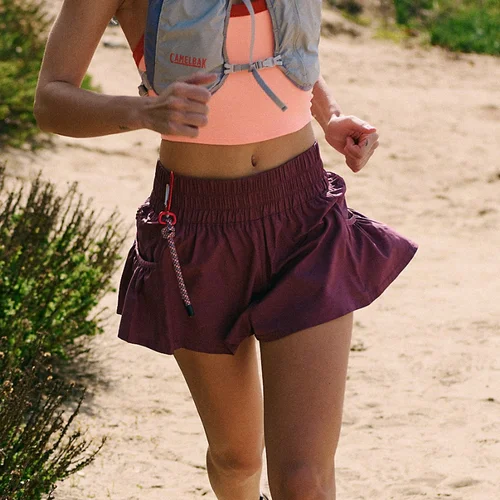
As for my clothing, I was wearing this Free People skort and a tank top, which was the perfect outfit for the hike up. However, it’s essential to note that it was super windy at the summit, and I found myself shivering the whole time up there. I couldn’t wait to get walking down, just to feel warm again. Therefore, it’s advisable to bring another layer with you for the summit!
Additionally, there were no bugs when I went, which was just lovely. The only wildlife I encountered was a squirrel at the very beginning. However, I have seen deer and snakes in the area on other occasions, and I’ve heard that mountain lions could also be around. So, it’s important to be prepared and know what to do if you encounter them.
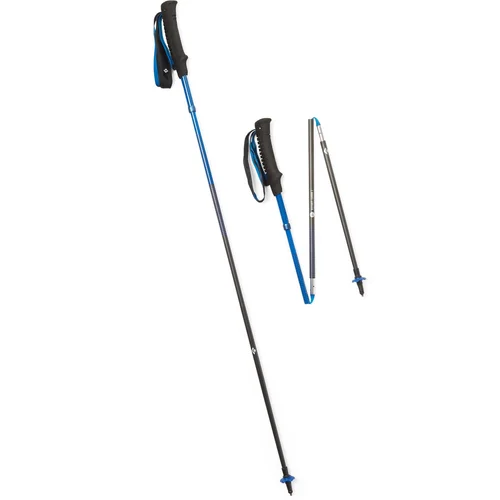
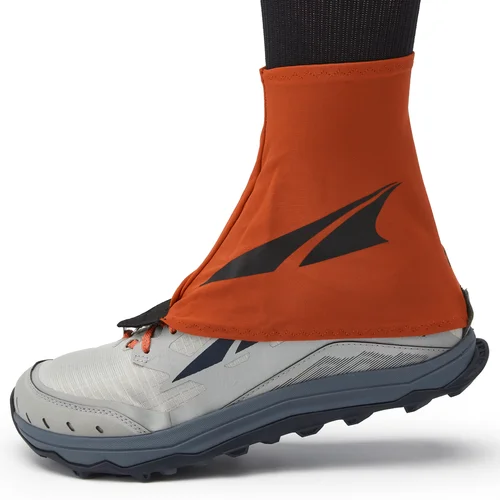
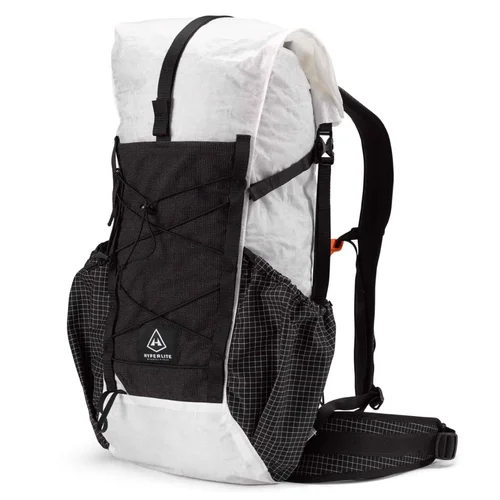
Gear Recommendation for the Cuyamaca Peak Hike
In addition to the ten essentials, check out these gear recommendations below. You can also find all my go-to hiking gear in my curated outdoor gear shop.

Cuyamaca Peak Snow Hike: Winter Adventure Guide
Last year, while I was tackling the San Diego Six Pack of Peaks Challenge, I stumbled upon the enchanting beauty…
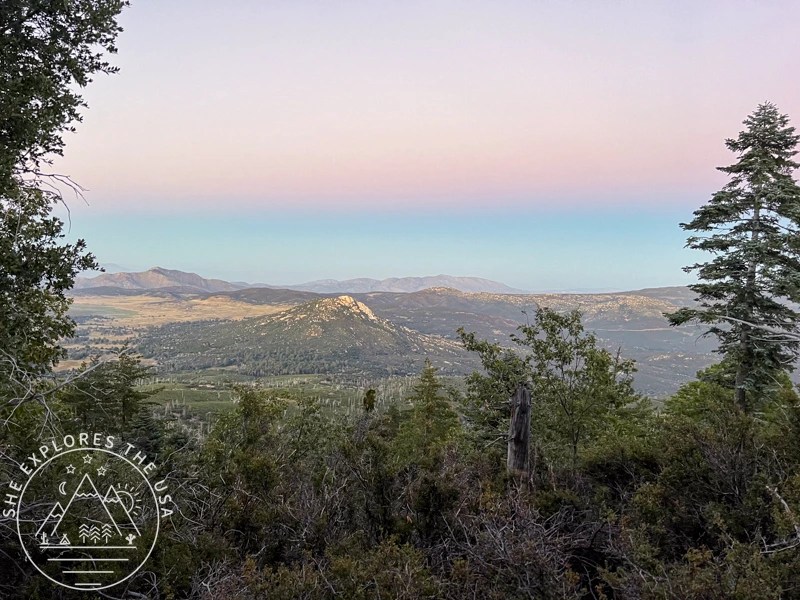
The Ascent and Scenic Views to Cuyamaca Peak
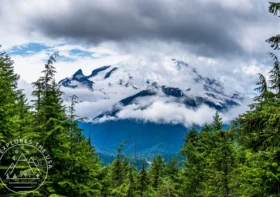
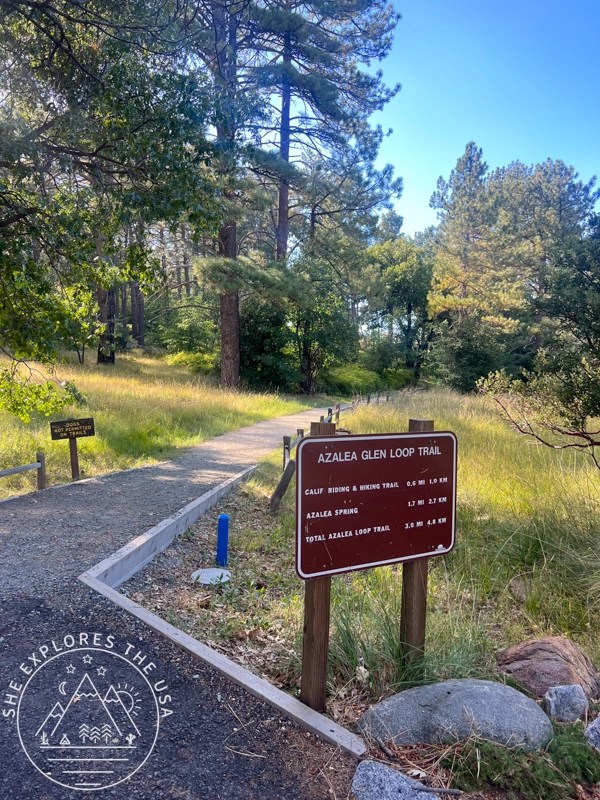
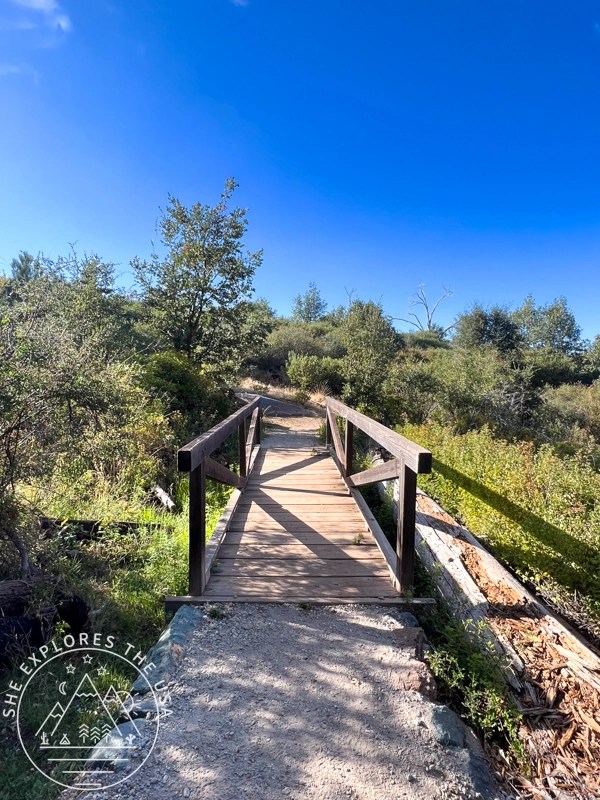
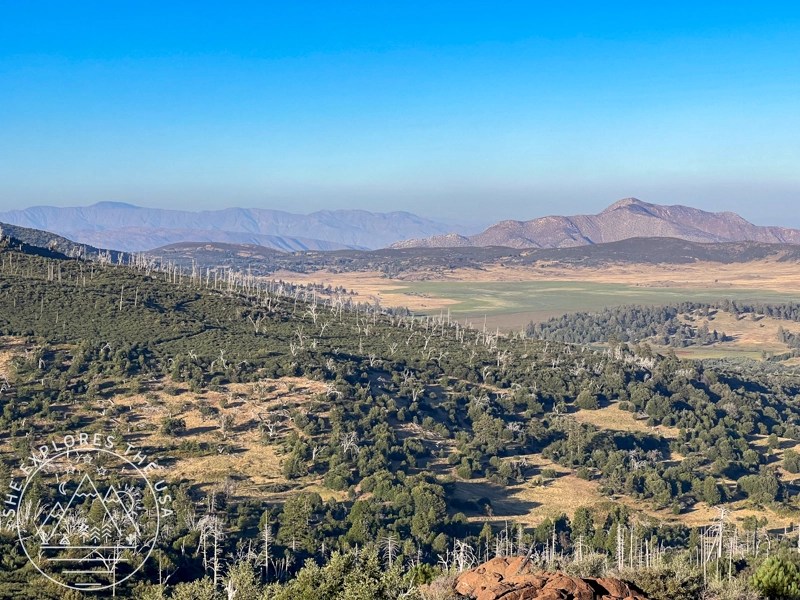
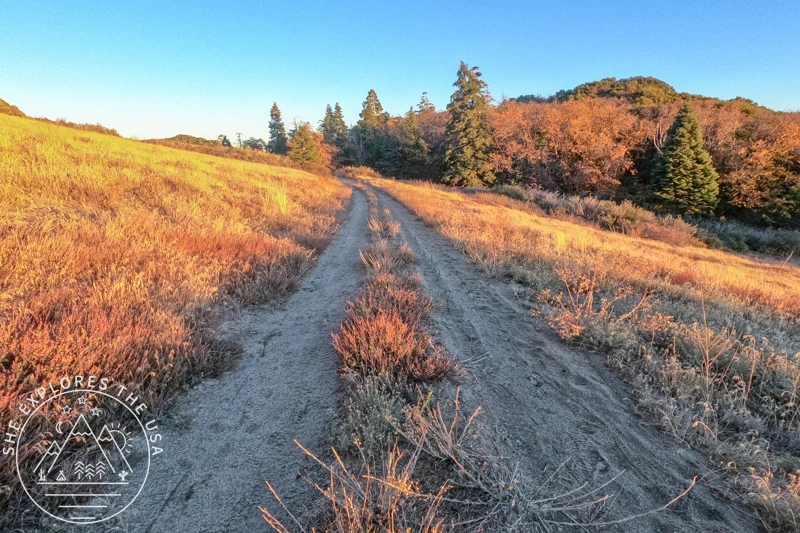
The trail is very well-marked and starts off close to the day-use parking area. The beginning is pretty much flat or a slight incline at most. You’ll cross a couple of wooden bridges and encounter multiple forks. Make sure you stay on the Azalea Glen Loop trail. Soon, you’ll enjoy beautiful views of Middle Peak in front of you, and Stonewall Peak on your right (sort of behind you).


You’ll soon reach a section with an overwhelming amount of downed cut-down trees, which is a great reminder of how much manual labor has been put in by the state park to maintain this trail for us all to enjoy.


You’ll then walk on the Azalea service road. However, that intersection is a little counterintuitive if you’re not following your map. Make sure to take the road going down to follow the right trail.
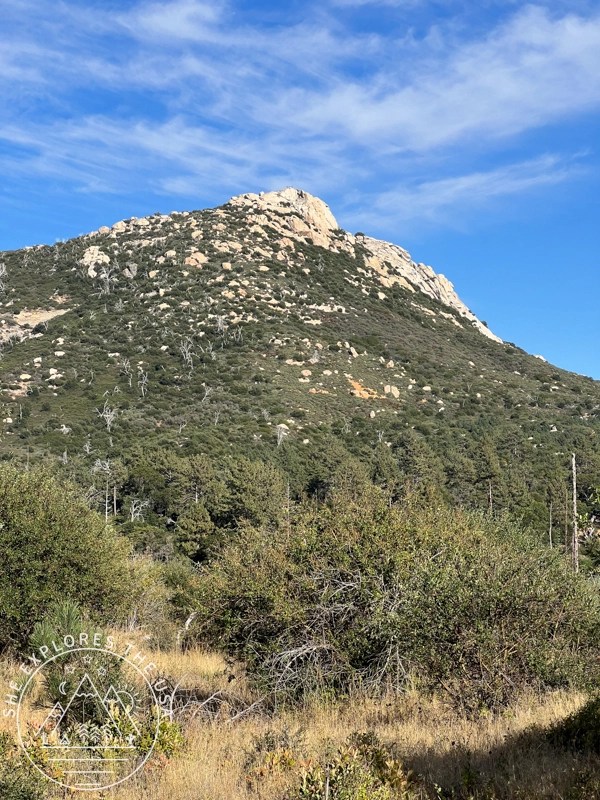
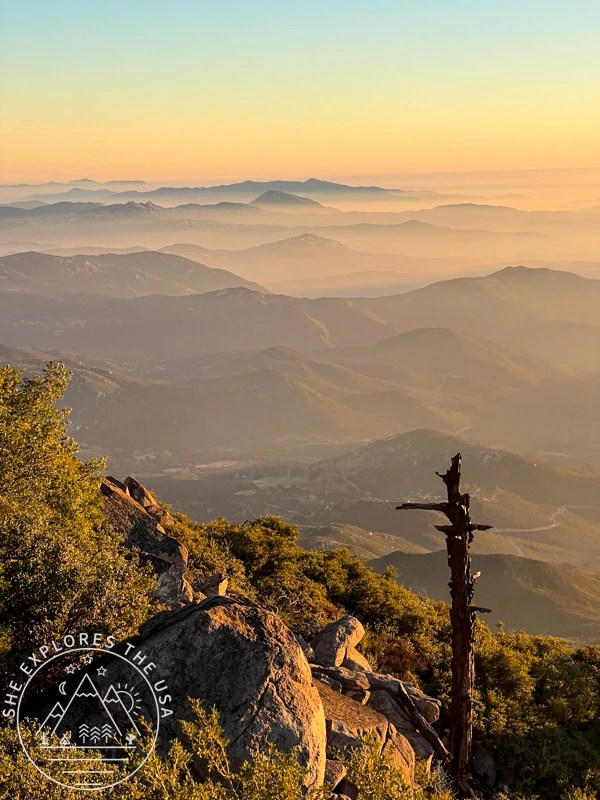
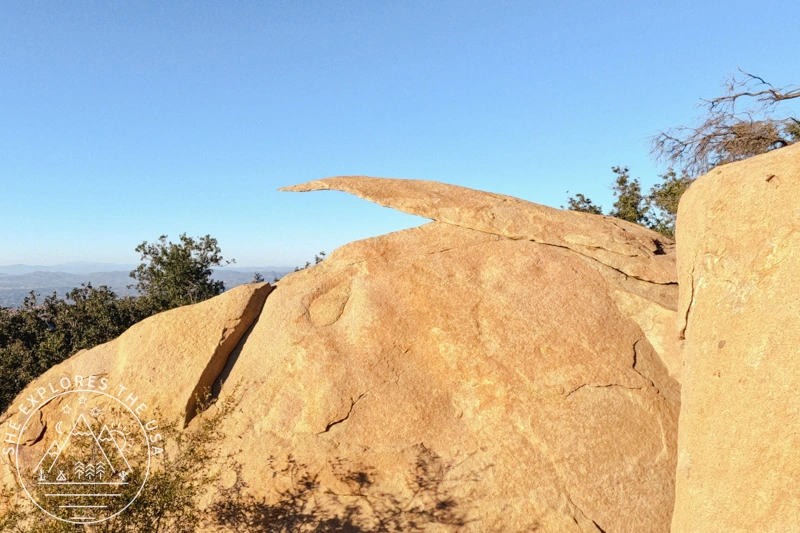
Further down, you’ll find a trail branching off on the left. This trail will take you through a scenic climb to the peak. As you continue, the trail becomes rocky and steeper, but it’s a nice, steady incline. I found it to be very enjoyable, and the views got better and better!


The last section to the peak is walking on the paved service road, which is considerably steeper than the rest of the trail has been so far. However, it’s a paved road, so it’s easy on the ankles and predictable. Therefore, I found it easier to walk backward on it; that way, I could enjoy the view and rest my calves a little.


Reaching the Cuyamaca Peak Summit and Enjoying a Break
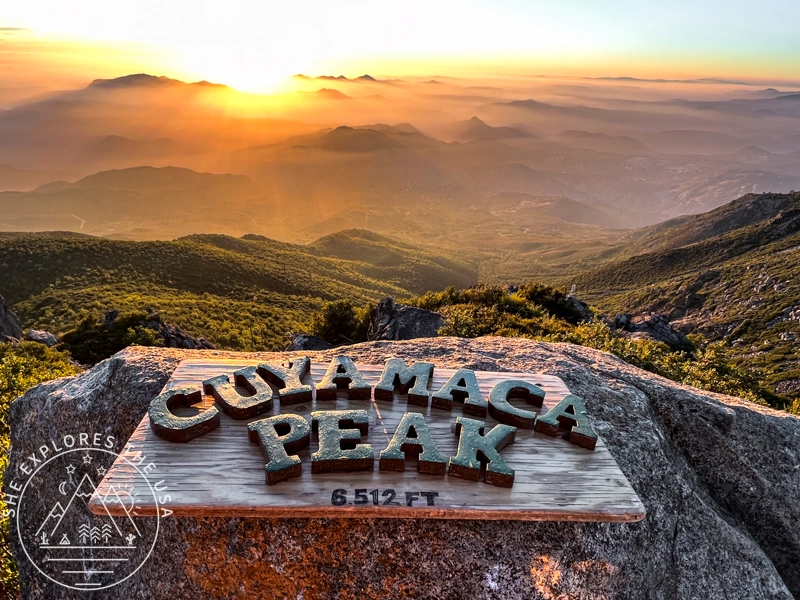
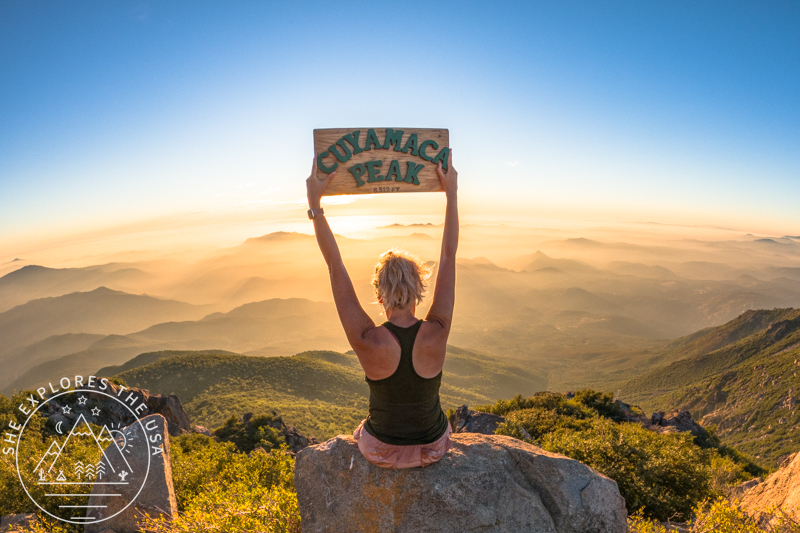
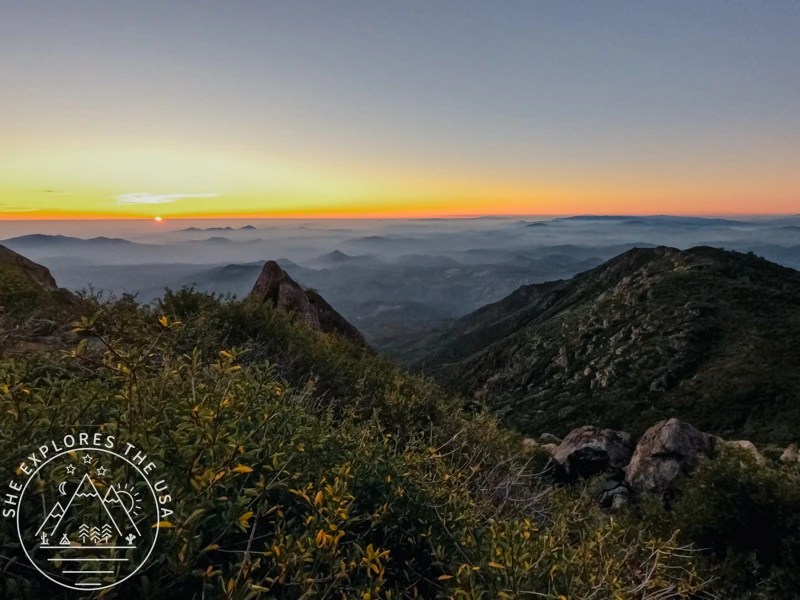
After around two hours, I finally reached the top, just in time for the golden hour. And wow, the views were just mesmerizing!! However, the peak was quite windy and very chilly, so I found myself freezing and shivering the whole time up there. Unfortunately, I hadn’t taken an additional layer with me. Consequently, I took my photos and videos as fast as I could to make my way back down as soon as the sun disappeared below the horizon.


The Descent Via The Paved Service Road
The fastest descent on this route is via the service road, which leads back down. After that, the last few steps back to the parking lot are made through the campground itself. Notably, the service road is fairly steep, which is why it’s better to take it down rather than up. It took me less than 45 minutes to get back to my car using this route. While the views along this path aren’t as scenic as the longer route via Azalea, it was getting dark anyway. So, I just focused on getting back to my car as fast as possible without actually running.


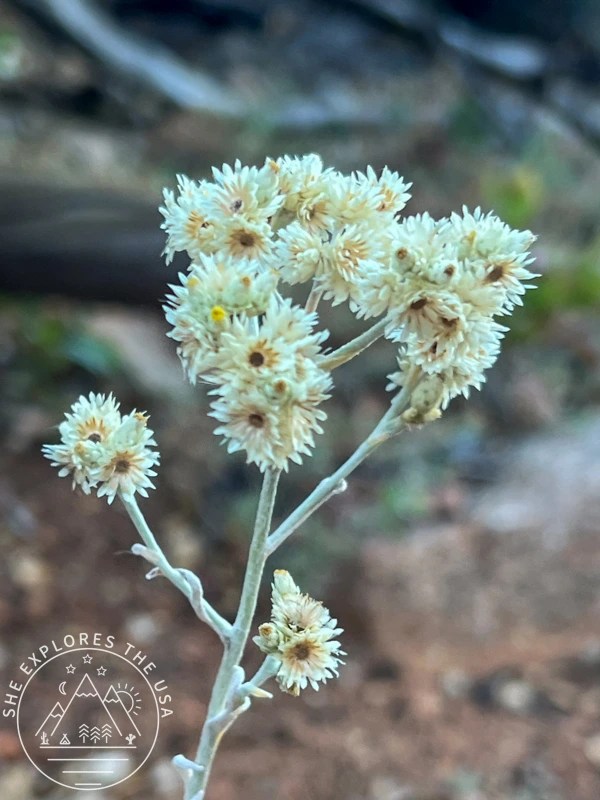
Pretty flowers on this hike


Relive my Cuyamaca Peak hike
If you’ve seen my posts before, you’ll know I typically use Relive to make a movie of my hikes. I love how it gives a better perspective of the terrain.
I use the free version, so the video quality is not the best, but it’s pretty good for being free. Best of all, I don’t need to track with Relive, it connects to the Garmin app.
FAQ About the Cuyamaca Peak Hike
How long is the Cuyamaca Peak hike?
About 7.4 miles round-trip with 1,887 feet of elevation gain.
Can you bring dogs to Cuyamaca Peak?
Only if you use the paved service road both up and down. Otherwise, dogs aren’t allowed on the trail.
What’s the elevation of Cuyamaca Peak?
The summit sits at 6,512 feet, making it the second-highest peak in San Diego County.
Where do you park for the hike?
At Paso Picacho Campground. Day-use parking is $10.
Is there snow on Cuyamaca Peak?
Yes, sometimes in winter. Here’s my winter hike recap.
Final Thoughts on the Cuyamaca Peak Hike
Hiking Cuyamaca Peak made my day! It was such a fun adventure and a peak I will definitely climb again in the future. I highly recommend this hike to anyone considering it.
Furthermore, I am now halfway through the San Diego Six Pack of Peaks challenge and already thinking about signing up for the Southern California challenge for 2024!
So, what about you? Have you hiked Cuyamaca Peak before? If not, what are you waiting for? Head over to the trailhead now! You’ll be glad you did! And you can sign up for the San Diego Six Pack of Peaks challenge here to experience it for yourself!
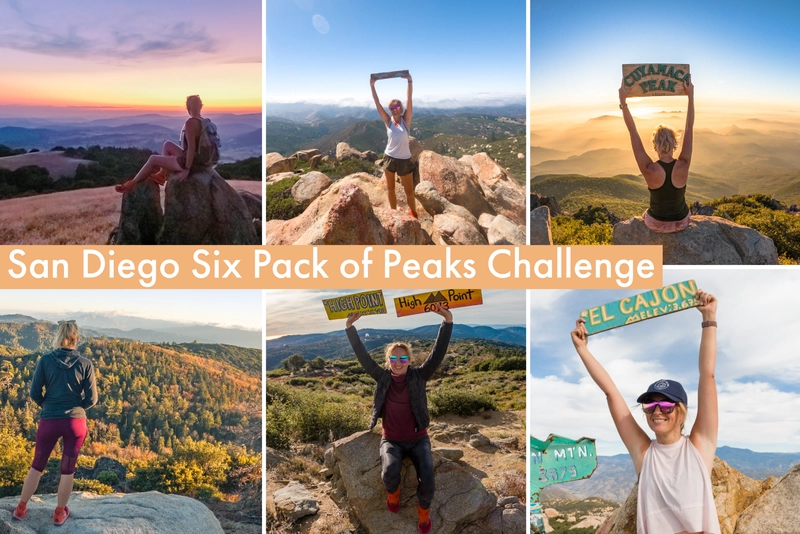
The San Diego Six Pack of Peaks Hiking Challenge
In 2023, I took on the San Diego Six Pack of Peaks Challenge. I signed up in late July, giving…
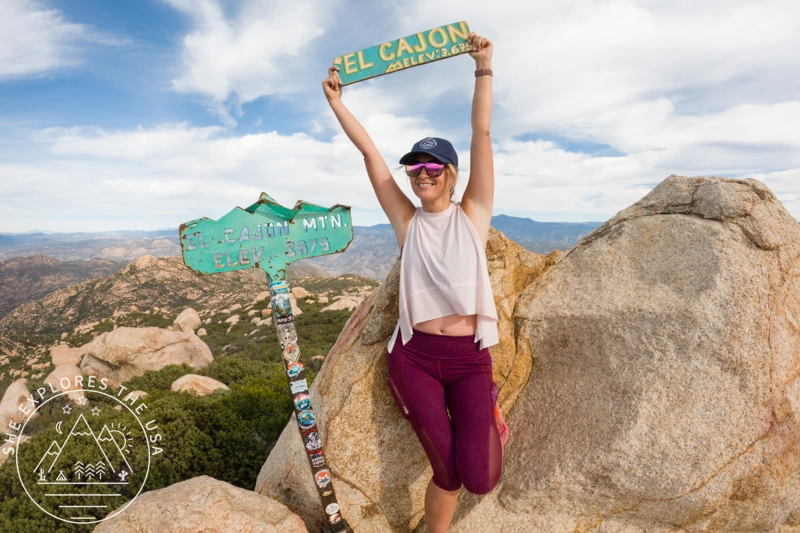
El Cajon Mountain Trail: Hardest Hike in San Diego
El Cajon Mountain was my mission last Sunday, taking on this last hike as part of the San Diego Six…
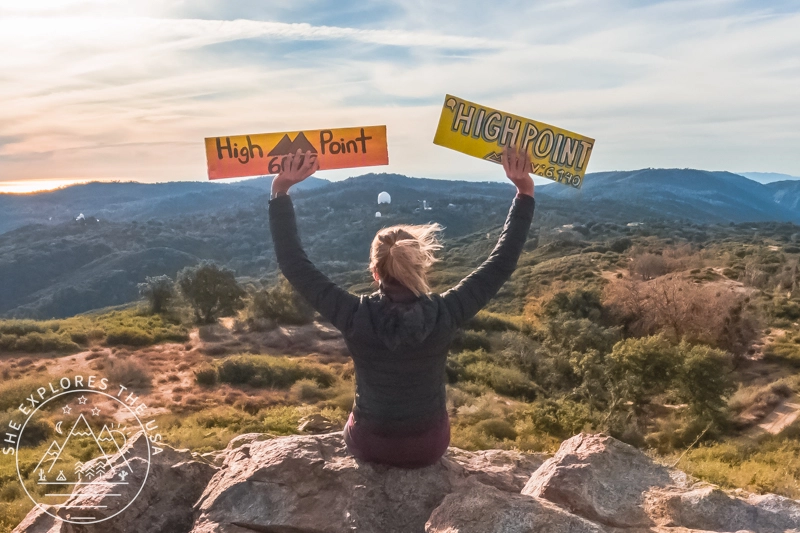
Oak Grove Trail to High Point: Hike & Lookout Guide
Embarking on the Oak Grove Trail to High Point hike is a journey through breathtaking landscapes, challenging […]…
Hot Springs Mountain Trail: San Diego’s Highest Peak
Tucked in the scenic landscapes of Warner Springs, California, the Hot Springs Mountain Trail provides a challenging […]…
Hiking Potato Chip Rock via Mount Woodson in San Diego
Situated in Poway, just northeast of San Diego, California, Potato Chip Rock is a favorite among local hikers and visiting…
Cuyamaca Peak Hike: My New Favorite in San Diego
For my third hike in the San Diego Six Pack of Peaks challenge, I chose to climb Cuyamaca Peak on…
Post originally published on September 24, 2023, and last updated on April 26, 2026.