Mount Rainier National Park Itinerary in Bad Weather

DISCLOSURE: This post may contain affiliate links. If you purchase after clicking one of my links, I may earn a small commission at no extra cost to you. As an Amazon Associate, I earn from qualifying purchases. For more information, see my disclaimer.
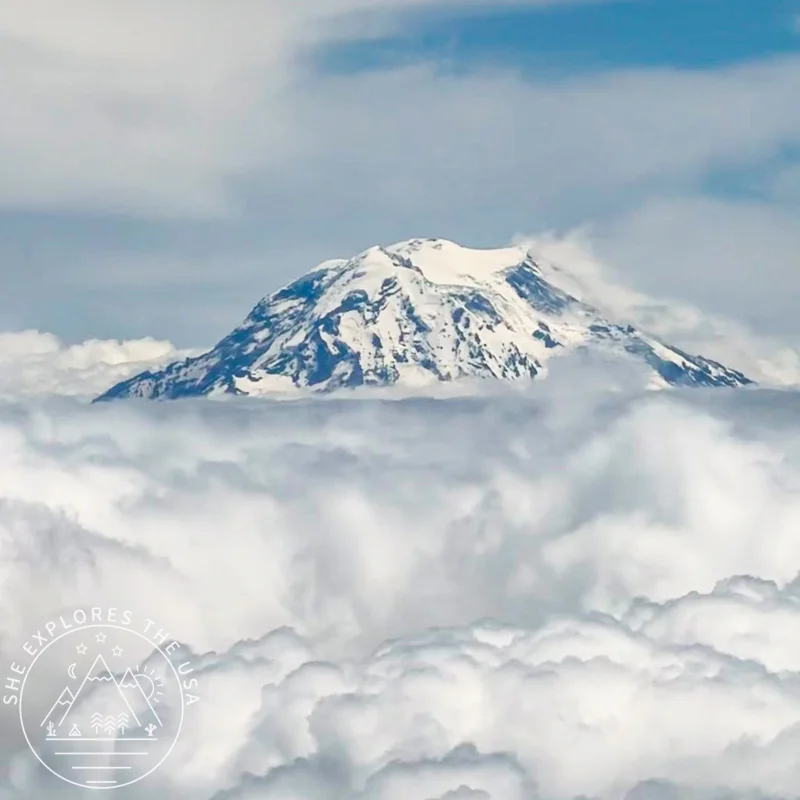
If you’re looking for a realistic Mount Rainier National Park itinerary that holds up when mountain weather turns, this guide is for you. I spent two full days exploring the park on a four-day, three-night trip, with my first and last days dedicated strictly to travel. After catching a lucky view of Rainier’s peak floating above the clouds from my airplane window, the sunny forecast quickly gave way to rain, thick fog, and unexpected summer snow. Below, I’m sharing my exact two-day route, rainy-day trail alternatives, and practical tips so you can make the absolute most of your trip, rain or shine.
- Mount Rainier National Park Trip Overview
- Gear That Saved My Mount Rainier National Park Trip
- My 4 Day Mount Rainier National Park Itinerary (4 Days, 3 Nights)
- Day 1 at Mount Rainier National Park: Arriving at Paradise Inn
- Day 2 at Mount Rainier National Park: Hiking Skyline Loop Trail
- Day 3 at Mount Rainier National Park: Exploring Beyond Paradise
- Day 4: Leaving Mount Rainier National Park
- The Mount Rainier View I Finally Got on My Way Home
- What I Wish I Knew Before Visiting Mount Rainier National Park
- Frequently Asked Questions About Mount Rainier National Park
- Final Thoughts About Mount Rainier National Park
Mount Rainier National Park Trip Overview
- Dates visited: June 27-30
- Duration: 4 days, 3 nights (2 full days in the park)
- Where I stayed: Paradise Inn
- Weather: Rain, fog, snow, and limited visibility
- Best surprise: Finally seeing Mount Rainier appear unexpectedly before flying home
- Would I visit again? Absolutely
Hikes taken at Mount Rainier National Park
- Skyline Loop with Golden Gate Trail
- Tipsoo Lake Loop
- Bench Lake and Snow Lake Trail
- Narada Falls Trail
Gear That Saved My Mount Rainier National Park Trip
One thing this trip reminded me of is that the right gear matters, especially when visiting a place like Mount Rainier National Park, where the weather can change quickly. I packed expecting rain and colder conditions, and a few items made a huge difference.
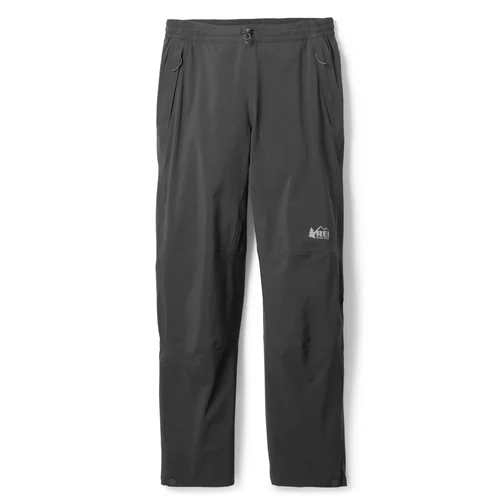
XeroCloud 3L Rain Pants
The gear item that probably saved my trip the most was my XeroCloud 3L Rain Pants. With several days of rain and wet trails, having waterproof pants meant I could still enjoy hiking instead of spending the entire day soaked. These were one of the best decisions I made for this trip.
Rain Jacket
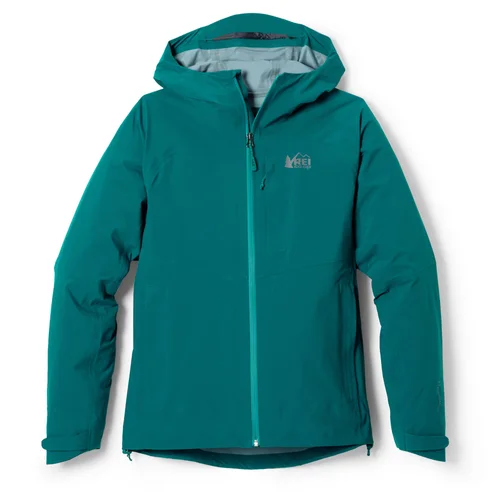
My rain jacket is the previous version of the XeroCloud Rain Jacket. I love that they have zips under the armpits to keep ventilation flowing, so I don’t drown in sweat.
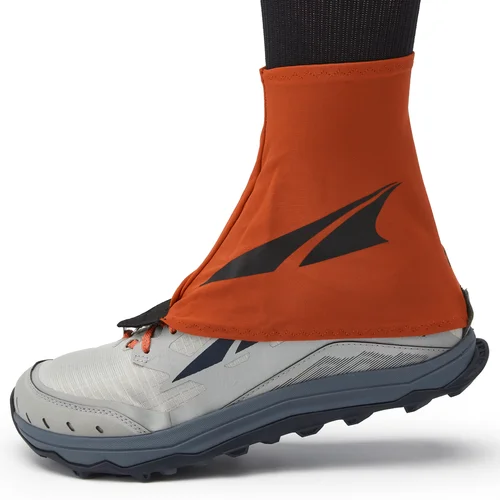
Hiking Shoes and Gaiters
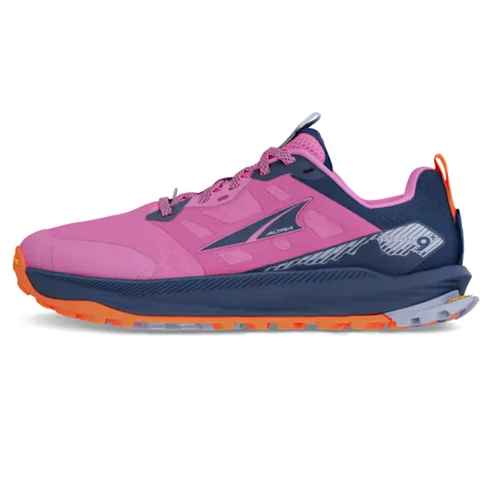
I wore my Altra Lone Peak 9+ trail shoes for this trip. They are not waterproof, so my feet did get wet, but they also dried quickly, which worked well for me. I also wore gaiters, which helped keep rain, mud, and debris out of my shoes while hiking through wet trails and snowy sections.
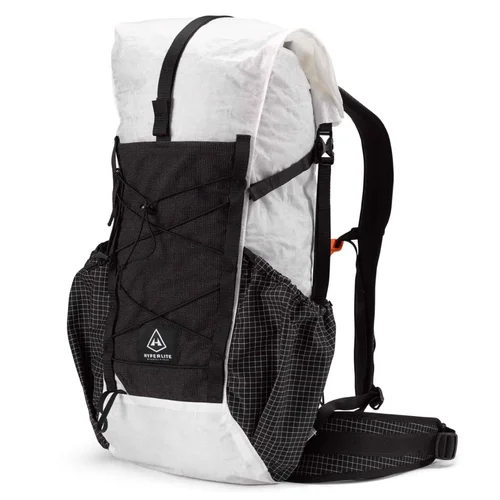
Backpack and Navigation
My Hyperlite Mountain Gear Elevate 22 backpack was perfect for this trip because it also works like a dry bag. I love that it is ultralight, which means I can carry heavier camera gear without adding unnecessary weight from the backpack itself. The Dyneema fabric also helped protect my Sony camera, lenses, and electronics from the constant rain. With the constant rain, having extra protection for my gear gave me peace of mind.
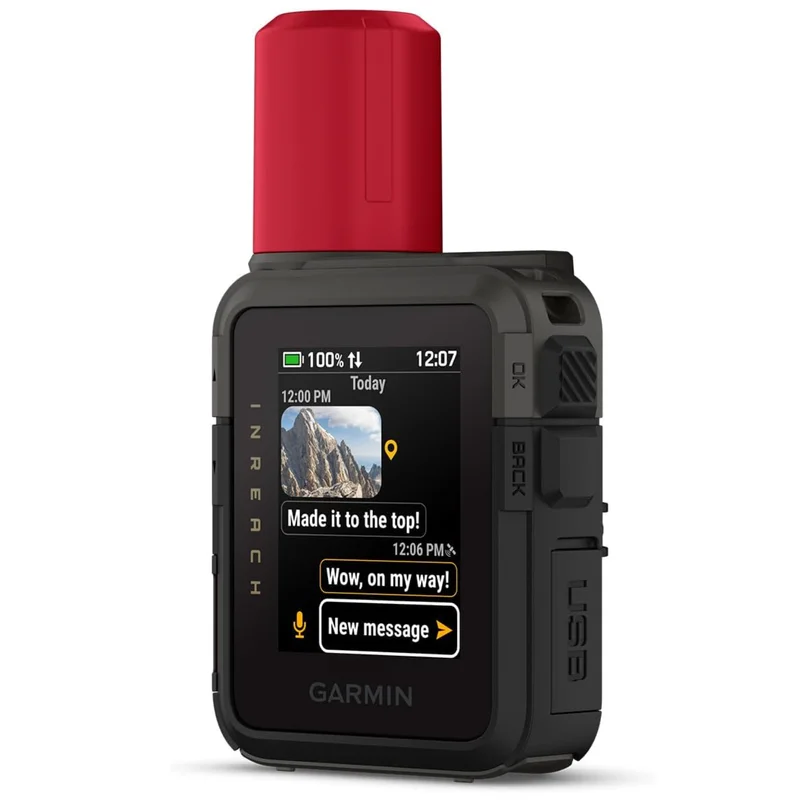
I also carried my Garmin GPSMAP 67i for navigation and safety while exploring the park.
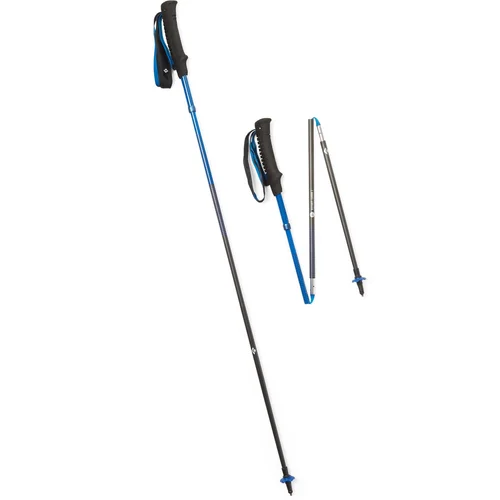
Trekking Poles
I never hike without my Black Diamond Distance Carbon Z trekking poles. They’re ultralight and weigh almost nothing, so there’s no downside to carrying them. Skyline Loop is fairly steep, especially at the beginning and end, and they made both the climbs and descents much easier on my knees.
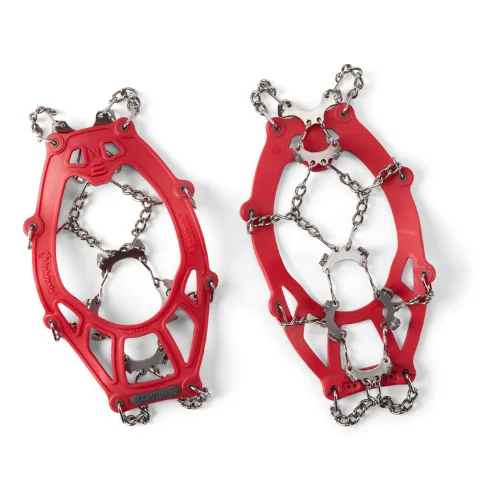
Microspikes
I also packed my microspikes because there was still quite a bit of snow on the trails in late June. I didn’t end up needing them, but I was glad to have them with me. If there had been a little more snow or icier conditions, I definitely would have put them on. Even if you don’t use them, they’re one of those items that’s worth carrying just in case, especially when hiking Mount Rainier early in the season.
Camera Gear
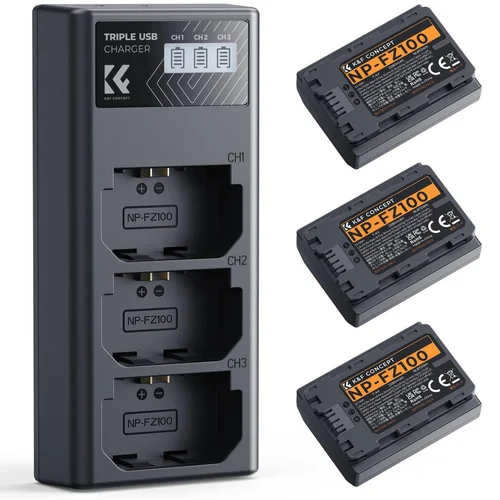
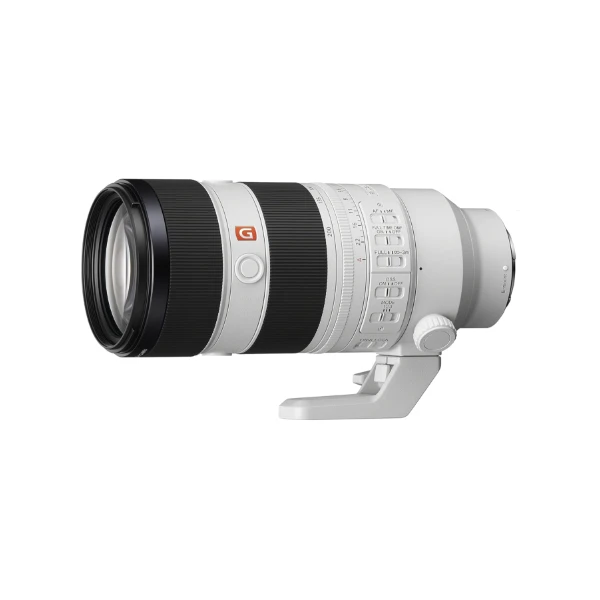
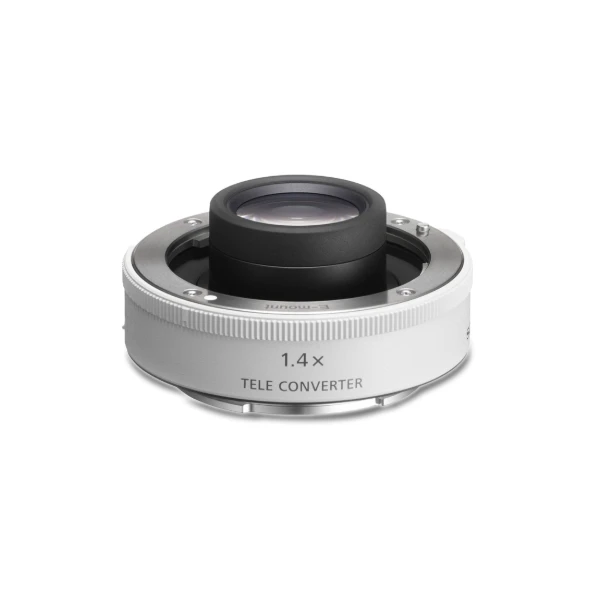
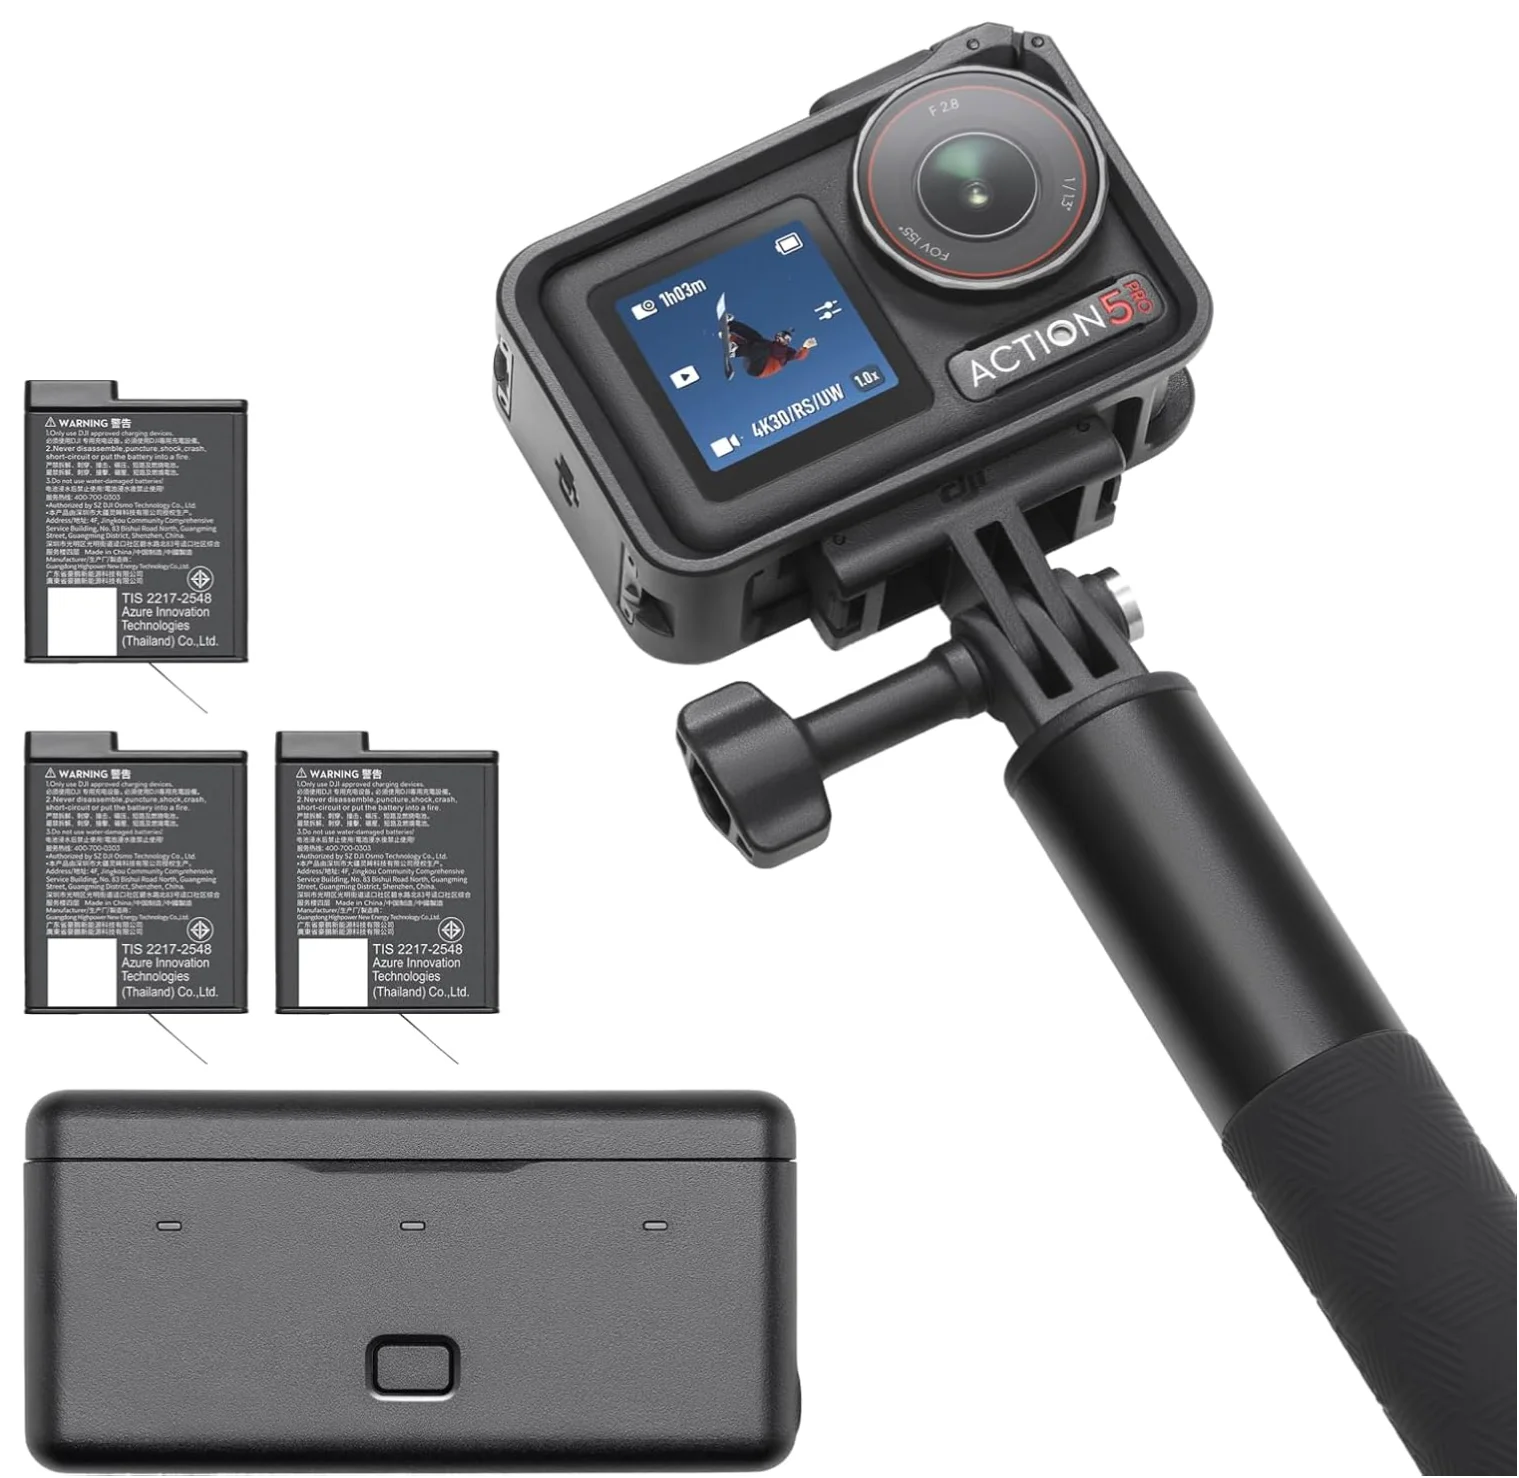
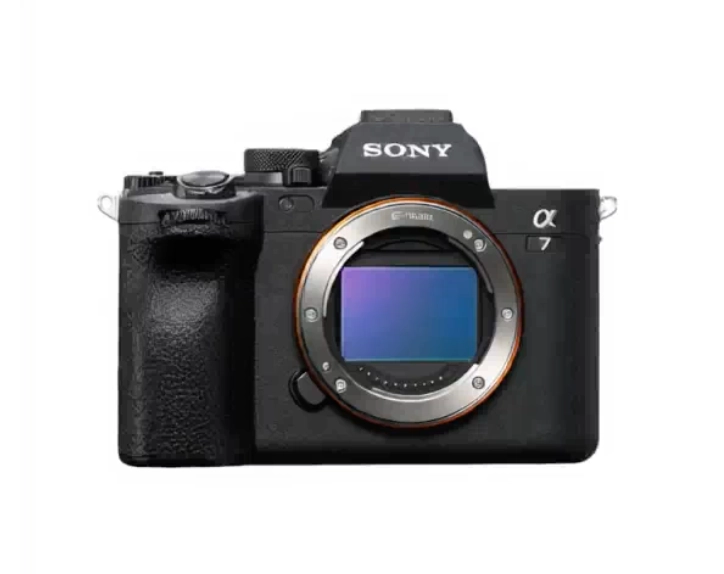
I brought my Sony A7 IV with the 24-70mm GM II, 70-200mm GM II, and 1.4x converter. However, because of the rain at Mount Rainier, I didn’t use it nearly as much as I expected. Most of my photos and videos came from my iPhone and DJI Action 5 Pro instead.
Looking back, the most useful item I should have bought before the trip would have been a waterproof shell camera cover for my Sony A7 IV. Having one would have made me more comfortable taking the camera out in the rain.

My 4 Day Mount Rainier National Park Itinerary (4 Days, 3 Nights)
- Day 1: Arrive in Seattle, pick up rental car, drive to Mount Rainier, explore Paradise Inn, and prepare for hiking.
- Day 2: Hike Skyline Loop Trail, continue on Golden Gate Trail, explore the snowy alpine landscape, and recover after a migraine.
- Day 3: Road trip around Mount Rainier, including Tipsoo Lake, Chinook Pass, Crystal Mountain, Snow Lake Trail, and surprise mountain views.
- Day 4: Leave Mount Rainier National Park and continue the road trip toward Olympic National Park.

Adventure Travel Insurance
Adventure Travel Insurance for USA Hiking and Backpacking: Get Your Free Quote Adventure travel insurance is important for hikers and backpackers, because standard travel insurance may limit coverage for outdoor activities or higher elevations. Most…
Day 1 at Mount Rainier National Park: Arriving at Paradise Inn
Driving from Seattle to Mount Rainier
After landing at Seattle-Tacoma International Airport, picking up my rental car, and stopping at Target for snacks and supplies, I started the drive toward Mount Rainier National Park.
The weather got worse the closer I got. The clouds became thicker and darker, and I quickly realized this trip was going to be very different from the sunny mountain photos I had imagined.
I had planned to stop at viewpoints and waterfalls along the way, but I decided to wait because I thought the weather might improve another day. Looking back, I should have stopped whenever I had the chance because that first day’s weather was actually the best I got while I was there!
My First Evening at Paradise Inn
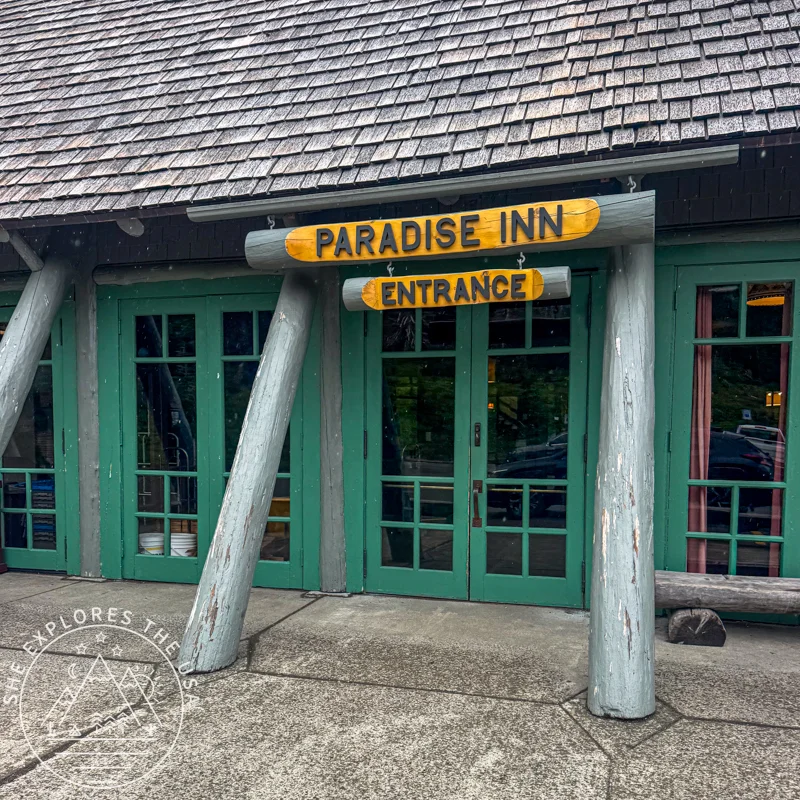
Once I arrived at Paradise Inn, I explored the surroundings in the rain a little and then settled in and enjoyed the atmosphere. Staying inside the park was one of the best decisions I made, and the historic lodge was exactly what I hoped for.
The huge wooden lobby, fireplace, large tables, and piano player created the perfect cozy atmosphere after a travel day.
Asking About the Weather at the Visitor Center
Before my first hike, I stopped at the visitor center and asked about my chances of seeing Mount Rainier. I told the ranger that I had seen the mountain clearly from the airplane above the clouds and asked what hike I could do to see it during my visit.
The ranger explained that the only way to get above the clouds was through mountaineering routes. Since I had no interest in mountaineering on this trip, it was time to accept whatever weather Mount Rainier decided to give me during my trip and keep my eyes open for a surprise.
My Tiny Paradise Inn Roommate
I had already heard the rumors about mice at Paradise Inn, so I wasn’t completely surprised when I woke up around 3 am to a tiny visitor trying to get to the food and supplements I had left on the table.
Coming from California, my instinct was actually the opposite of what you’re supposed to do at Paradise Inn. At home, we’re told not to leave food in cars because of bears, so I thought keeping everything in my room would be the better option. I quickly learned that the car was actually a safer place for food here.
I moved everything onto the towel rack in the bathroom, closed the door, and the mouse never got access to anything again. The next morning, while I was getting ready, I saw the mouse run back to her entry point from underneath the bed, which meant she had probably been hiding there the whole time I was in the room.
It was a memorable part of staying at a historic lodge surrounded by wilderness, and definitely something I won’t forget from my Mount Rainier trip.
Day 2 at Mount Rainier National Park: Hiking Skyline Loop Trail
Skyline Loop Trail and Golden Gate Trail
The next morning, I woke up ready for my first hike at Mount Rainier National Park. I decided to take on the Skyline Loop Trail, one of the most famous hikes in the park, hiking it counterclockwise toward Myrtle Falls before continuing onto the Golden Gate Trail.
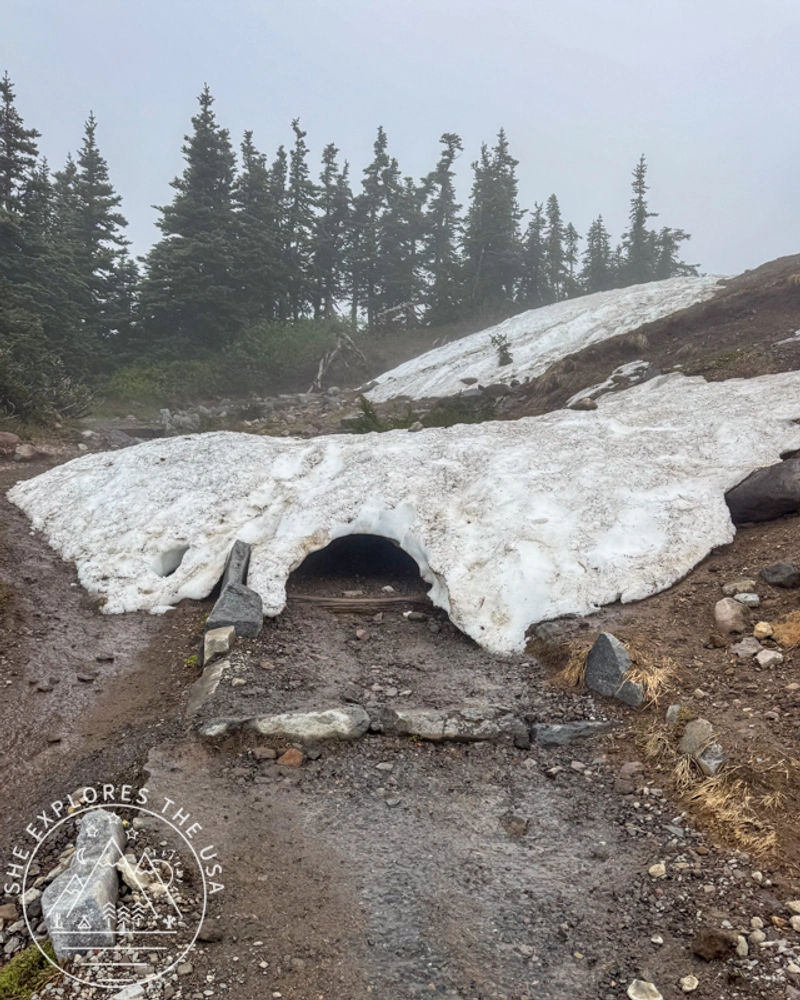
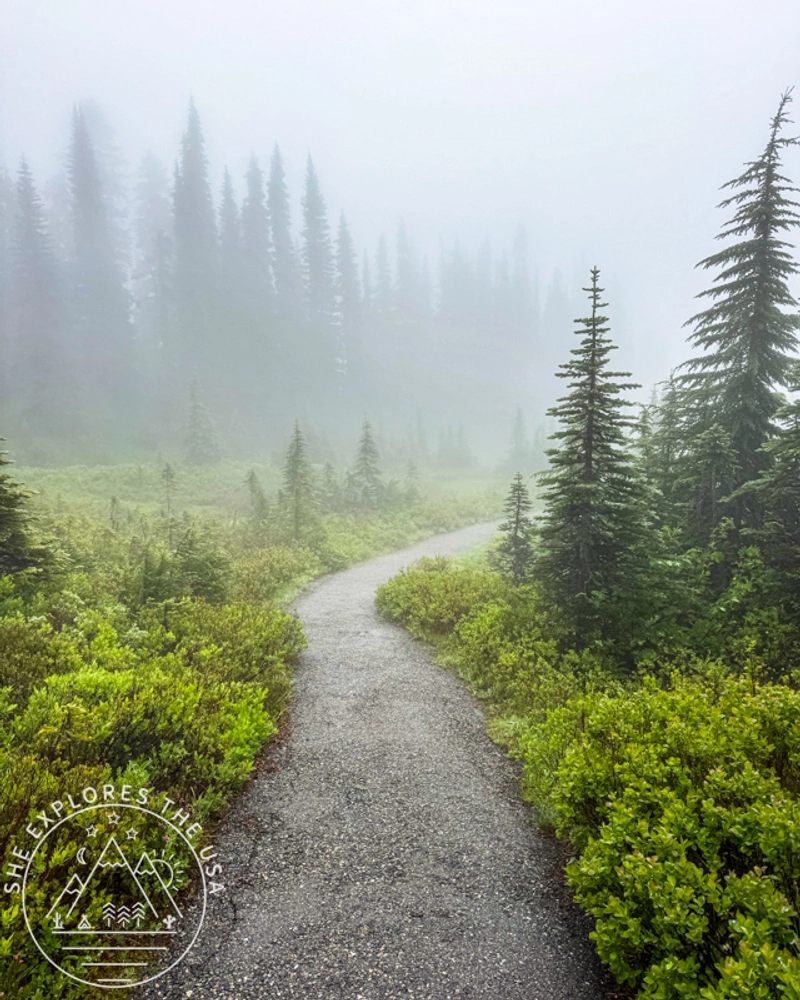
The weather was still wet and cloudy, but I was prepared with my rain gear and layers. The trail took me through alpine scenery, snow-covered sections, and areas where I had to cross snow bridges. Even without the views I was hoping for, the landscape was still beautiful.
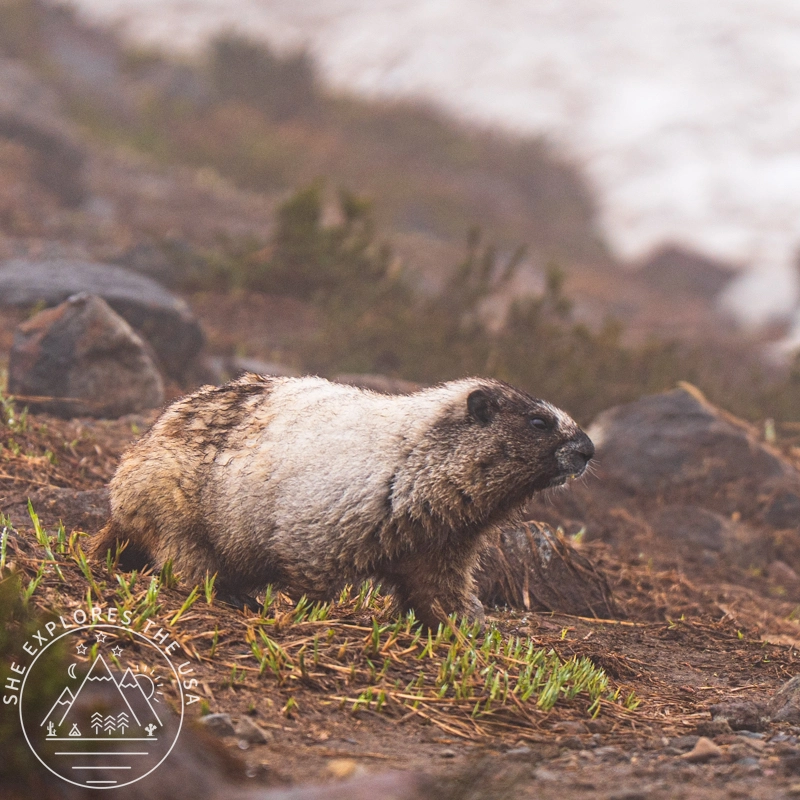
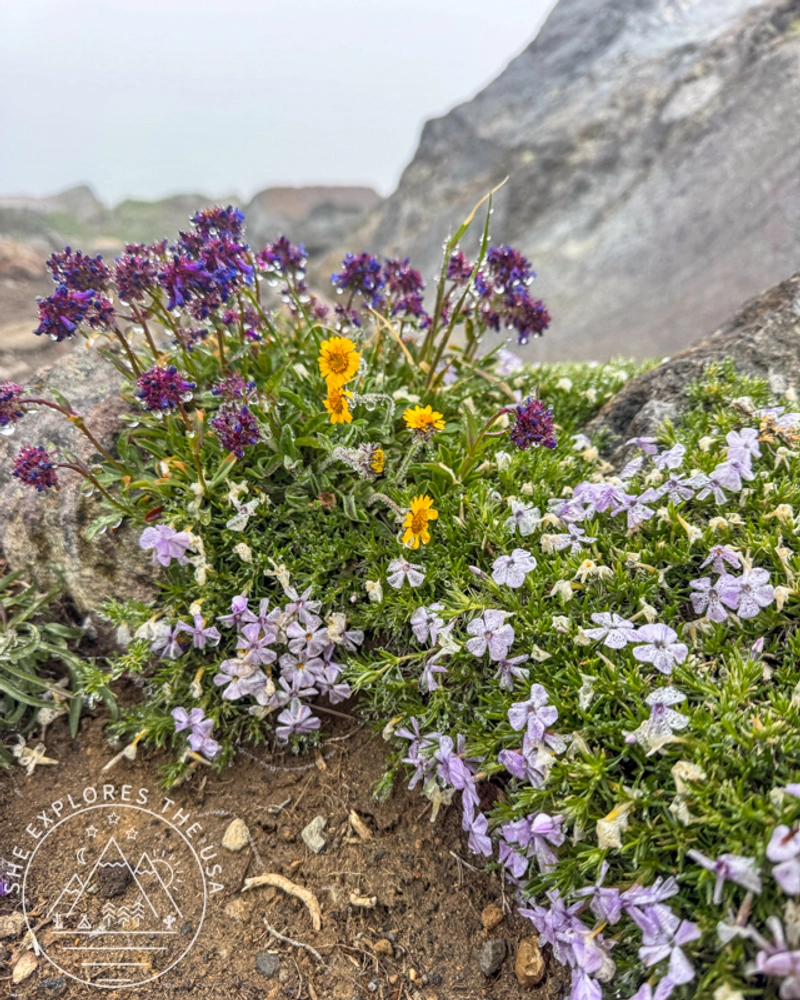
Along the way, I spotted marmots and squirrels, as well as some wildflowers and a few snowmen left behind in the snow. The higher I climbed, the more I was hiking in the clouds.
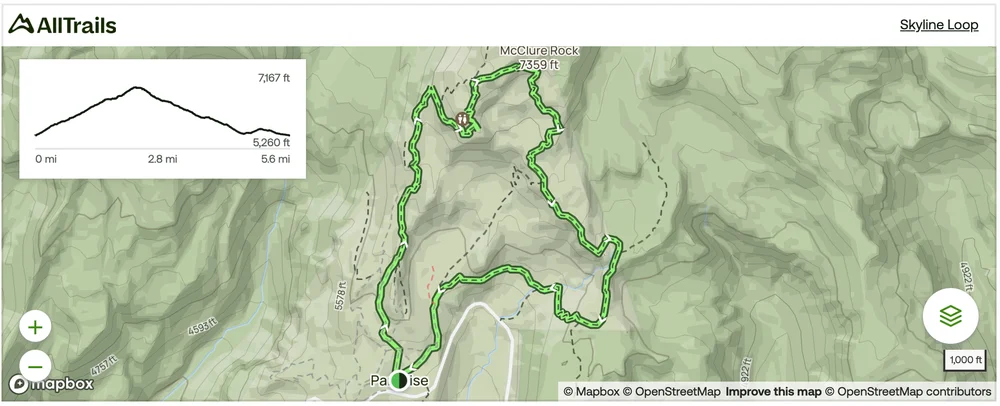
Skyline Loop Trail AllTrails Map
- Location: Paradise, Mount Rainier National Park
- Trail type: Loop
- Difficulty: Hard
- Full Skyline Loop: 5.7 miles round trip with 1,781 feet of elevation gain
- My route: I hiked counterclockwise toward Myrtle Falls before taking the Golden Gate Trail shortcut (the dotted line in the middle of the loop in the image below), which made my hike shorter than the full Skyline Loop.
Skyline Loop is one of the most popular hikes in Mount Rainier National Park, taking hikers through alpine meadows, waterfalls, snowfields, and panoramic viewpoints. Depending on the time of year and weather conditions, parts of the trail can still be covered in snow.
🥾 Plan Smarter Hikes with AllTrails
AllTrails is my go-to for trip planning, from checking trail reviews to downloading maps, navigating from my phone, and sending routes straight to my Garmin 67i. Offline maps, alerts, and AI route planning make upgrading to Plus & Peak worth it!
The View From Panorama Point
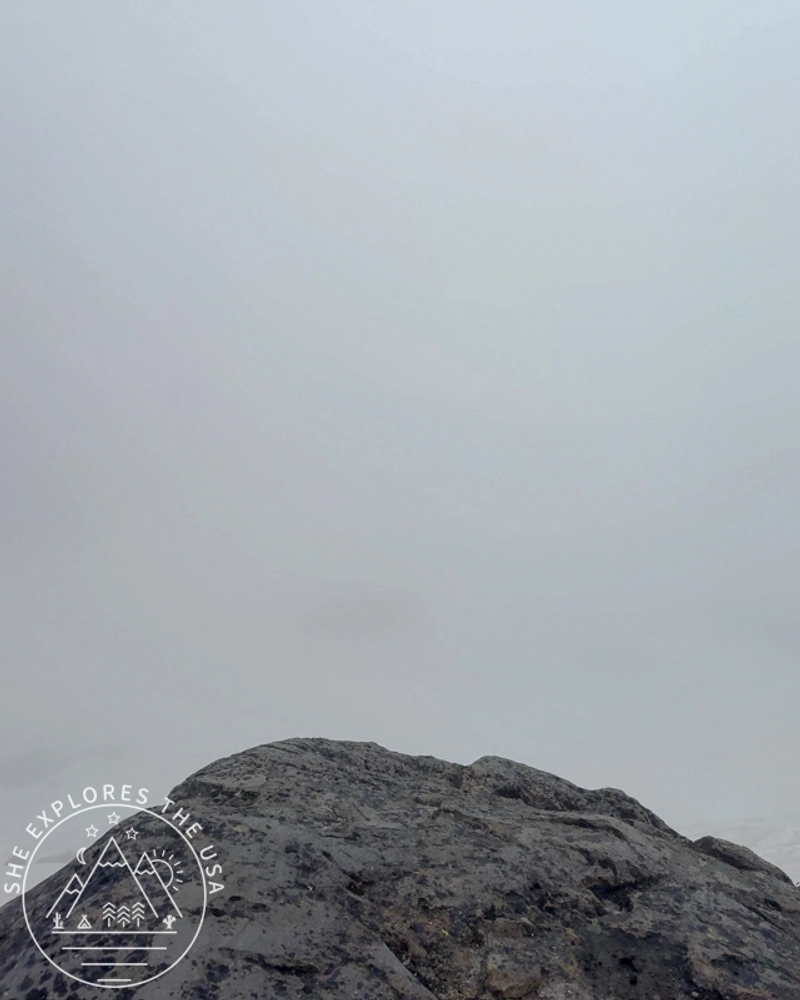
When I reached Panorama Point, I had arrived at one of the most famous viewpoints along the Skyline Loop Trail. Instead, the entire view was covered in fog, and my “mountain view” was basically a giant white rectangle.
I included a photo of the Panorama Point sign because it shows what you would normally see from this viewpoint. The clouds had completely taken over, hiding the dramatic scenery I had hoped to see.
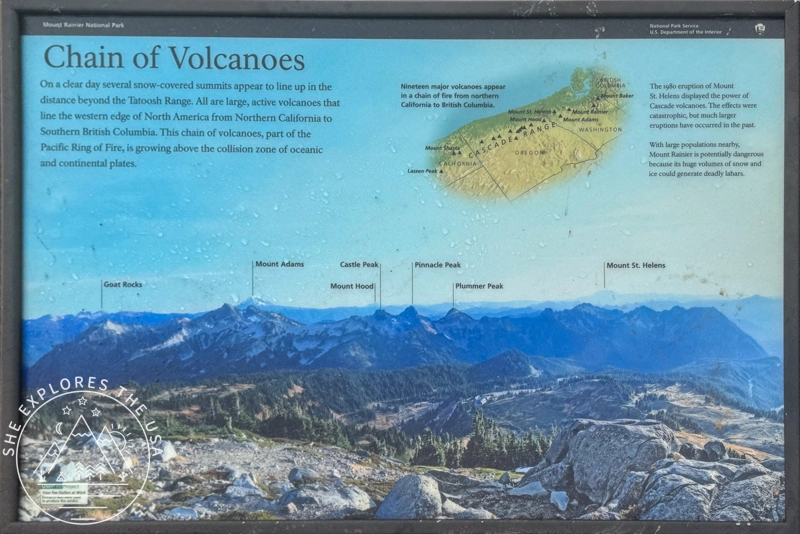
Even though I missed the famous view, standing there surrounded by snow, fog, and alpine scenery was still a memorable experience. Mount Rainier was showing me a completely different side of the park.
The final 1.6 miles back down were paved and surprisingly steep. By the time I returned to Paradise Inn, the restaurant had already stopped serving lunch, so I grabbed a Greek salad from Tatoosh Cafe to recover after the hike.
Recovering From a Migraine
After finishing Skyline Loop, I ended up dealing with a migraine that had actually been building for several days before the trip. So I spent most of the afternoon and evening resting at Paradise Inn. I woke up several times throughout the evening, still dealing with the migraine, but by around 9 pm, it had finally eased enough for me to walk over to Tatoosh Cafe before they closed at 10 pm and grab some food.
Day 3 at Mount Rainier National Park: Exploring Beyond Paradise
Reflection Lake, Tipsoo Lake, and Chinook Pass
On my third day at Mount Rainier National Park, I decided to spend the day road-tripping around the park and exploring some of the other areas outside Paradise.
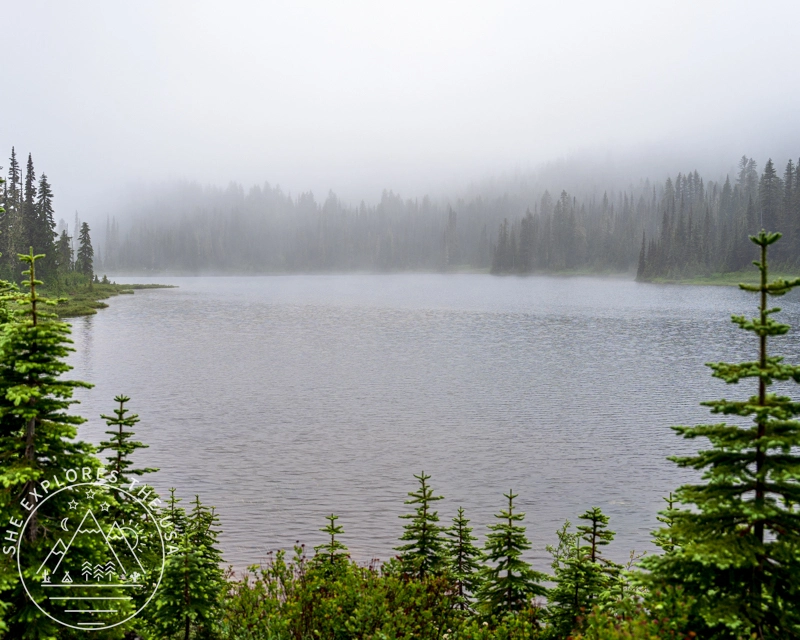
I left Paradise Inn and made my first stop at Reflection Lakes. Unfortunately, just like the day before, the weather wasn’t cooperating. The lake was surrounded by fog, so instead of the famous reflection of Mount Rainier, I was greeted by another white, misty landscape. It was still peaceful, though, and a beautiful place to start the day.
From there, I continued driving toward Chinook Pass and Tipsoo Lake, hoping the weather might improve as I explored more of the park.
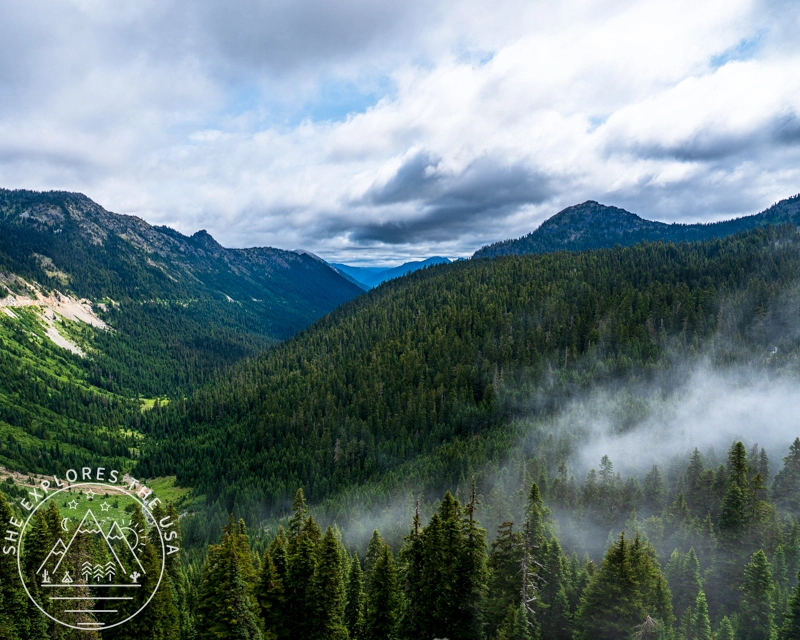
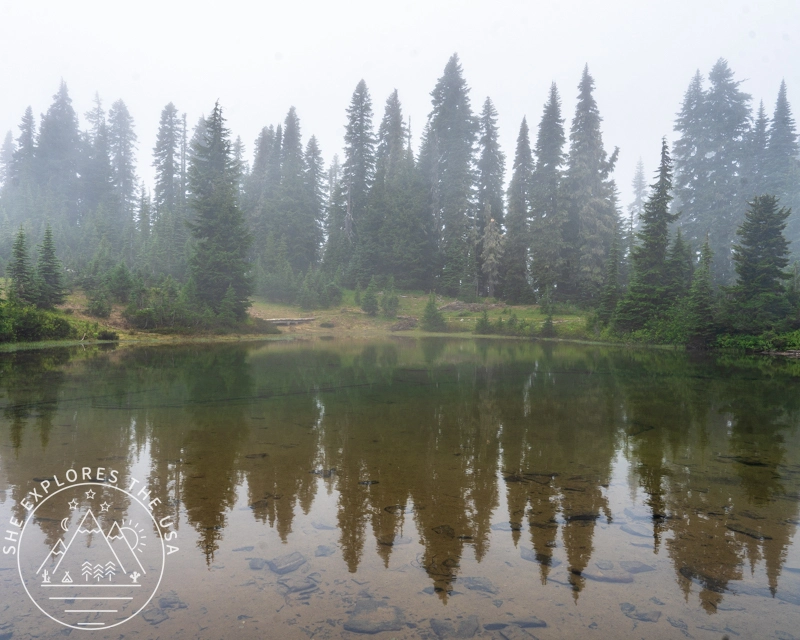
Chinook Pass did briefly clear while I was there, giving me a glimpse of the colorful valley below. At Tipsoo Lake, I walked around the lake and enjoyed the peaceful scenery, even though the weather was still very moody.
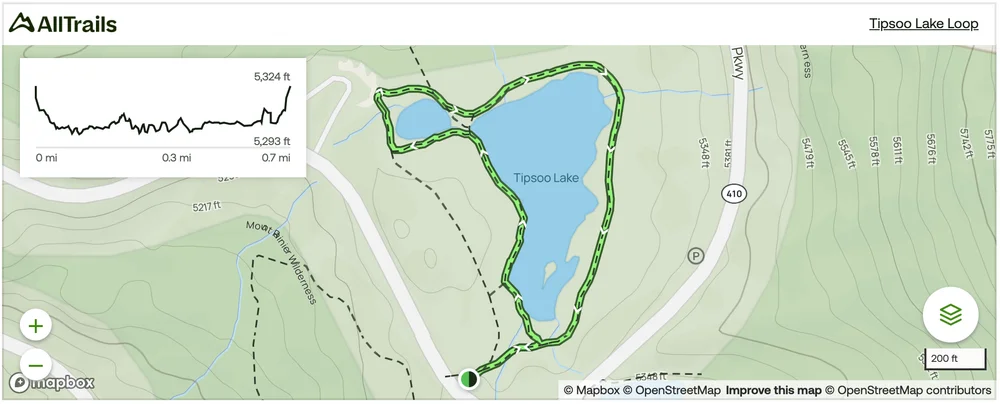
Tipsoo Lake AllTrails Map
Distance: 0.7 miles (loop)
Elevation Gain: 16 feet
Difficulty: Easy
Time: 30 to 60 minutes
Tipsoo Lake Loop is one of the easiest and most scenic walks in Mount Rainier National Park. This gentle trail circles the lake, offering breathtaking reflections of Mount Rainier, colorful wildflowers in summer, and sweeping alpine views with almost no elevation gain. It’s an excellent choice for families, photographers, or anyone looking for a peaceful place to stretch their legs without committing to a longer hike.
Crystal Mountain Resort
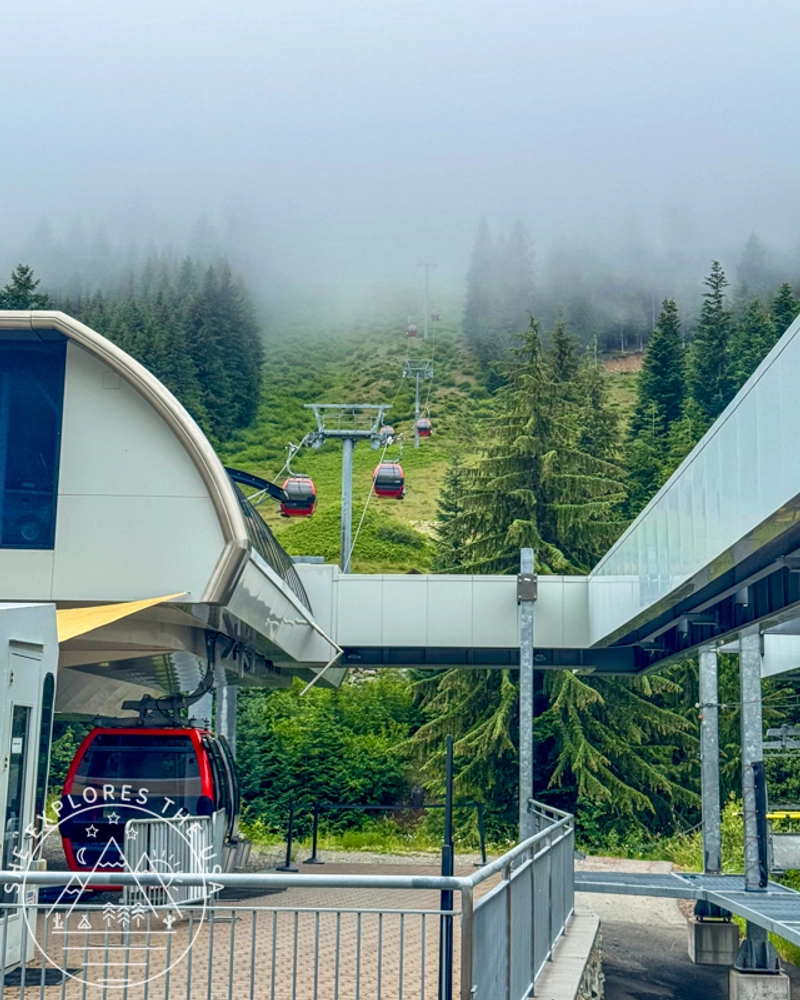
From there, I drove to Crystal Mountain Resort, where I had planned to take the gondola for a scenic view of Mount Rainier.
Unfortunately, the fog was still incredibly dense. After spending the previous days surrounded by clouds, I decided there was no point in heading up for another view of a white rectangle, so I skipped the gondola and had lunch at the resort café instead.
After lunch, I slowly made my way back toward Paradise Inn.
The Moment Mount Rainier Finally Appeared
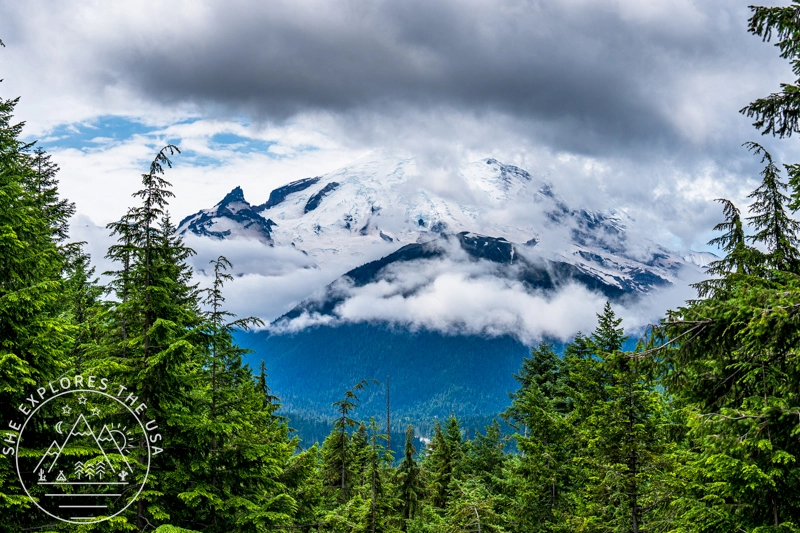
On my drive back, I stopped at a pullout because the fog and light were creating a beautiful scene. I thought I was stopping to photograph the trees and atmosphere, but then I realized Mount Rainier had suddenly appeared.
I ran back to the car and moved my Jeep into the perfect spot for a few photos with the mountain behind it. Naturally, the second people saw what I was doing, that spot suddenly became everyone’s favorite place to stop.
After days of clouds, rain, and fog, getting that unexpected glimpse of Mount Rainier felt like a little reward.
Bench Lake and Snow Lake Trail
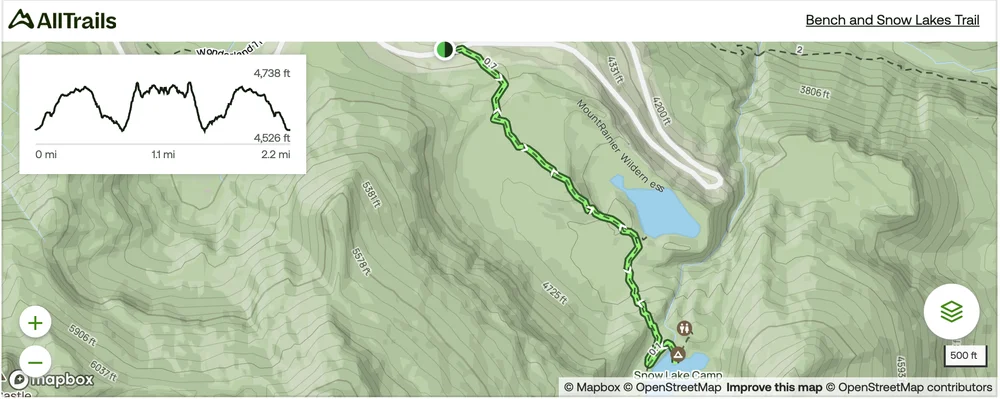
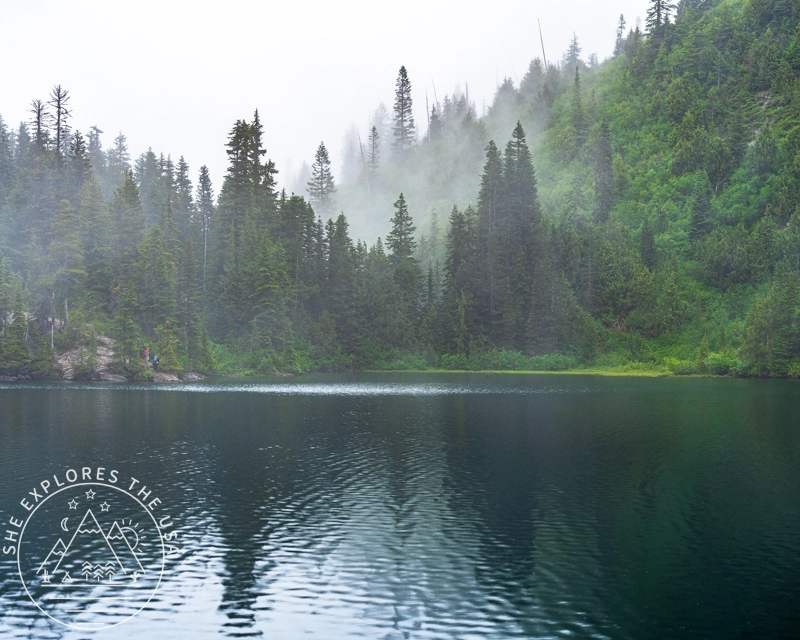
I continued my drive and stopped at the Bench Lake and Snow Lake Trail, a 2.3-mile round-trip moderate hike.
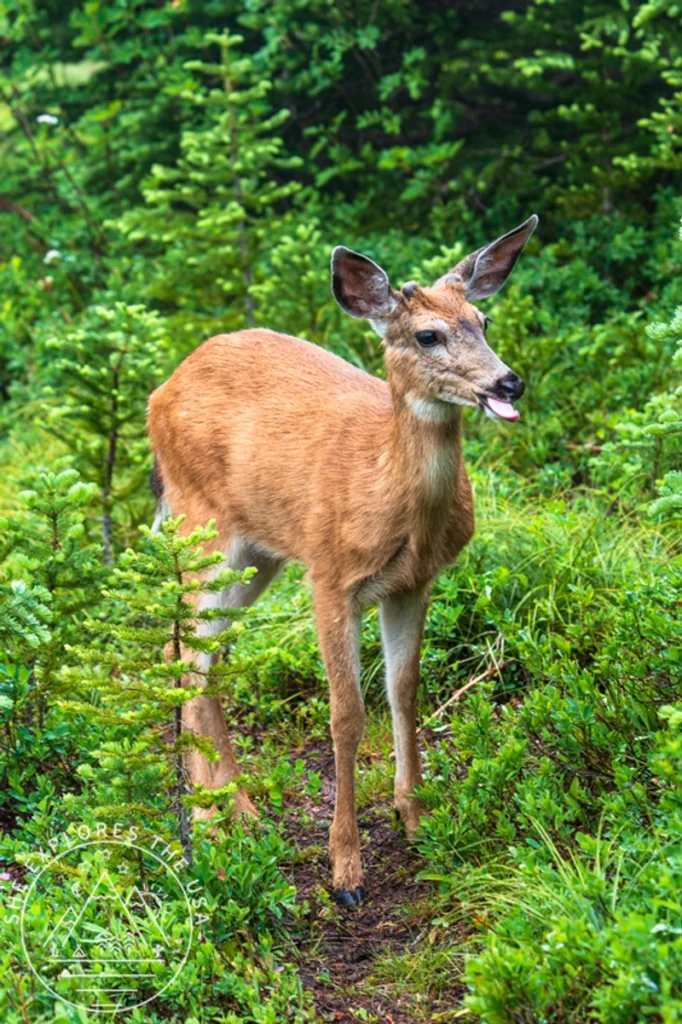
The trail gave me another beautiful foggy lake experience at Bench Lake, and a reflection at Snow Lake, and I was lucky enough to spot a deer along the way.
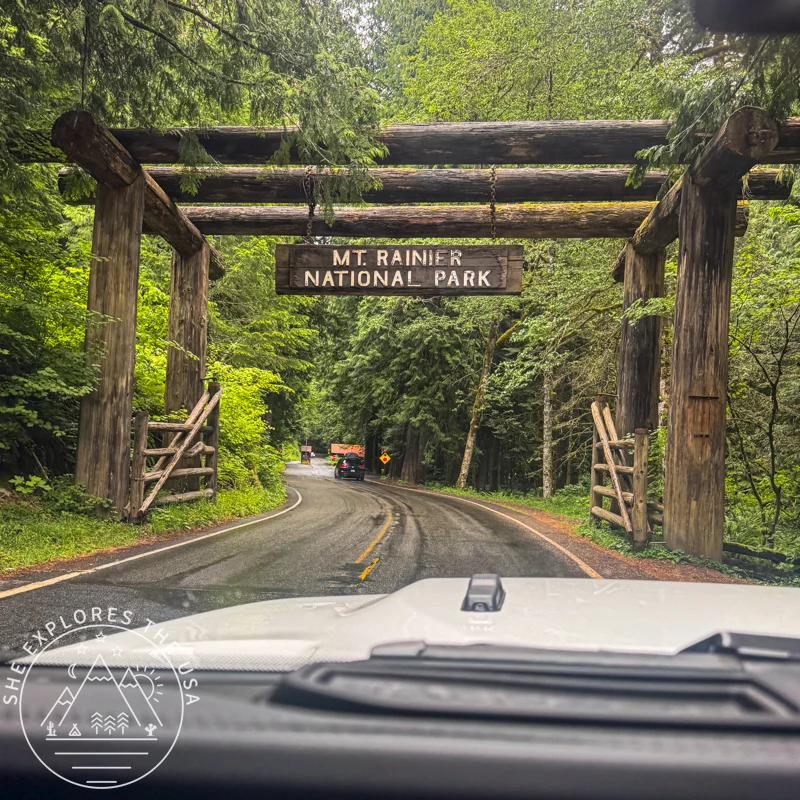
On my way back to Paradise Inn, I stopped at the Mount Rainier National Park welcome sign for another quick photo before heading back for my final evening in the park.
Bench Lake and Snow Lake trail AllTrails Map
Distance: 2.3 miles (out and back)
Elevation Gain: 469 feet
Difficulty: Moderate
Time: 1 to 1.5 hours
The Bench and Snow Lakes Trail is a fantastic family-friendly hike that packs a lot of scenery into a relatively short distance. The trail winds through beautiful subalpine meadows before reaching the peaceful shores of Bench Lake and the picturesque Snow Lake, with stunning views along the way. We even spotted a deer during our hike, making it an especially memorable experience for families with kids and wildlife lovers. Although there are a few steeper sections with log steps, it’s still a great choice for beginner hikers looking to experience Mount Rainier’s alpine beauty.
Dinner at Paradise Inn Dining Room
For my final evening at Mount Rainier, I had dinner at the Paradise Inn Dining Room.
The highlight of the meal was the watermelon salad I had for a starter. After hiking Skyline Loop and spending the last few days in cold, wet weather, it was exactly what I wanted. The combination of watermelon, cucumber, and other ingredients was so fresh and refreshing that I’m going to recreate it at home this summer.
Day 4: Leaving Mount Rainier National Park
After three nights at Paradise Inn, it was time to leave Mount Rainier National Park and continue my road trip toward Olympic National Park.
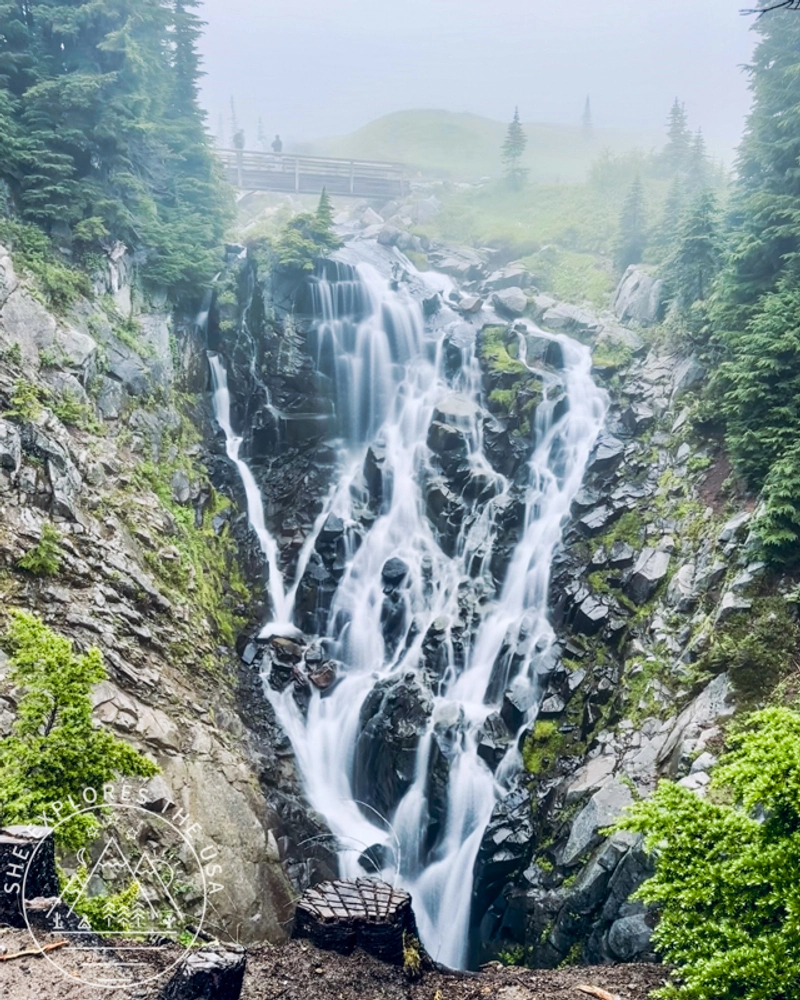
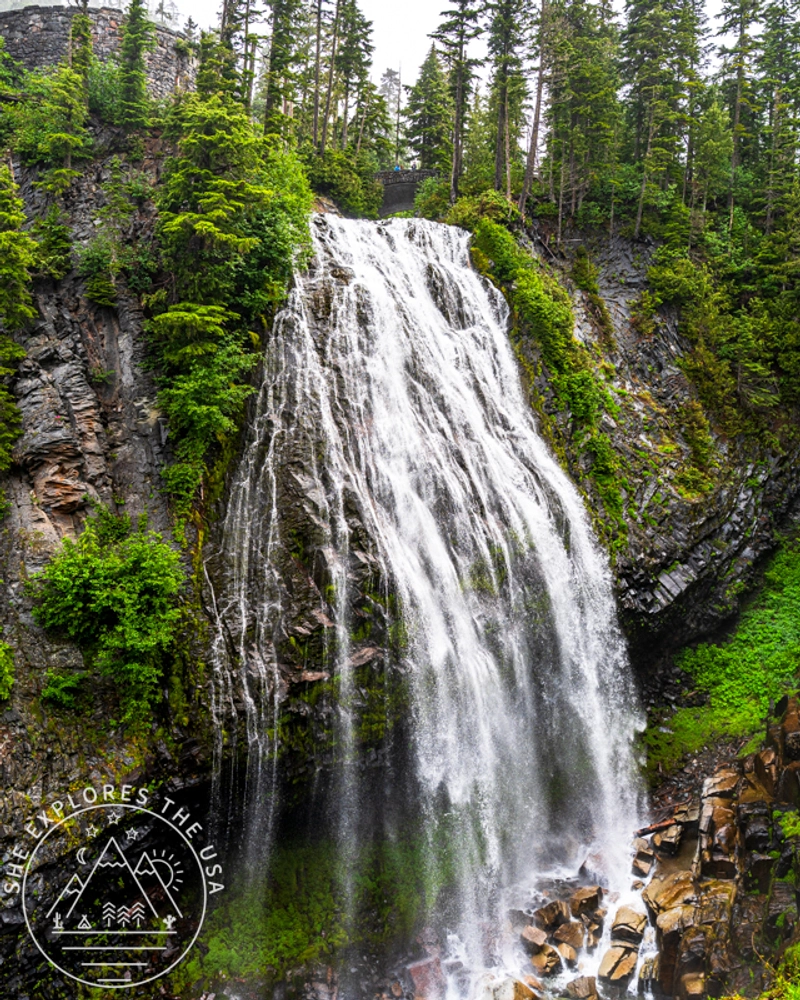
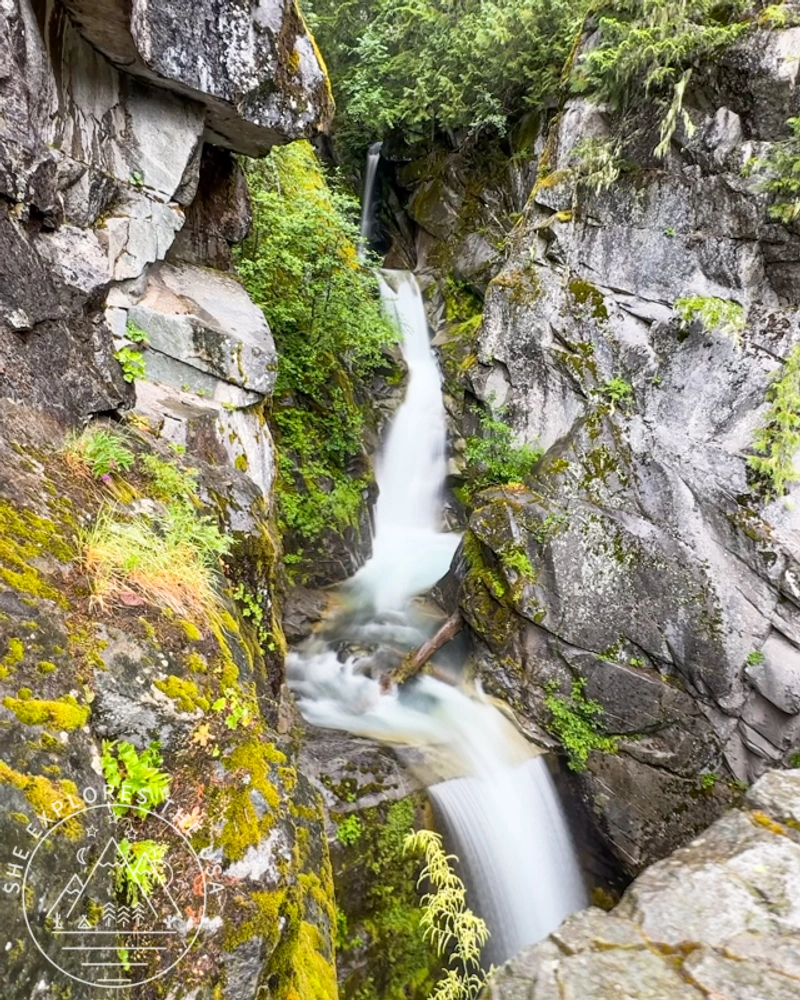
Before leaving the park, I made a couple of final stops at Narada Falls and Christine Falls. The rain and fog were still hanging around, but the waterfalls looked beautiful surrounded by the misty forest.
For Narada Falls, see below. I took the trail down to the lower viewpoint.
For Christine Falls, I only stopped at the bridge for a quick photo before continuing my drive. I later realized I had missed the lower viewpoint, which gives you the classic framed waterfall view. If you’re planning to visit Christine Falls, don’t make the same mistake I did. There’s a lower viewpoint that gives you a much better view of the waterfall, framed by the bridge.
Then I continued my drive toward the Olympic Peninsula, leaving Mount Rainier behind and hoping I would have better luck with the weather later in the trip.
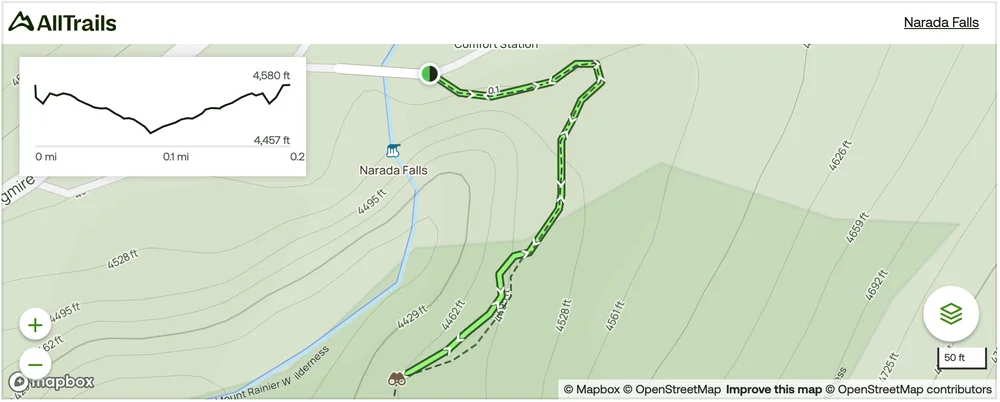
Narada Falls AllTrails Map
Distance: 0.2 miles (out and back)
Elevation Gain: 59 feet
Difficulty: Easy
Time: 30 to 60 minutes
One of the easiest and most rewarding stops in Mount Rainier National Park, the Narada Falls Trail is a short walk to a stunning viewpoint overlooking the park’s 150-foot waterfall. While you can admire the falls from the roadside pullout, taking the short trail brings you closer for an even better view. It’s a great option for families, anyone looking for a quick scenic stop, or hikers wanting to add a short detour between longer adventures.
The Mount Rainier View I Finally Got on My Way Home
After spending the rest of my trip exploring Olympic National Park, I eventually had to make my way back toward Seattle for my flight home.
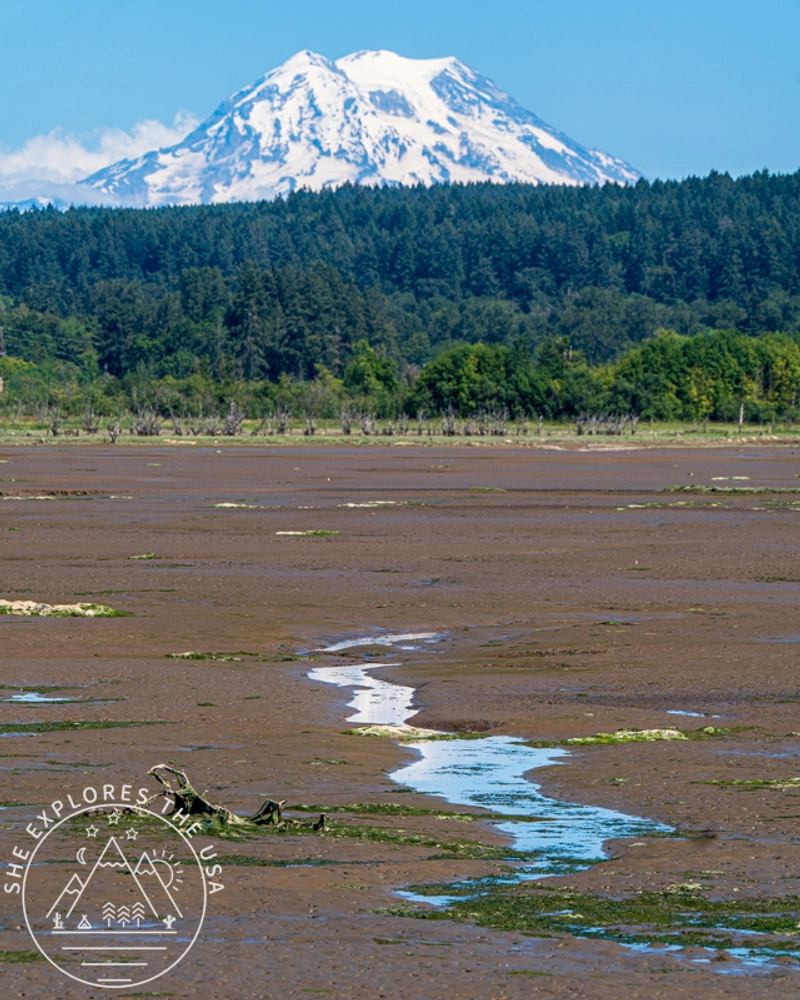
I decided to take the longer route through Olympia because I was still hoping to find a good place to photograph Mount Rainier before leaving Washington. As I drove, the mountain finally started appearing from the freeway.
I stopped at the Billy Frank Jr. Nisqually National Wildlife Refuge, where I walked about four miles round trip, hoping to capture Mount Rainier reflected in the water. Unfortunately, the tide was low, so I didn’t get the reflection shot I had imagined.
Next, I tried heading to Angel Lake, another spot I had found for mountain views with possible water reflections, but it was closed because of the Fourth of July fireworks happening that evening.
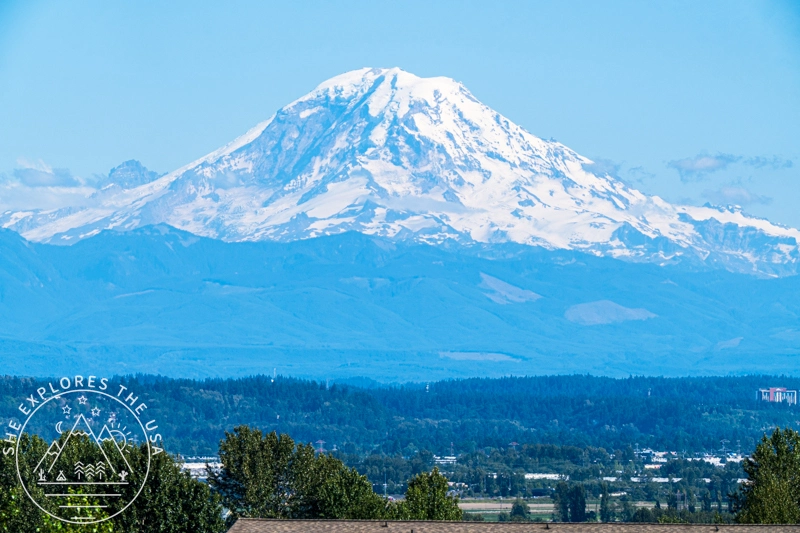
After that, I ended up at a random dog park, which surprisingly had an incredible view of Mount Rainier.
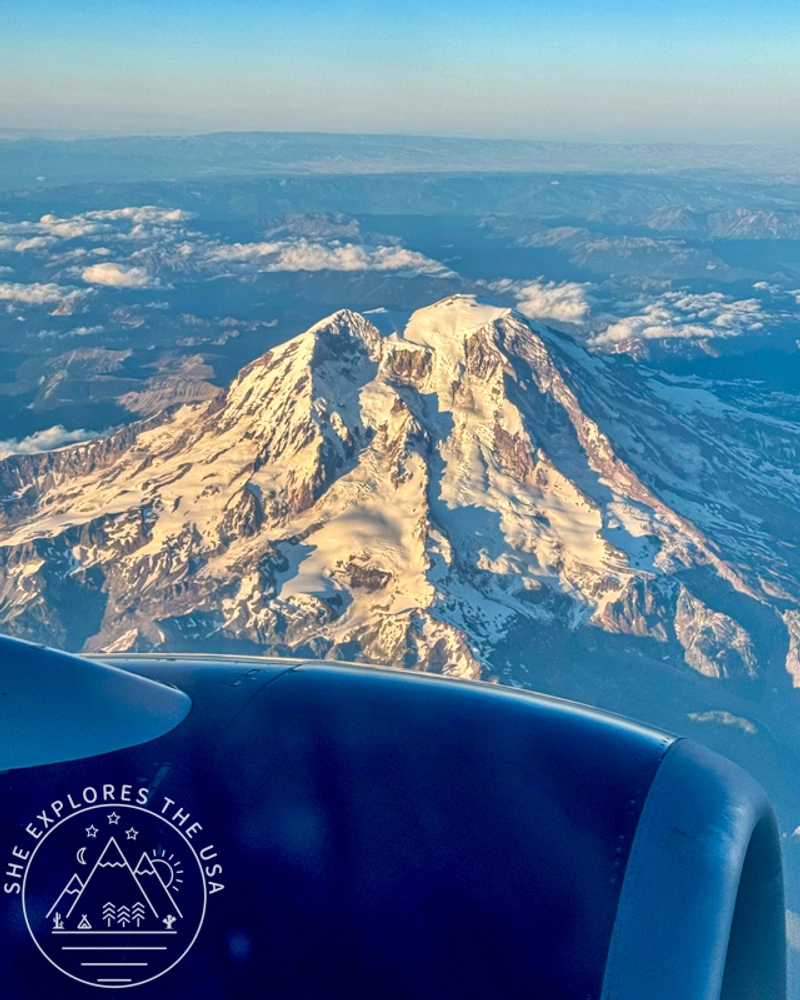
And then, just to make sure I didn’t forget who was in charge, Mount Rainier gave me one final gift: a completely clear view from my flight home. After spending the entire trip chasing the mountain through fog and clouds, seeing it with zero clouds around on the way back was the perfect ending.
What I Wish I Knew Before Visiting Mount Rainier National Park
My advice for visiting Mount Rainier National Park: don’t assume the weather will improve tomorrow.
I thought the rain would clear the next day, so I skipped a few viewpoints on my drive in. I planned to stop at them on my way out. Unfortunately, the weather was even worse by then.
That said, the weather also made this trip unique. I hiked Skyline Loop through fog and walked across snow-covered trails. I spotted wildlife and explored the park when it was quiet. It gave me a completely different experience from the typical sunny summer visit.
Would I go back? Absolutely. I’m actually glad I experienced the moodier side of Washington. It gives me the perfect excuse to come back and see Mount Rainier on a clear, sunny day.
Frequently Asked Questions About Mount Rainier National Park
How many days do you need at Mount Rainier National Park?
I spent three nights at Mount Rainier National Park, staying at Paradise Inn, and I think it was the perfect amount of time to explore the Paradise area and spend a day driving to some of the park’s other highlights.
That said, I would happily spend another three nights there. Between all the hikes I still want to do and finally seeing Mount Rainier on a clear day, I already have plenty of reasons to go back.
Is Mount Rainier National Park worth visiting in June?
Yes, but be prepared for changing conditions. During my late June visit, I experienced rain, fog, snow, and limited visibility, even though the park had experienced great summer weather before my arrival.
The upside was beautiful misty scenery and the chance to experience the park in a completely different way.
What should you pack for Mount Rainier in summer?
Even in summer, I recommend packing rain gear and layers. My most-used items were my REI rain pants, rain jacket, hiking shoes, gaiters, and backpack that helped protect my gear from the wet conditions.
Can you see Mount Rainier when it is cloudy?
Sometimes, but it depends on the weather. I saw Mount Rainier clearly from the plane before arriving and again on my flight home, but during my three days in the park, the mountain was mostly hidden behind clouds and fog. It seems to love playing hide-and-seek!
Where should you stay when visiting Mount Rainier National Park?
The Paradise Inn was a great choice, and I would definitely stay there again. Being located inside Mount Rainier National Park meant I was steps from the Skyline Loop Trail trailhead and several other Paradise-area hikes. It saved me from having to find parking before my hikes, which I found super convenient.
Although there is no Wi-Fi at the hotel, if you have U.S. cell service, you may still have connectivity. I had 5G at the hotel during my stay, so it wasn’t like being completely disconnected from the world.
Paradise Inn
Mount Rainier National Park
- Inside Mount Rainier National Park
- Historic lodge with restaurant & café
- Steps from Skyline Loop Trail
Final Thoughts About Mount Rainier National Park
Even though I didn’t get the classic Mount Rainier views I originally came for, this trip still gave me so many memorable moments. I hiked Skyline Loop through fog and snow, saw wildlife, stayed at the historic Paradise Inn, chased the mountain around Washington trying to catch a glimpse, and learned that sometimes the weather is just part of the adventure.
Mount Rainier definitely tested my patience. I saw the mountain clearly from the plane before I even arrived, spent three days barely seeing it from the ground, and then it finally showed itself again right before I left.
I still want that perfect blue-sky Mount Rainier day, and I think that is a pretty good reason to come back.
Olympic National Park Itinerary With Twilight Detour
Olympic National Park is one of the most diverse national parks in the U.S., combining three distinct ecosystems: temperate […]…
Post originally published on July 11, 2026, and last updated on October 17, 2026.